Friday, December 28, 2018

A Bird's Life Birthday Card with Lexa

Hi everyone! Lexa here today, finally back from a family holiday. And today I'm sharing a birthday card using an older set called A Bird's Life Stamps and the coordinating dies. This stamp set is so cute and I can't get enough of it.

Sunny Studio Stamps: A Bird's Life Sun Ray Dies Tag Topper Dies Birthday Card by Lexa Levana

I'm going to play with bright colors today. I stamped all of the images with Versafine black ink and watercolored them with Distress markers. After I finished with the coloring I used the coordinating dies to cut all of the images. I had so much fun coloring these images.

I used the largest Tag Topper Dies on the top and bottom part of my center scene. After that, I blended some Tumbled Glass and Peacock Feather Distress inks for the sky and added bright yellow stripes using the Sun Ray Dies

Sunny Studio Stamps: A Bird's Life Sun Ray Dies Tag Topper Dies Birthday Card by Lexa Levana

As for the green hills and the card base, I used patterned papers from Sunny Studio's 6x6" Striped Silly and Classic Gingham paper pad collections. I white heat embossed the sentiment on a piece of brown cardstock that was cut as a fish tail banner. I love how happy this card looks. Do you agree with me?

Thank you so much for stopping by today. I hope you'll like this card as much as I do. Have a wonderful day everyone!

Sunny Studio Supplies Used:

A Bird's Life Stamps
Shop at:
Sunny Studio
A Bird's Life Dies
A Bird's Life Dies
Shop at:
Sunny Studio
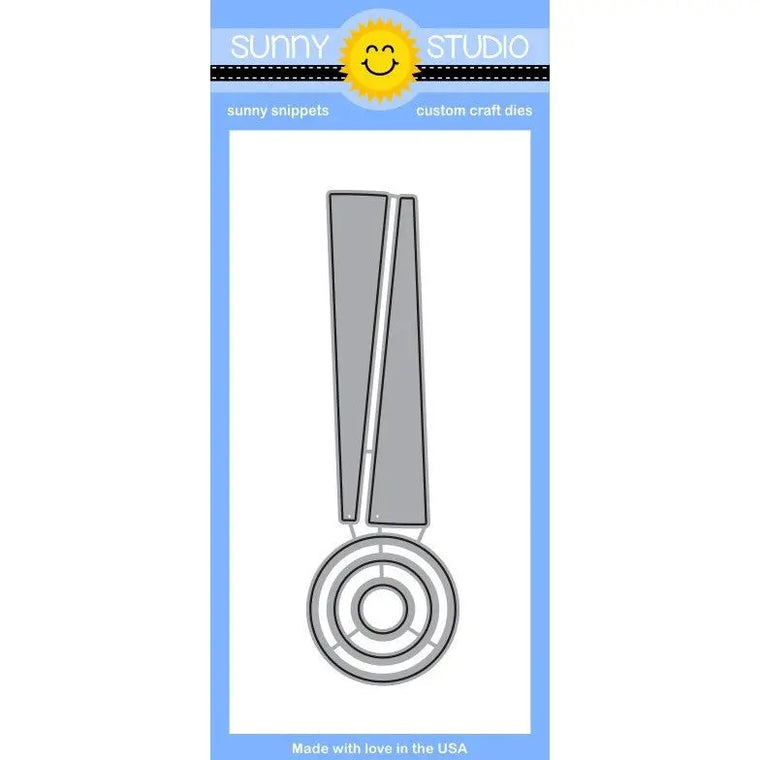
Sun Ray Dies
Sun Ray Dies
Shop at:
Sunny Studio
Tag Topper Dies-Traditional
Shop at:
Sunny Studio
Classic Gingham 6x6 Paper
Shop at:
Sunny Studio
Striped Silly 6x6 Paper
Shop at:
Sunny Studio

Thursday, December 27, 2018

Glittery Gold and Black New Year's Card with Vanessa

Hello everybody! Vanessa here today with a glittery card for the New Year. I hope you all had a wonderful time with your loved ones during the holidays! It's just about time for the next big celebration.

Sunny Studio Stamps: Fancy Frames Rectangles Happy Word Die Loopy Letter Dies Glittery Gold and Black New Year's Card by Vanessa Menhorn

I started by die-cutting the frame using Fancy Frames Rectangle dies from fine black glitter cardstock and adhered it to my white card base. Then I die-cut the Happy Word Die and the stars from gold glitter cardstock, layered the word with a "happy" die cut from thick fun foam, and adhered the elements.

Sunny Studio Stamps: Fancy Frames Rectangles Happy Word Die Loopy Letter Dies Glittery Gold and Black New Year's Card by Vanessa Menhorn

Now I die-cut the 2019 with the Loopy Letters Dies from black glitter cardstock and adhered the pieces. To finish the card off, I added clear sequins.

I am wishing you all a wonderful, healthy, lucky start into the New Year! Thank you for stopping by!

Sunny Studio Supplies Used:

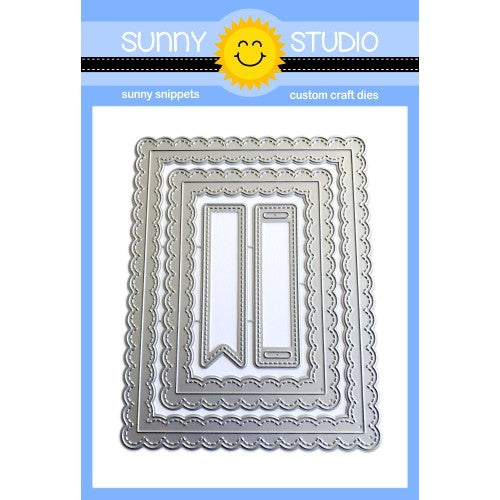
Fancy Frames- Rectangles
Shop at:
Sunny Studio
Happy Word Die
Happy Word Die
Shop at:
Sunny Studio
Loopy Letters Dies
Loopy Letters Dies
Shop at:
Sunny Studio

Wednesday, December 26, 2018

Rustic Winter Happy New Year's Card with Franci

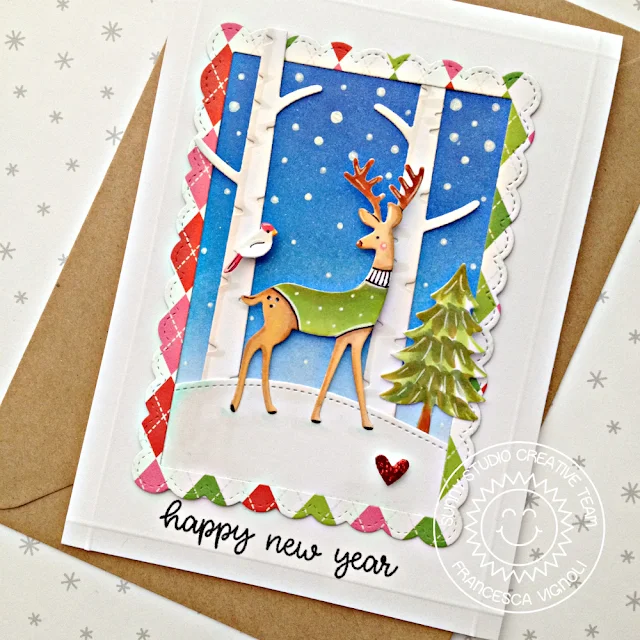
Hello there! Franci here with you today, with a "Happy New Year" card. I made a little winter scene here combining lots of Sunny Studio products: the Rustic Winter set, the Fancy Frames Rectangle set, the Woodland Borders, the Happy Thoughts stamp set and the Holiday Cheer paper pad.

Sunny Studio Stamps: Rustic Winter Woodland Borders Fancy Frames Happy Thoughts Happy New Year's Card by Franci Vignoli

First I created my card base out of white cardstock and I added some dry embossed details with my scoring board. Then I die cut all the elements I need to build my little winter scene and I colored them with Copics and distress inks.

Sunny Studio Stamps: Rustic Winter Woodland Borders Fancy Frames Happy Thoughts Happy New Year's Card by Franci Vignoli

I die cut a fancy rectangle frame from the patterned paper and glued all the die cut elements together. I added some details to the background, the little deer and the pine tree with a white gel pen and then I stamped my sentiment.

It's like a little frame on a card and I'm so happy about how this little festive critter turned out! Wishing you all the best for the new year and thank you so much for stopping by today! 

Sunny Studio Supplies Used:

Fancy Frames- Rectangles
Shop at:
Sunny Studio
Happy Thoughts Stamps
Shop at:
Sunny Studio
Woodland Borders Dies
Shop at:
Sunny Studio
Holiday Cheer 6x6 Paper
Shop at:
Sunny Studio
Rustic Winter Dies
Rustic Winter Dies
Shop at:
Sunny Studio

Tuesday, December 25, 2018

Playful Polar Bears Winter Themed Holiday Card with Juliana

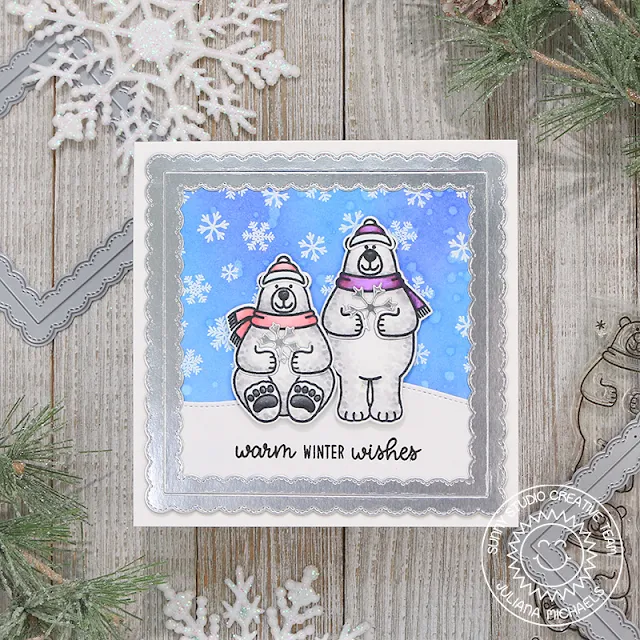
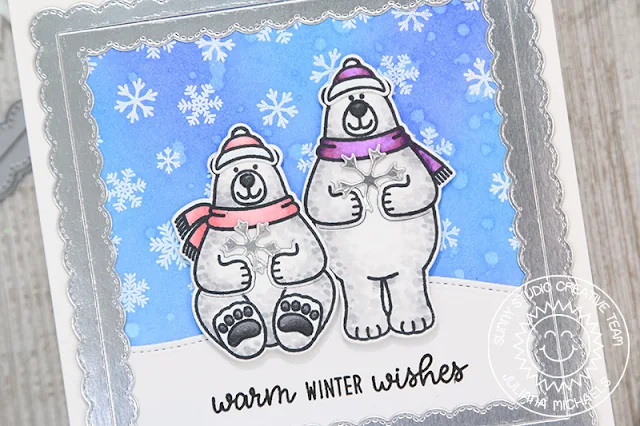
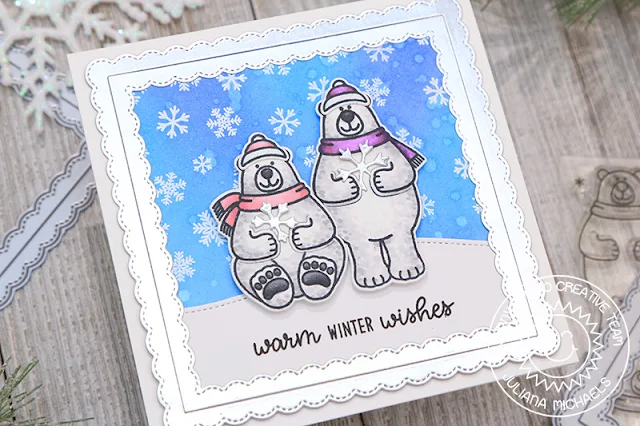
Merry Christmas, Sunny Studio Friends! It's Juliana Michaels and today I'm here to share a winter themed card featuring the Playful Polar Bears stamp set and Fancy Frames Square dies.

Sunny Studio Stamps: Playful Polar Bears Fancy Frames Snow Flurries Winter Themed Holiday Card by Juliana Michaels

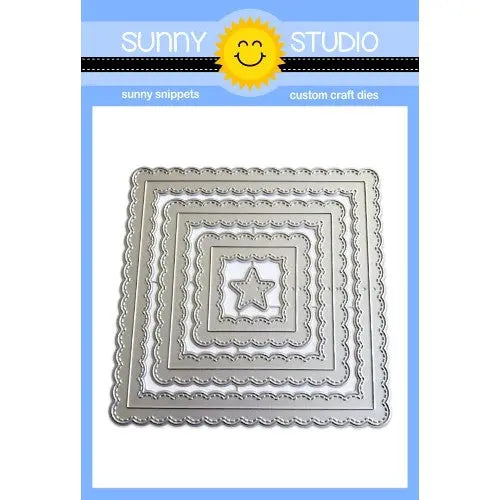
To get started, begin by stamping the cute little polar bears from Playful Polar Bears and color them using Copic markers. Next, die cut them using the coordinating die set. Create the frame by die cutting a piece of silver paper using the largest Fancy Frames Square die. Cut a piece of Bristol paper to just slightly smaller than the outside edge of the frame. This will be used as the background for the scene.

Sunny Studio Stamps: Playful Polar Bears Fancy Frames Snow Flurries Winter Themed Holiday Card by Juliana Michaels

Take the Bristol paper and stamp the Snow Flurries stamp set with Versamark embossing ink onto it. Sprinkle the stamped image with white embossing powder and heat set it. Repeat this as you ink the entire background. Next, ink blend Distress Oxide ink in Salty Ocean and Blueprint Sketch onto the paper with a foam applicator. After the ink blending is completed, sprinkle the piece with water using a small paint brush. Dab the water with a paper towel to remove some of the ink and add to the snowy effect.

Complete the background by die cutting a piece of white cardstock using one of the stitched hillside borders from the Woodland Borders die. Add this to the bottom of the snow flake background, trim to size and then adhere the silver frame on top of this piece. Stamp the sentiment using the Alpaca Holiday stamp set. You are then ready to add your polar bears to the snowy scene.

Sunny Studio Stamps: Playful Polar Bears Fancy Frames Snow Flurries Winter Themed Holiday Card by Juliana Michaels

If you didn't notice, the dies for the polar bears cut out their hands so they can hold something. There are several cute images in the stamp set however, for this card use the snowflake die from the Warm & Cozy dies. Cut out some snowflakes from silver paper and place this inside the polar bears hands.


Thanks so much for stopping by today! I hope you enjoyed this project and that you and your family have a wonderful holiday season!

Sunny Studio Supplies Used:

Polar Playmates Stamps
Shop at:
Sunny Studio
Polar Playmates Dies
Shop at:
Sunny Studio
Snow Flurries Stamps
Shop at:
Sunny Studio
Fancy Frames-Square Dies
Shop at:
Sunny Studio
Woodland Borders Dies
Shop at:
Sunny Studio
Alpaca Holiday Stamps
Shop at:
Sunny Studio
Warm & Cozy Dies
Warm & Cozy Dies
Shop at:
Sunny Studio

Monday, December 24, 2018

Alpaca Holiday Last Minute Christmas Card with Eloise

Hello friends, Eloise here with my last Christmas/Winter card of the year. Christmas cards are always my favourite to make every year and I'm always so sad when they start coming to an end. Today I used the Rustic Winter Dies along with Alpaca Holiday stamp set to create a simple winter-y scene.

Sunny Studio Stamps: Alpaca Holiday Rustic Winter Dies Warm & Cozy Winter Themed Christmas Card by Eloise Blue

I started off with stamping out my images and colouring them in with Copic Markers. Once they were coloured I die cut them out with the coordinating dies. While I had my die cutting machine out I cut a circle out of some scrap paper for a mask later on and then some Birch Trees from Rustic Winter from some white cardstock. 

(Copic Markers Used: Y11, Y15 / R81, R83, R85 / R000, R00, R85 / BG10, BG11, BG23 / V01, V15, V17 / YG03, YG23, YG17 / C1, 0 / E40, E41, E42, E43, E44)

Next I laid my circle mask over a piece of watercolour cardstock and ink blended the sky with Peacock Feathers and Cracked Pistachio Distress Inks and then used Tumbled Glass for the snow.
Sunny Studio Stamps: Alpaca Holiday Rustic Winter Dies Warm & Cozy Winter Themed Christmas Card by Eloise Blue

Next I added adhesive onto the back of my birch trees and adhered them into place and then adhered my alpaca's with foam tape into the centre of the ink blended circle. I then stamped the sentiment 'May Your Christmas Be Warm and Cozy' around the circle with black ink. Lastly, I adhered the entire panel onto a piece of patterned paper from the Holiday Cheer paper pack that coordinated with the colours I chose for the alpaca's. 

Thanks so much for stopping by today, I hope you have a very merry Christmas with your families and I'll see you next week.

Sunny Studio Supplies Used: 

Holiday Cheer 6x6 Paper
Shop at:
Sunny Studio
Alpaca Holiday Stamps
Shop at:
Sunny Studio
Alpaca Holiday Dies
Alpaca Holiday Dies
Shop at:
Sunny Studio
Rustic Winter Dies
Rustic Winter Dies
Shop at:
Sunny Studio