Friday, May 9, 2025

Beauiful Bluebells Floral Cards with Mendi

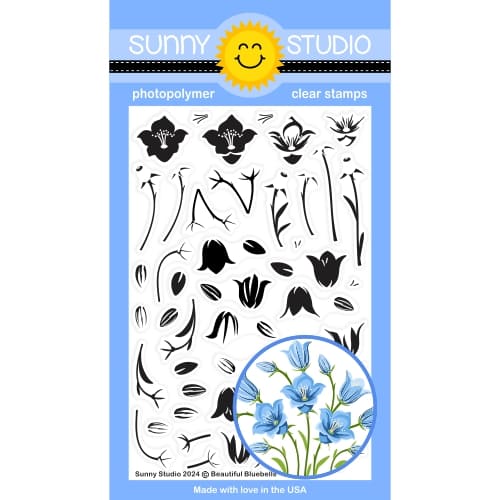
Hello and welcome! This is Mendi here today, popping in to share some floral cards showcasing our Beautiful Bluebells Stamps.

Sunny Studio Spring Floral Card Set using Beautiful Bluebells, Watering Can, & Garden Fairy Clear Craft Stamps & Cutting Dies

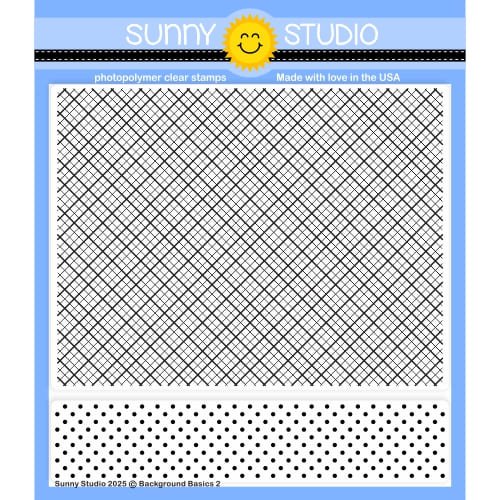
For my first card showcasing the Beautiful Bluebells Stamps, I cut an oval window in my white cardstock panel using the Stitched Oval 2 Dies and then layered it with the scalloped oval frame from our Fancy Frames Oval Dies. I then arranged the bluebell flowers around the window's opening and backed it with a green polka-dot print that I had stamped using our Background Basics 2 Stamps. For my greeting, I stamped the sentiment from our Lovey Dovey Stamps using the same Altenew Hydrangea Ink I had used for one of the flower layers. The coordinating dies to this set cut the letter "I" in the phrase as a separate piece, but in this situation, I felt the greeting fit the space I had better without it, so I left it off. Lastly, I embellished my card with two fairies from our Garden Fairy Stamps, coloring them to match my green and purple color palette.

Sunny Studio Spring Floral Card using Beautiful Bluebells & Garden Fairy Clear Craft Stamps & Fancy Frames Oval Cutting Dies

Next up is a monochromatic blue and white card featuring the Beautiful Bluebells Stamps. I was doing my best to harness the English feel of Laura Ashley, and I'm so happy with the way this turned out! I created a bouquet of the flowers using the Watering Can Stamps, tying a jute bow to position near the handle and adding one of the butterflies from that set. For my background, I stamped a blue diagonal mesh print onto white cardstock using our Background Basics 2 Stamps and then used that same VersaFine Arctic Ink to blend in the background for a tone-on-tone look. I layered a stitched scalloped rectangle cut using our Fancy Frames Rectangle Dies to frame my floral arrangement and then added some extra loose flowers to the bottom two corners. To complete my card, I heat-embossed the "thinking of you" greeting from the Watering Can Stamps onto the Brilliant Banner 2 Dies, which had been cut from a green polka-dot print from our Spring Fever Paper pack.

Sunny Studio Spring Floral Card using Beautiful Bluebells & Watering Can Clear Craft Stamps & Fancy Frames Rectangle Dies

I am frequently asked which ink colors I used for my layered images.  While I think there are so many great options out there, these are the colors I used today for my stamped images from light to dark:

Royal Blue Bluebells
Hero Arts Dusty Blue
Hero Arts Cornflower
Gina K. Powder Blue
Hero Arts Indigo

Blue Violet Bluebells
Altenew Wisteria
Hero Arts Passion Flower
Altenew Hydrangea
Altenew Ultraviolet

Stems & Leaves
Pinkfresh Studio Key Lime
Pinkfresh Studio Olive

That wraps up my projects for this morning. I hope I've inspired you in your own cardmaking and that you spread a little happiness by sending out a card to a loved one today. 😊

Don't forget to check out our Beautiful Bluebells Stamps and Garden Fairy Stamps in our online shop, which are currently on sale!

Also, please check out all the card ideas using these sets on each of their product pages. I always make sure to upload tons of card ideas following the product image so there are lots of ideas to scroll through there organized by set. ðŸ’›

Supplies Used:

Beautiful Bluebells Stamps
Shop at:
Sunny Studio
Beautiful Bluebells Dies
Shop at:
Sunny Studio
Garden Fairy Stamps
Garden Fairy Stamps
Shop at:
Sunny Studio
Garden Fairy Dies
Garden Fairy Dies
Shop at:
Sunny Studio
Lovey Dovey Stamps
Lovey Dovey Stamps
Shop at:
Sunny Studio
Lovey Dovey Dies
Lovey Dovey Dies
Shop at:
Sunny Studio
Watering Can Stamps
Watering Can Stamps
Shop at:
Sunny Studio
Watering Can Dies
Watering Can Dies
Shop at:
Sunny Studio
Brilliant Banner 2 Dies
Shop at:
Sunny Studio
Stitched Oval 2 Dies
Shop at:
Sunny Studio
Fancy Frames- Ovals
Fancy Frames- Ovals
Shop at:
Sunny Studio
Fancy Frames- Rectangles
Shop at:
Sunny Studio
PinkFresh Studio Blending Brushes
Shop at:
Sunny Studio
Hero Arts White Detail
Shop at:
Sunny Studio
Background Basics 2 Stamps
Shop at:
Sunny Studio
Spring Fever Paper
Spring Fever Paper
Shop at:
Sunny Studio
VersaMark Watermark Ink
Shop at:
Sunny Studio
Versafine Clair Ink- Arctic
Shop at:
Sunny Studio
PinkFresh Over The Hills Ink
Shop at:
Sunny Studio
Hero Arts Sky Blues Ink
Shop at:
Sunny Studio

Thursday, May 8, 2025

Frilly Frame Polka Dot Die Focused Card with Marine

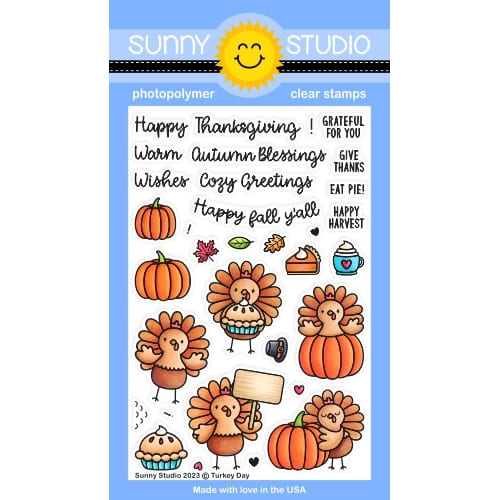
Hello crafty friends, Marine here, I'm thrilled to be back with this magical birthday card featuring cute fairies and chicky peacocks. I've had this idea of turning the turkeys from Turkey Day into peacocks since the set was released, so I'm very happy to finally be sharing this bright and colorful card with you.

Sunny Studio Stamps: Frilly Frame Polka Dot Die Focused Birthday Card by Marine Simon (featuring Turkey Day, Garden Fairy, Stitched Rectangle Dies, Brilliant Banner Dies)

I started off by stamping all the images using an alcohol marker friendly black ink, I cut them all using the coordinating dies, and colored everything using my Ohuhu markers in yellow, green and aqua, which is my favorite color combination at the moment.

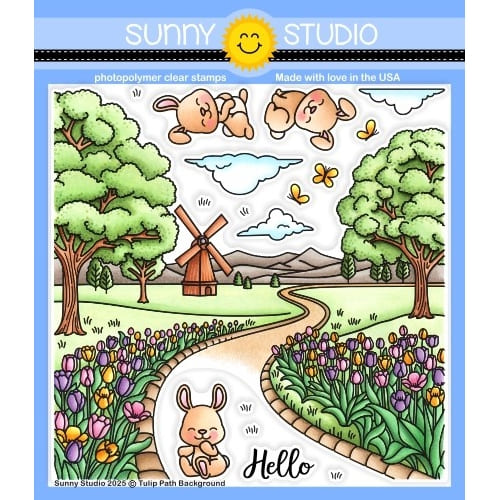
Here is a detailed list of the stamp sets I used: • Turkey Day - peacocks • Tulip Path Background - butterflies • Garden Fairy - fairies, flowers • Garden Critters - grass.

Next I worked on the background and started by cutting two 4,5 x 3,25 inches panels out of aqua cardstock using the second largest Stitched Rectangle die. On the first aqua panel, I used the polka dot die from the Frilly Frame Polka Dot die set to cut a million circles out of it, and then I attached that panel to the second aqua panel using liquid glue. Next I cut more tiny circles out of green, yellow and aqua cardstock using the same die, and then filled each circle spot on the aqua panel with my colorful tiny circles. It was quite a tedious task but I think it's totally worth it, I really love the result.

Sunny Studio Stamps: Frilly Frame Polka Dot Die Focused Birthday Card by Marine Simon (featuring Turkey Day, Garden Fairy, Stitched Rectangle Dies, Brilliant Banner Dies)

I added some texture to my polka dot panel: I mixed copic opaque white ink with water and used a slim brush to splatters all over it, I did the same with fossilized amber distress spritz for a touch of gold, and then the same again with peacock feathers distress spritz to match with the peacocks.

I cut a 5,25 x 4 inches scalloped panel out of shiny turquoise cardstock using the other die from the Frilly Frame Polka Dot die set, and attached my polka dot panel to it using 1mm foam tape. Next I stuck my scalloped panel to a 5,5 x 4,25 inches aqua panel using 1mm foam tape again, and then the whole thing to a white card base using liquid glue.

Sunny Studio Stamps: Frilly Frame Polka Dot Die Focused Birthday Card by Marine Simon (featuring Turkey Day, Garden Fairy, Stitched Rectangle Dies, Brilliant Banner Dies)

For my greeting, I used the Brilliant Banner 1 die set, and cut the different pieces out of cardstock that match with the images. I white heat embossed "Hoping you day is magical" from Garden Fairy on the main piece, assembled the banner using 1mm foam squares, attached it right at the top of my panel, and then stuck all the images using 1mm and 2mm foam squares. I added white blizzard nuvo drops to the fairies and butterflies wings to finish my card. 

And that's it! I hope that those cute peacocks have inspired you to create your own colorful birdies. Thanks so much for stopping by, and see you next week!

Sunny Studio Supplies Used:

Garden Fairy Stamps
Garden Fairy Stamps
Shop at:
Sunny Studio
Garden Fairy Dies
Garden Fairy Dies
Shop at:
Sunny Studio
Garden Critters Stamps
Shop at:
Sunny Studio
Garden Critters Dies
Shop at:
Sunny Studio
Frilly Frames Polka-Dot
Shop at:
Sunny Studio
Brilliant Banner 1 Dies
Shop at:
Sunny Studio
Turkey Day Stamps
Turkey Day Stamps
Shop at:
Sunny Studio
Turkey Day Dies
Turkey Day Dies
Shop at:
Sunny Studio
Tulip Path Background Stamps
Shop at:
Sunny Studio
Tulip Path Background Dies
Shop at:
Sunny Studio
Stitched Rectangle Dies
Shop at:
Sunny Studio

Wednesday, May 7, 2025

Woo Hoo Card with Tina

Hi crafty friends, Tina here with an adorable graduation-themed card! I have several family members graduating, and I just love this sweet owl from the Woo Hoo stamp and die set!

Sunny Studio Stamps: Woo Hoo Graduation Card by Tina Henkens (featuring Comic Strip Speech Bubble Dies, Happy Thoughts, Grad Cat)

As usual, I started with a white card base and went on to create a cloudy scene panel. On a white piece of card stock slightly smaller than the outside of the frame die we will be using later on, I ink blended a soft pastel sky with a stencil from my stash and Distress Oxides Squeezed Lemonade, Spiced Marmalade and Kitsch Flamingo.

Then I cut a white frame with the Comic Strip Speech Bubbles die. Since I wanted the clouds to continue across the little boxes, I just glued the frame on top of the inked background with liquid glue.

After selecting my images from the Woo Hoo and Grad Cat sets, I colored them in fun tones with my copics and added white highlights with a gel pen. To fill in the smaller boxes I also die cut two cloud shapes from the Comic Strip Speech Bubbles die.

Sunny Studio Stamps: Woo Hoo Graduation Card by Tina Henkens (featuring Comic Strip Speech Bubble Dies, Happy Thoughts, Grad Cat)

I browsed through my sentiment stamps and found the perfect saying in the Happy Thoughts set. It took a bit of masking to get the "wishing you a" sentiment spread over two lines. But I love how it turned out (Versafine Onyx Black ink).

Now it was time to build all the mini scenes, starting with the branches, and adding the owl, books, diploma, clouds, and little leaves. This card has already a lot of details so I kept the embellishments simple, just some White Diamonds Jewels.

Are you making grad cards this year? I am curious to see them! Thank you for visiting the blog and happy crafting!

Sunny Studio Supplies Used:

Woo Hoo Dies
Woo Hoo Dies
Shop at:
Sunny Studio
Woo Hoo Stamps
Woo Hoo Stamps
Shop at:
Sunny Studio
Happy Thoughts Stamps
Shop at:
Sunny Studio
Comic Strip Speech Bubble Dies
Shop at:
Sunny Studio
Grad Cat Stamps
Grad Cat Stamps
Shop at:
Sunny Studio
Grad Cat Dies
Grad Cat Dies
Shop at:
Sunny Studio

Tuesday, May 6, 2025

Kiddie Pool Card with Amanda

Happy Tuesday, crafty friends, Amanda here! I hope you had a great weekend and your week is off to a great start! Over the weekend, we celebrated my nephew’s 9th birthday and today, I’m sharing the card I made for him with YOU!  

Sunny Studio Stamps: Kiddie Pool Birthday Card by Amanda Fitterer (featuring Picket Fence Border Dies, Beach Buddies, Party Pets)

This card looks so dimensional, but it really only has a few layers! My background layer is a piece of white cardstock that I blended Catherine Pooler’s Oh Boy ink with a blending brush. I spritzed it with water and added a few dots of white acrylic paint.

The fence was cut from the Picket Fence Dies. I didn’t do anything to this fence, I just glued it straight to the background! So simple!

The grass layer was also cut using the Picket Fence Dies. I ink blended Altenew’s Olive and Bamboo inks with a blending brush to create that gorgeous green! Again, I spritzed it with a water bottle and added some white acrylic paint dots. I used 3D foam tape behind the grass and adhered it to the front of my card.

Sunny Studio Stamps: Kiddie Pool Birthday Card by Amanda Fitterer (featuring Picket Fence Border Dies, Beach Buddies, Party Pets)

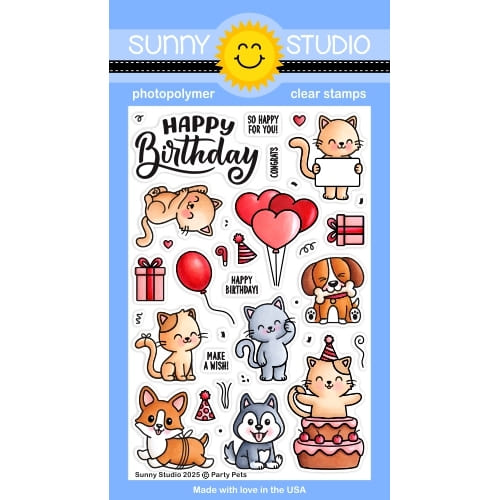
I used a combination of a few stamp sets to get my images. I used the Party Pets Stamps, the Beach Buddies Stamps and the Kiddie Pool Stamps. I colored all of the images with Copic markers and then added highlights with a dot tool and the white acrylic paint. Then, I die cut them out with their coordinating dies.

I applied 3D foam squares behind the images and then adhered them to the card. The balloons in the background were adhered using glue, though, so they look farther away!

I had so much fun making card for my nephew and he loved it! Thanks so much for coming by the Sunny Studio Stamps blog today! I hope you have a great rest of your week!

Sunny Studio Supplies Used:

Beach Buddies Stamps
Shop at:
Sunny Studio
Beach Buddies Dies
Beach Buddies Dies
Shop at:
Sunny Studio
Picket Fence Border Dies
Shop at:
Sunny Studio
Kiddie Pool Stamps
Kiddie Pool Stamps
Shop at:
Sunny Studio
Kiddie Pool Dies
Kiddie Pool Dies
Shop at:
Sunny Studio
Party Pets Stamps
Party Pets Stamps
Shop at:
Sunny Studio
Party Pets Dies
Party Pets Dies
Shop at:
Sunny Studio