Hello crafty friends, Marine here, I'm thrilled to be back with this magical birthday card featuring cute fairies and chicky peacocks. I've had this idea of turning the turkeys from Turkey Day into peacocks since the set was released, so I'm very happy to finally be sharing this bright and colorful card with you.
I started off by stamping all the images using an alcohol marker friendly black ink, I cut them all using the coordinating dies, and colored everything using my Ohuhu markers in yellow, green and aqua, which is my favorite color combination at the moment.
Here is a detailed list of the stamp sets I used: • Turkey Day - peacocks • Tulip Path Background - butterflies • Garden Fairy - fairies, flowers • Garden Critters - grass.
Next I worked on the background and started by cutting two 4,5 x 3,25 inches panels out of aqua cardstock using the second largest Stitched Rectangle die. On the first aqua panel, I used the polka dot die from the Frilly Frame Polka Dot die set to cut a million circles out of it, and then I attached that panel to the second aqua panel using liquid glue. Next I cut more tiny circles out of green, yellow and aqua cardstock using the same die, and then filled each circle spot on the aqua panel with my colorful tiny circles. It was quite a tedious task but I think it's totally worth it, I really love the result.
I added some texture to my polka dot panel: I mixed copic opaque white ink with water and used a slim brush to splatters all over it, I did the same with fossilized amber distress spritz for a touch of gold, and then the same again with peacock feathers distress spritz to match with the peacocks.
I cut a 5,25 x 4 inches scalloped panel out of shiny turquoise cardstock using the other die from the Frilly Frame Polka Dot die set, and attached my polka dot panel to it using 1mm foam tape. Next I stuck my scalloped panel to a 5,5 x 4,25 inches aqua panel using 1mm foam tape again, and then the whole thing to a white card base using liquid glue.
For my greeting, I used the Brilliant Banner 1 die set, and cut the different pieces out of cardstock that match with the images. I white heat embossed "Hoping you day is magical" from Garden Fairy on the main piece, assembled the banner using 1mm foam squares, attached it right at the top of my panel, and then stuck all the images using 1mm and 2mm foam squares. I added white blizzard nuvo drops to the fairies and butterflies wings to finish my card.
And that's it! I hope that those cute peacocks have inspired you to create your own colorful birdies. Thanks so much for stopping by, and see you next week!
Sunny Studio Supplies Used:
 Garden Fairy Stamps Shop at: Sunny Studio |
 Garden Fairy Dies Shop at: Sunny Studio |
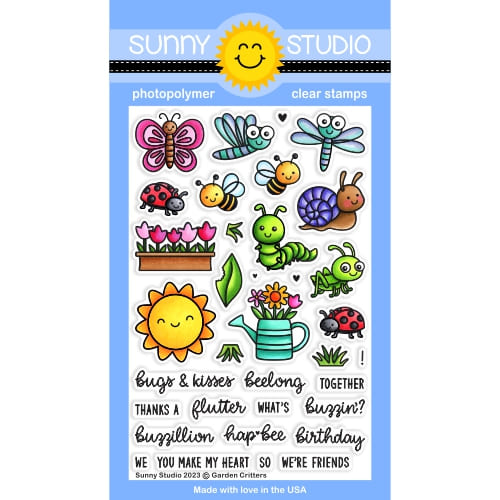 Garden Critters Stamps Shop at: Sunny Studio |
 Garden Critters Dies Shop at: Sunny Studio |
 Frilly Frames Polka-Dot Shop at: Sunny Studio |
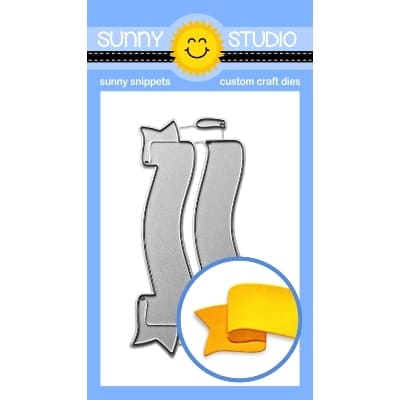 Brilliant Banner 1 Dies Shop at: Sunny Studio |
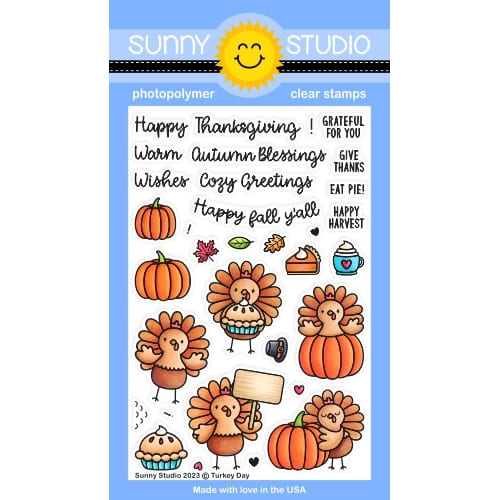 Turkey Day Stamps Shop at: Sunny Studio |
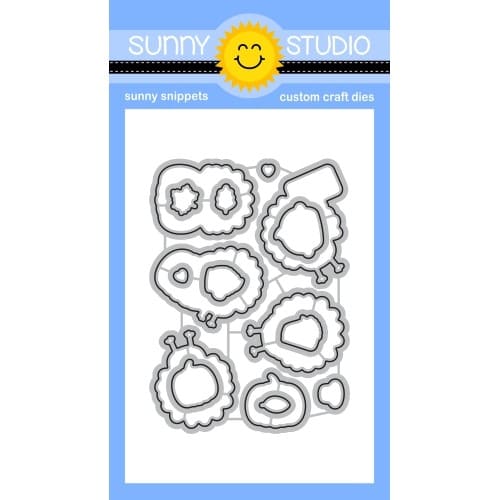 Turkey Day Dies Shop at: Sunny Studio |
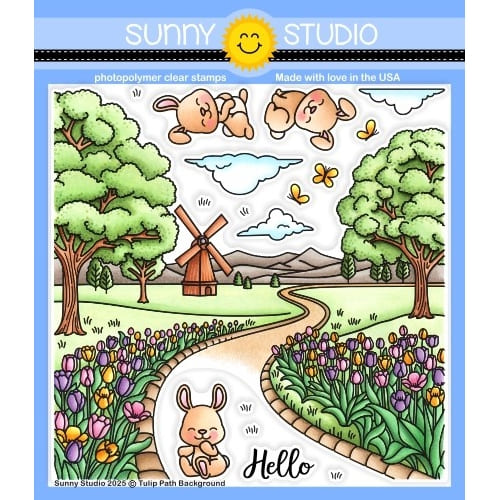 Tulip Path Background Stamps Shop at: Sunny Studio |
 Tulip Path Background Dies Shop at: Sunny Studio |
 Stitched Rectangle Dies Shop at: Sunny Studio |


No comments:
Post a Comment