Friday, March 7, 2025

Guest Designer Spotlight: Cards with Sara Zoppi

Hi crafty friends, Sara Zoppi here! Today I am happy to be here, guesting again for Sunny Studio Stamps! Today, I have two hoppy inspirations to show you, featuring some of the recently released products and some of the previously released ones. So, let's dive into the first card!

Bunnies are always so fun, and they're the typical critters for spring as we approach Easter. Anyway, I tried to use them differently, because they're perfect with flowers too!

Sunny Studio Stamps: Bunnyville Spring Card with Sara Zoppi

For my first card, I decided to pair the two bunnies included in the Balloon Number Stamps, but, instead of hanging some balloon stripes, I hand-drew some flowers in their hand. I also added two of the bunnies included in the previous released Bunnyville Stamps (which perfectly match dimensions and design) to create a garden scene: one is hanging out of a watering can, surrounded by colored flowers which I totally hand drew. 

Sunny Studio Stamps: Bunnyville Spring Card with Sara Zoppi

I kept the scene simple, and here are the Copic colors I used:

- Grey bunnies: W4 – W3 – E41 – E40 – E11 | RV34 – R20
- Brown bunnies: E23 – E55 – E42 – E30 – E50 – E11 | RV34 – R20
- Watering can: BG18 – BG57 – BG53
- Flowers: R14 – YR68 – R22 – R21 – Y38
- Greenery: G43 – G94 – G20

Sunny Studio Stamps: Bunnyville Spring Card with Sara Zoppi

As you might see, there are also small details in black. I used a fine black liner pen to add them, and I thought they worked well with the simple design. I then moved to the sentiment, from the Big Bunny Stamps, which I white heat-embossed on black cardstock. I also die-cut it using coordinating dies (I cut it twice to get some depth) and glued it down in the top right corner. I directly stamped the word spring which comes from the same "Big Bunny" stamp. To complete the card, I trimmed the scene to 5" x 3.75", added a slightly larger green sparkly cardstock, and then a 5.75"x 4.5" grey patterned paper. And here's the finished look!

Sunny Studio Stamps: Big Bunny Mother's Day Card with Sara Zoppi (featuring Balloon Alphabet, Majestic Meadow)

For my second inspiration, I went for a shaker card. When I saw all the small bunnies included in the new release from the Tulip Path Background Stamps, I thought it would have been perfect to match them with the Big Bunny Stamps (which I love, as well as the Big Panda and the giant bear from Holiday Hugs). I created a mum card. 

I first stamped the bunnies in light brown and colored them all using Copics (E23 – E43 – E42 – E41 – E40 – RV34 – R20). I also stamped the bouquet of tulips with a darker copic friendly brown ink and I colored it too (R46 – R14; RV09 – RV55; YR68 – YR65; Y38 – Y35 – Y32; G43).

Sunny Studio Stamps: Big Bunny Mother's Day Card with Sara Zoppi (featuring Balloon Alphabet, Majestic Meadow)

I die-cut everything with coordinating dies and the big bunny arms to hang the bouquet. I defined all the eyes with a black fineliner: I think this gives a great touch when stamping with different colors, especially light colors.

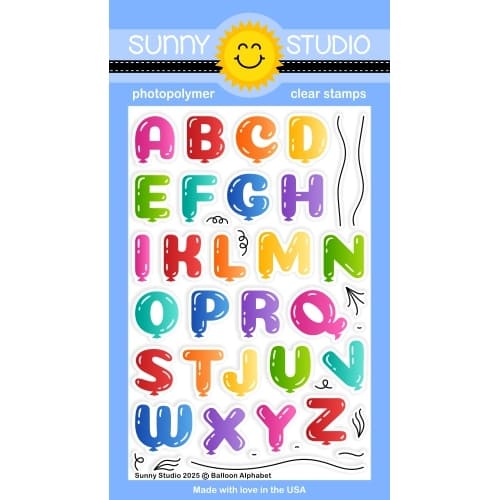
I then moved to the rest of the card: I used the recently released Balloon Alphabet Stamps to stamp the MUM letters with coordinating inks. I tried to avoid inking the balloon curling ribbon and I used coordinating pencils to give some depth. I white heat embossed the first part of the sentiment, which comes from Punny Fruit Greetings Stamps, on some brown cardstock, and then I moved into the background.

Sunny Studio Stamps: Big Bunny Mother's Day Card with Sara Zoppi (featuring Balloon Alphabet, Majestic Meadow)

I used the new Majestic Meadow Stamps to stamp my background, but I preferred to keep it simple and stamp it only with light brown. I trimmed a white frame from cardstock sized to 4" x 5.25" and I used foam tape and clear acetate to attach the three bunnies and the sentiment. I added some Iridescent Pastel Confetti and attached everything to my stamped background. And here's the finished result!

Thanks for stopping by! I really hope you like my projects and you will be inspired to create something!

Sunny Studio Supplies Used:

Bunnyville Stamps
Bunnyville Stamps
Shop at:
Sunny Studio
Bunnyville Dies
Bunnyville Dies
Shop at:
Sunny Studio
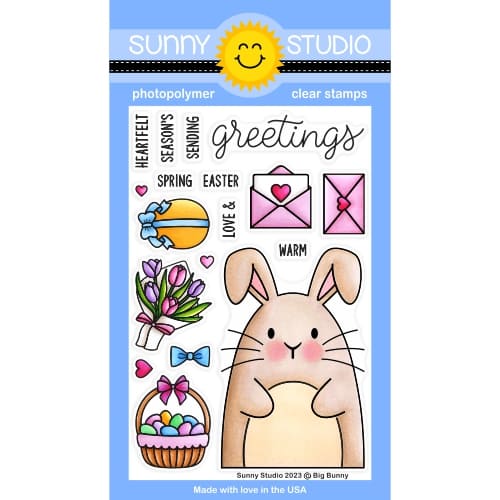
Big Bunny Stamps
Big Bunny Stamps
Shop at:
Sunny Studio
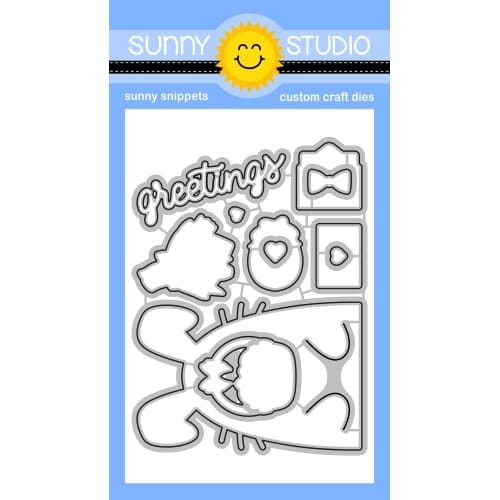
Big Bunny Dies
Big Bunny Dies
Shop at:
Sunny Studio
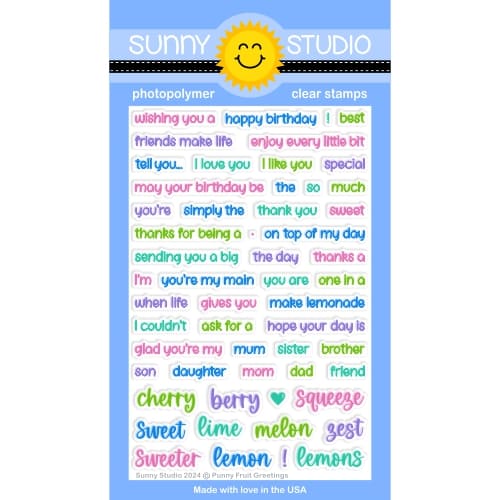
Punny Fruit Greetings
Shop at:
Sunny Studio
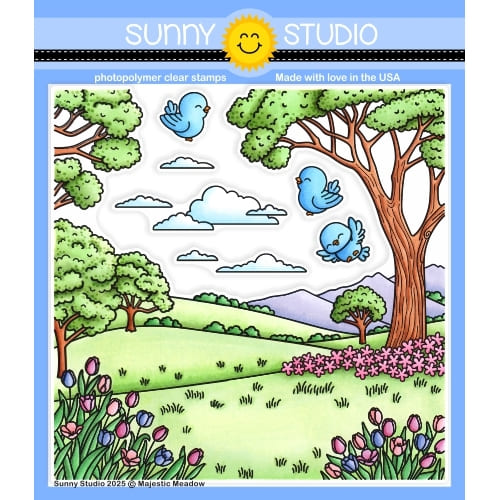
Majestic Meadow Stamps
Shop at:
Sunny Studio
Majestic Meadow Dies
Shop at:
Sunny Studio
Tulip Path Background Stamps
Shop at:
Sunny Studio
Tulip Path Background Dies
Shop at:
Sunny Studio
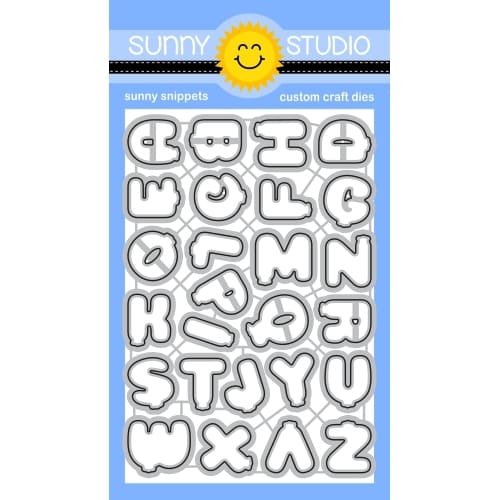
Balloon Alphabet Stamps
Shop at:
Sunny Studio
Balloon Alphabet Dies
Shop at:
Sunny Studio
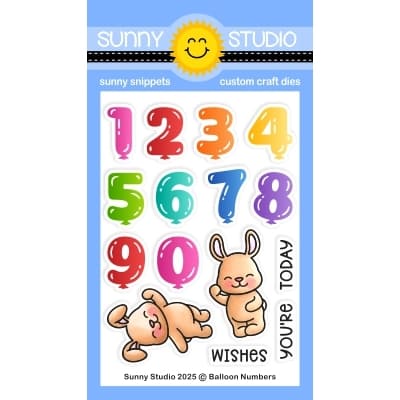
Balloon Numbers Stamps
Shop at:
Sunny Studio
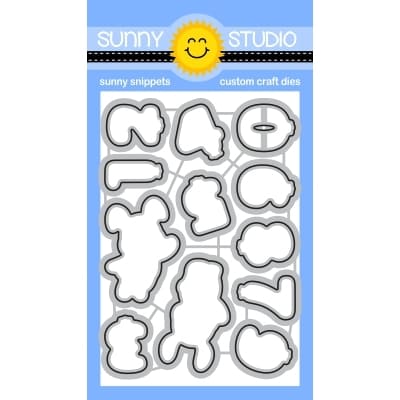
Balloon Numbers Dies
Shop at:
Sunny Studio

Thursday, March 6, 2025

Balloon Alphabet Card with Marine

Hello crafty friends, Marine here, I'm happy to be back with this rainbow themed friendship card featuring a mix & match of images from different sets. Since St Patrick's Day is round the corner, I wanted to create a lucky card with rainbow colors, and the Balloon Alphabet was the perfect fit to make the sentiment.

Sunny Studio Stamps: Balloon Alphabet Focused Friendship Card by Marine Simon (featuring Garden Fairy, Little Birdie, Rounded Rectangle Mat Dies)

I started off by cutting a large Rounded Rectangle Mat panel out of Strathmore bristol smooth cardstock to create a colorful cloudy rainbow sky using a cloud stencil from my stash along with oxide inks: spun sugar + worn lipstick, dried marigold + spiced marmalade, squeezed lemonade + mustard seed, shabby shutters + mowed lawn, and tumbled glass + broken china. I splattered water all over my panel and dried it with a paper towel. Next I mixed copic opaque white ink with water and used a slim brush to add more splatters to my panel, and then I did the same with black soot oxide ink for contrast and with fossilized amber distress spritz for gold sparkles. Once my panel was dry, I attached it to a 5,5 x 4,25 inches Polka Dot Parade blue paper using 1mm foam tape, and then to a white card base using liquid glue.

Sunny Studio Stamps: Balloon Alphabet Focused Friendship Card by Marine Simon (featuring Garden Fairy, Little Birdie, Rounded Rectangle Mat Dies)

Next I stamped my images on 110lb Neenah solar white cardstock using an alcohol marker friendly black ink. I cut them all using the coordinating dies, and colored everything using my Ohuhu markers and my Graph'it brush markers. Here is a detailed list of the stamp sets I used: • Garden Fairy - fairies • Little Birdie - birds, birdhouses, branches • Chubby Bunny + Chickie Baby - flowers • Tulip Path Background - butterflies.

Sunny Studio Stamps: Balloon Alphabet Focused Friendship Card by Marine Simon (featuring Garden Fairy, Little Birdie, Rounded Rectangle Mat Dies)

For my greeting, I stamped the word "Lucky" on 110lb Neenah solar white cardstock using the Balloon Alphabet along with Lawn Fawn premium dye inks, from left to right: peachy keen, carrot, sunflower, cilantro and kiddie pool. For this particular project, I wanted those letters to be real letters and not balloons, so before stamping them, I masked the balloon details with washi tape, and after die cutting the letters, I just trimmed off the excess of paper below each letter with scissors. I love the white highlights on the letters and the rounded shape is super cute! I stuck everything, images and the word "Lucky", on my rainbow panel using 1mm and 2mm foam squares, and stamped "To have you as my friend" from Clucky Chickens right below "Lucky" to complete my greeting.

To finish my card, I added highlights and details to the images using a white gel pen, and applied white blizzard nuvo drops to the fairies wings to make them super shiny. And that's it! I really love how everything coordinates so nicely, the greeting, the birdhouses and the cloudy sky, it's lovely! 

I hope that you like it too. Thanks so much for stopping by, and see you next week!

Sunny Studio Supplies Used:

Chubby Bunny Stamps
Chubby Bunny Stamps
Shop at:
Sunny Studio
Chubby Bunny Dies
Chubby Bunny Dies
Shop at:
Sunny Studio
Chickie Baby Stamps
Chickie Baby Stamps
Shop at:
Sunny Studio
Chickie Baby Dies
Chickie Baby Dies
Shop at:
Sunny Studio
Garden Fairy Stamps
Garden Fairy Stamps
Shop at:
Sunny Studio
Garden Fairy Dies
Garden Fairy Dies
Shop at:
Sunny Studio
Little Birdie Stamps
Shop at:
Sunny Studio
Little Birdie Dies
Little Birdie Dies
Shop at:
Sunny Studio
Clucky Chickens Stamps
Shop at:
Sunny Studio
Tulip Path Background Stamps
Shop at:
Sunny Studio
Tulip Path Background Dies
Shop at:
Sunny Studio
Balloon Alphabet Stamps
Shop at:
Sunny Studio
Balloon Alphabet Dies
Shop at:
Sunny Studio
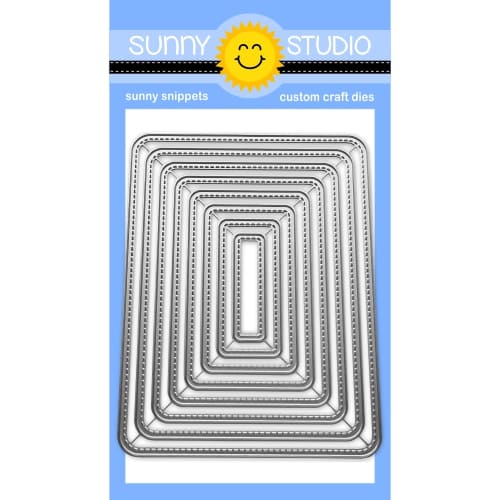
Rounded Rectangle Mat Dies
Shop at:
Sunny Studio
Polka-dot Parade 6x6 Paper
Shop at:
Sunny Studio

Wednesday, March 5, 2025

Majestic Meadow Card with Tina

Hello crafters, it’s Tina and today I am making a fun oval shaped card using the Majestic Meadow stamp and die set. What makes this set so great is not only the wonderful scene but also the dies that give you lots of options on how to cut this background. For this project I used one of the separate dies that cuts the tulip borders.

Sunny Studio Stamps: Majestic Meadows Friendship Card by Tina Henkens (featuring Stitched Oval Dies, Scalloped Oval Mat Dies, Hello Word Die, Party Pets)

But let’s start with preparing a white oval card base with the largest of the Stitched Ovals 2While I had my die cutting machine out, I also created a white scalloped oval (largest of the Scalloped Oval Mat 3 dies).

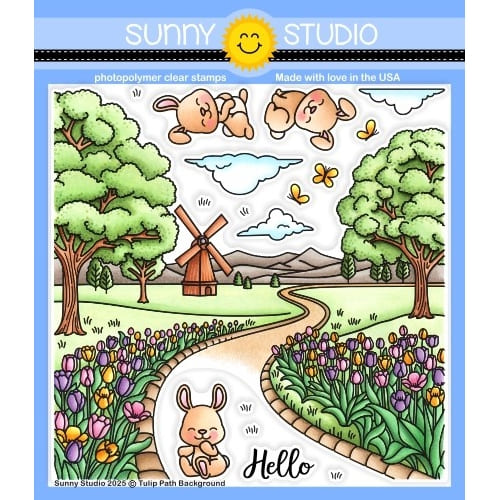
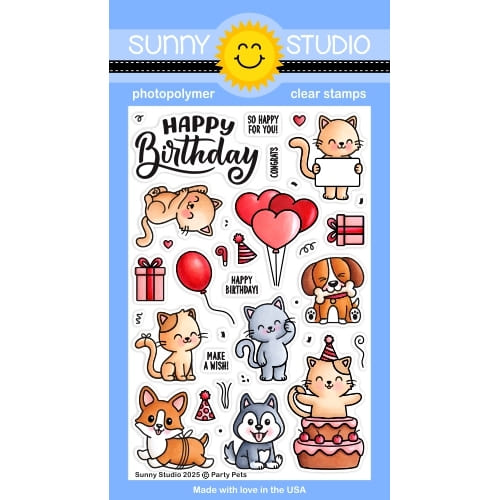
Next, I stamped the entire background (Majestic Meadow stamp), some cute kitties (Party Pets), three clouds (Tulip Path background) and enjoyed the coloring with my Copics!

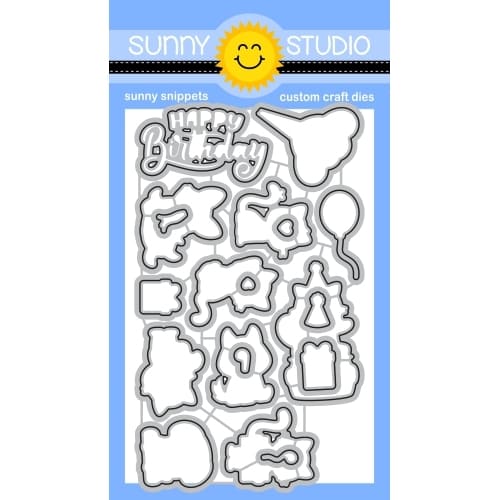
I wanted to place the cats as if they stood ‘in the middle of the scene’. This is where the separate dies from the Majestic Meadow stamp come in handy! I used one of these dies to cut the tulips from the left bottom corner. The rest of the scene was cut with the border die and turned into on oval shape using the largest of the Stitched Ovals dies.

Sunny Studio Stamps: Majestic Meadows Friendship Card by Tina Henkens (featuring Stitched Oval Dies, Scalloped Oval Mat Dies, Hello Word Die, Party Pets)

To piece everything back together into a ‘new background’ I cut another white oval with the same die. And finally, this die was also used to ‘curve’ the bottom of the tulip piece.

I inked up my white oval with Antique Linen Distress Oxide and glued it to the white scalloped oval. This whole piece was then mounted to the oval card base.

Next, I glued the hills and tree part onto the beige oval. I used some foam tape for the tulips so I could put the cats ‘behind’ this flower border. Then I glued the three clouds in place.

For my sentiment, I stacked three layers of the Hello Word die from green card stock and one top layer from white paper. I love how this Majestic Meadow stamp and die set gives you so many options in creating custom made backgrounds! I hope you will enjoy this set too!

Thank you for joining me and happy crafting!

Sunny Studio Supplies Used:

Stitched Oval Dies
Stitched Oval Dies
Shop at:
Sunny Studio
Scalloped Oval Mat 3 Dies
Shop at:
Sunny Studio
Stitched Oval 2 Dies
Shop at:
Sunny Studio
Majestic Meadow Stamps
Shop at:
Sunny Studio
Majestic Meadow Dies
Shop at:
Sunny Studio
Tulip Path Background Stamps
Shop at:
Sunny Studio
Tulip Path Background Dies
Shop at:
Sunny Studio
Party Pets Stamps
Party Pets Stamps
Shop at:
Sunny Studio
Party Pets Dies
Party Pets Dies
Shop at:
Sunny Studio
Hello Word Die
Hello Word Die
Shop at:
Sunny Studio

Tuesday, March 4, 2025

Rounded Rectangle Mat Die Focused Card with Amanda

Hey crafty friends, Amanda here! I’m glad you’re here today with me on the Sunny Studio Stamps blog! Today I’m sharing a sweet little Hello card!  

Sunny Studio Stamps: Rounded Rectangle Mat Die Focused Card by Amanda Fitterer (featuring Tulip Path Background, Dotted Diamond Dies)

I was playing around with the Rounded Rectangle Mat Dies and thought it would be cool to create a little background that’s 3 separate rectangles. I used the 3rd smallest of the 8 nested rectangles.

First, I stamped the Tulip Path Background Stamp with black ink. Then I die cut the 3 rectangles out of my stamped image. I also stamped the bunny and Hello sentiment from the Tulip Path Background Stamp.

I colored the rectangles and bunny with Copic markers. I die cut the bunny and sentiment with the coordinating die set.

Bunny: E51, E53, E55, E57, W7, R00, R20, R22
Trees: BG90, BG93, BG96, BG99 | YG93, YG95, YG97 | E71, E74, E79 | G94, G99
Windmill: Y32, Y35, E30, E31, E33, E35, E70, E71
Flowers: G43, G36, Y21, Y35
Grass: YG61, YG63, G40
Path: E40, E41, E42, E43, W0, W2, W4, W6
Mountains: G20

Sunny Studio Stamps: Rounded Rectangle Mat Die Focused Card by Amanda Fitterer (featuring Tulip Path Background, Dotted Diamond Dies)

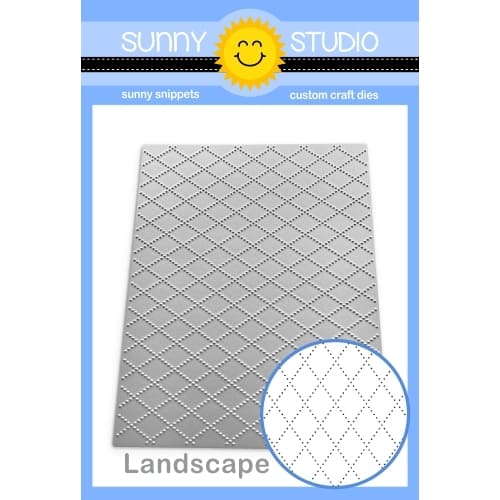
I ran a piece of brown cardstock trimmed to 3” x 5.5” through my die cutting machine with the Dotted Diamond Landscape Die. I glued this to the center of my A2 card base. I put foam tape behind each of my rectangles and adhered them to the card. I applied 3D foam squares to the bunny and sentiment and then adhered them to the card as well.

I love the neutral, calming colors of this card. And that little bunny is just too cute! Thanks for coming to the blog today and hanging out with me! I hope you find some crafty time today!

Sunny Studio Supplies Used:

Dotted Diamond Landscape
Shop at:
Sunny Studio
Tulip Path Background Stamps
Shop at:
Sunny Studio
Tulip Path Background Dies
Shop at:
Sunny Studio
Rounded Rectangle Mat Dies
Shop at:
Sunny Studio

Monday, March 3, 2025

Background Basics 2 Card with Leanne

Hi everyone! Leanne here. It's usually this time during the winter months that I start to get really anxious for spring. I just couldn't resist brightening my spirits and craft desk with creating a card with a pretty spring color palette.  

Sunny Studio Stamps: Background Basics 2 Spring Themed Card by Leanne West (featuring Gift Card Envelope Dies, Rounded Rectangle Mat Dies, Lovely Lilacs)

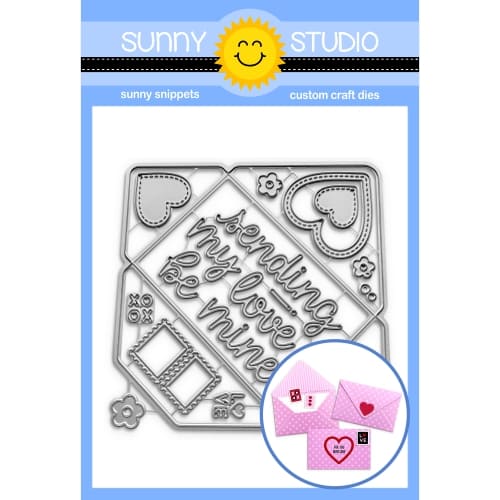
I have used a mix of Sunny Studio products for this design including the new Basic Backgrounds 2 stamps. Instead of using the grid pattern stamp to create a background, I have used it to give the envelope a subtle pattern. After die cutting the envelope, I stamped the pattern before folding and adhering the bottom & sides. 

Here are the additional stamps and dies I've used to create this card: 

Rounded Rectangle Mat dies (I used the largest in the set)

Gift Card Envelope dies (for the envelope and hearts)

Lovely Lilacs stamps & coordinating dies

Big Bunny stamps & coordinating dies (for the greeting)

Sunny Studio Stamps: Background Basics 2 Spring Themed Card by Leanne West (featuring Gift Card Envelope Dies, Rounded Rectangle Mat Dies, Lovely Lilacs)

To stamp the lilacs, their foliage, and the greeting, I used some Pink Fresh Studio inks. The pink shades are Ballet Slipper, Sparkling Rose, & Bubble Gum. The green shades are Fresh Pear, Grassy Knoll, & Key Lime. 

Sunny Studio Supplies Used:

Lovely Lilacs Stamps
Shop at:
Sunny Studio
Lovely Lilacs Dies
Lovely Lilacs Dies
Shop at:
Sunny Studio
Big Bunny Stamps
Big Bunny Stamps
Shop at:
Sunny Studio
Big Bunny Dies
Big Bunny Dies
Shop at:
Sunny Studio
Gift Card Envelope Die
Shop at:
Sunny Studio
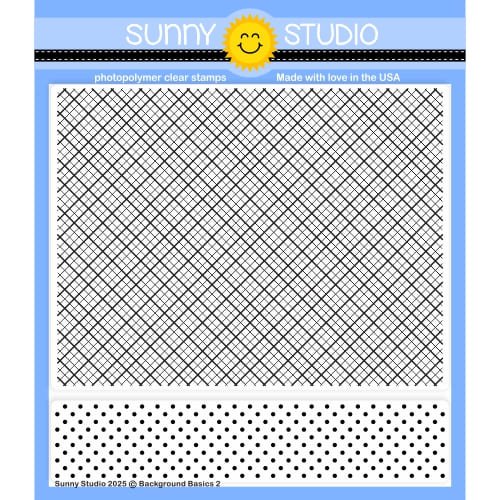
Background Basics 2 Stamps
Shop at:
Sunny Studio
Rounded Rectangle Mat Dies
Shop at:
Sunny Studio