Friday, October 25, 2024

Brilliant Banner 4 Die Focused Card with Nicky

Hello everyone this is Nicky with you today on the Sunny Studio Stamps blog and I have this new card to share with you which features both new and old Sunny products.

Sunny Studio Stamps: Brilliant Banner 4 Die Focused Passionate Penguins Card by Nicky Meeks (featuring Min Mat & Tag Dies, Diagonal & Straight Stripes Stencils, Buffalo Plaid Dies, Basic Mini Shape Dies)

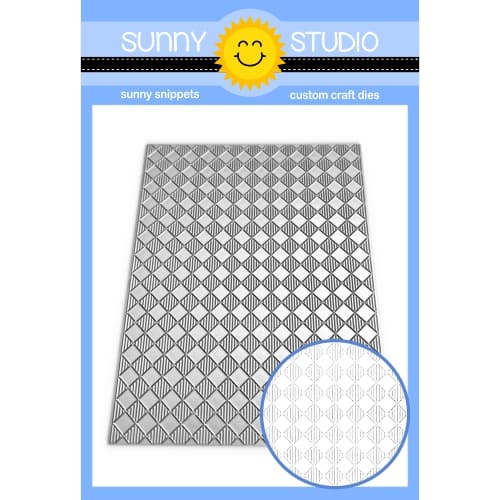
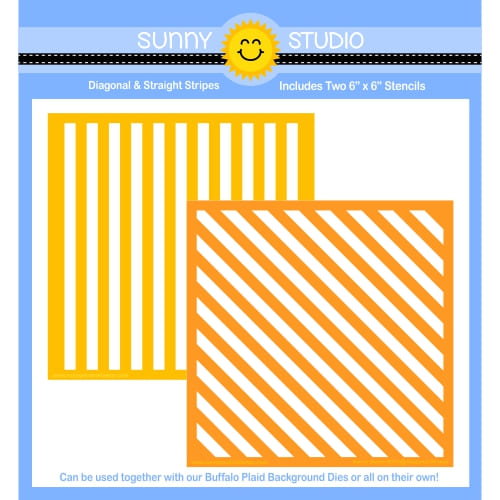
I die cut an A2 panel of white cardstock using the Buffalo Plaid Diagonal Die. I then layered the diagonal stencil, using the Diagonal & Straight Stripes Stencils, from the set of 2 over this panel and ink blended with Spun Sugar Distress Oxide Ink. I turned the stencil to the other diagonal and ink blended again. This panel would form the backdrop to my card and was glued to a card base.

I die cut more white cardstock using the Mini Mat & Tag 1 Die. I masked just inside the stitched line and ink blended with Salvaged Patina Distress Oxide Ink fading it out to nothing toward the bottom. I backed this panel with a panel of white craft foam and adhered it centred on the card base.

Sunny Studio Stamps: Brilliant Banner 4 Die Focused Passionate Penguins Card by Nicky Meeks (featuring Min Mat & Tag Dies, Diagonal & Straight Stripes Stencils, Buffalo Plaid Dies, Basic Mini Shape Dies)

I stamped and coloured the image from Passionate Penguins.  I used the following Copic markers:

Penguins - T7, T6, T5, C3, C1, C0, Y38, YR04
Car - RV55, RV23, R21, RV10, C3, C1, C0, T3, T2, T1, BG11, G00
Tires - T7, T6, T5
Steering Wheel - E44, E43

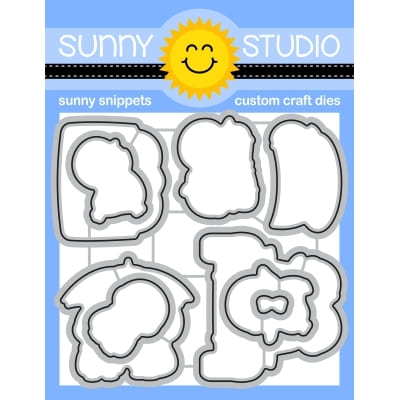
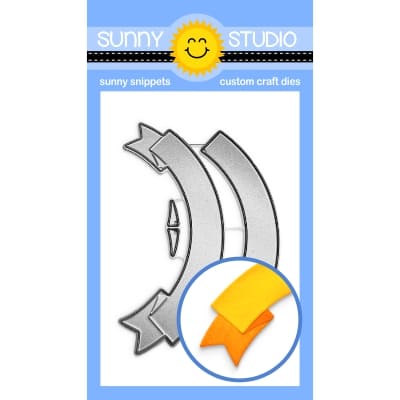
The image was die cut, using the Passionate Penguins Dieand applied with dimensional foam tape. I die cut and glued together the Brilliant Banner 4 Die. I coloured the little parts that show 'the back' with R21 and T1, I stamped the sentiment and then applied the banner to the card with foam tape.

Sunny Studio Stamps: Brilliant Banner 4 Die Focused Passionate Penguins Card by Nicky Meeks (featuring Min Mat & Tag Dies, Diagonal & Straight Stripes Stencils, Buffalo Plaid Dies, Basic Mini Shape Dies)

To pretty things up even further I chose a couple of flower images from some of the Basic Mini Shape Die sets and I die cut pale pink, pale blue and white cardstock several times so that I had a bunch of flowers to choose from in different colour combinations and then I glued them to the corners of the feature panel.

Another card done and I will be back here on the blog next Friday with something brand new.  Enjoy a wonderful weekend!

Sunny Studio Supplies Used:

Basic Mini Shape Dies
Shop at:
Sunny Studio
Passionate Penguins Stamps
Shop at:
Sunny Studio
Passionate Penguins Dies
Shop at:
Sunny Studio
Mini Mat & Tag 1 Dies
Shop at:
Sunny Studio
Brilliant Banner 4 Dies
Shop at:
Sunny Studio
Buffalo Plaid Diagonal Die
Shop at:
Sunny Studio
Diagonal & Straight Stripes Stencils
Shop at:
Sunny Studio

Thursday, October 24, 2024

Inside Greetings Seasons Card with Marine

Hi crafty friends, Marine here with this new holiday slimline card showcasing friends from the North Pole, being merry and happy on the ice floe. When the Roly Poly Penguins were released, I knew that I'd pair them with the Holiday Hugs bear at some point, so I'm happy to finally be sharing this lovely card with you.

Sunny Studio Stamps: Inside Greetings Seasons & Roly Poly Holiday Card by Marine Simon (featuring Holiday Hugs, Scenic Route, Notebook Dies)

I started off by creating an Arctic landscape on an 8,5 x 3,5 inches Strathmore bristol smooth panel, dividing my panel in three sections. At the bottom, I created a cold sea using blueprint sketch and chipped sapphire oxide inks. In the middle, I did the ice floe using salvaged patina and peacock feathers oxide inks. And at the top, I did a purple sky using shaded lilac, wilted violet and villainous potion oxide inks.

Sunny Studio Stamps: Inside Greetings Seasons & Roly Poly Holiday Card by Marine Simon (featuring Holiday Hugs, Scenic Route, Notebook Dies)

While my panel was drying, I stamped my images on 80lb Neenah solar white cardstock using an alcohol marker friendly black ink, I cut them using the matching dies, and colored everything using my Ohuhu markers and my Graph'it brush markers.

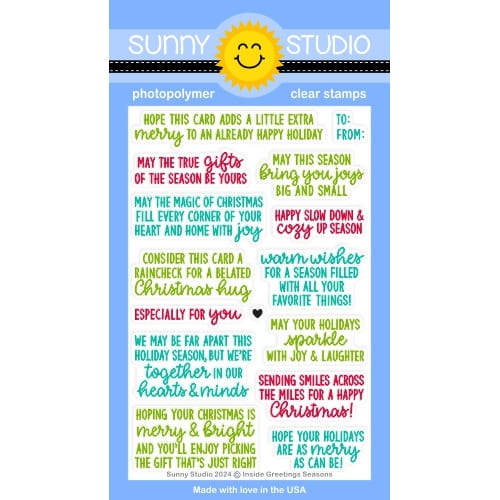
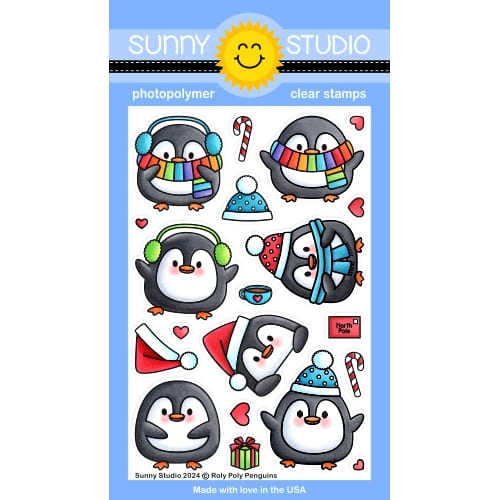
Here is a detailed list of the stamp sets I used: • Holiday Hugs - polar bear, large present, snowflakes • Scenic Route - strings of lights • Roly Poly Penguins - penguins, candy canes, small presents.

Sunny Studio Stamps: Inside Greetings Seasons & Roly Poly Holiday Card by Marine Simon (featuring Holiday Hugs, Scenic Route, Notebook Dies)

I attached all the images on my panel using 1mm and 2mm foam squares, white heat embossed my Inside Greetings Seasons on a Notebook Photo Corners black banner that I stuck below the polar bear, added highlights and details to the images using a white gel pen, and finally added some white blizzard nuvo drops to the icebergs, pompoms, bow and lights for an extra sparkling touch. 

And that's it! Thanks so much for stopping by, and see you next time!

Sunny Studio Supplies Used: 

Scenic Route Stamps
Scenic Route Stamps
Shop at:
Sunny Studio
Scenic Route Dies
Scenic Route Dies
Shop at:
Sunny Studio
Notebook Photo Corners Dies
Shop at:
Sunny Studio
Holiday Hugs Stamps
Holiday Hugs Stamps
Shop at:
Sunny Studio
Holiday Hugs Dies
Holiday Hugs Dies
Shop at:
Sunny Studio
Inside Greetings Seasons
Shop at:
Sunny Studio
Roly Poly Penguin Stamps
Shop at:
Sunny Studio
Roly Poly Penguin Dies
Shop at:
Sunny Studio

Wednesday, October 23, 2024

Toasty Hugs Card with Tina

Hello crafters, Tina here and today I made a fun Christmas card with lots of layers featuring the adorable cuties from the Toasty Hugs stamp and die set.

Sunny Studio Stamps: Toasty Hugs Holiday Card by Tina Henkens (featuring Frilly Frame Dies, Dotted Diamond Dies, Window Trio Dies, Merry Word Die, Snowflake Circle Frame Dies)

Opting for a vertical design this project starts with a white card base, next I cut a blue panel from a snowflake paper (Frilly Frames Stripes Die, Holiday Cheer papers). I added more subtle interest to this piece by running it through the machine with the Dotted Diamond Portrait die.

The following layer is made from white card stock using the Window Trio Square dies. I cut this window from a large piece of paper and used my trimmer to cut a small border around it so I could add thin foam strips to attach it to the blue panel.

I kept the square white pieces from the die cut and used them to create little snowbanks for my mini scenes and sentiment. The ‘Christmas’ word (Reindeer Games) was stamped with Versafine Onyx Black ink. After cutting the large Merry Word 3 times from a red paper in my stash I glued them all together giving the die cut stability and dimension. I used tiny slivers of foam tape to adhere the word to the windows shape.

Sunny Studio Stamps: Toasty Hugs Holiday Card by Tina Henkens (featuring Frilly Frame Dies, Dotted Diamond Dies, Window Trio Dies, Merry Word Die, Snowflake Circle Frame Dies)

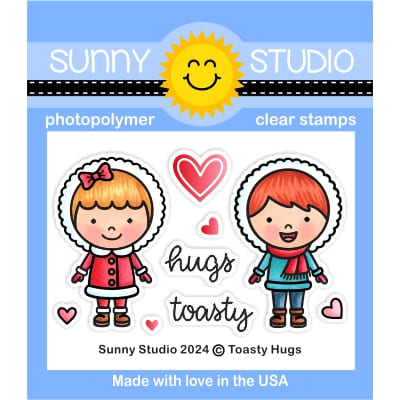
For the mini scenes I used the two cuties from the Toasty Hugs stamp, strings of twinkly lights and packages (Holiday Express) and lastly the igloo from Winter ScenesI selected pink, red and vibrant blue Copic markers for my coloring, adding snowflakes with a white gel pen.

After putting the little snowbanks in place, I added all the other elements for the scenes with foam tape. For extra interest I mounted even more snowflakes to the background by using one of my favorite dies (Snowflake Circle Frame). This die is a must have for all your winter and holiday cards, as it cuts a bunch of snowflakes in one pass. Love that! I then glued some Red Zircon Jewels to the centers of the snowflakes. 

I had a great time creating this adorable card and I hope you got inspired by the design! Thank you for visiting the blog and happy crafting!

Sunny Studio Supplies Used:

Merry Word Die
Merry Word Die
Shop at:
Sunny Studio
Holiday Express Stamps
Shop at:
Sunny Studio
Holiday Express Dies
Shop at:
Sunny Studio
Window Trio- Square Die
Shop at:
Sunny Studio
Holiday Cheer 6x6 Paper
Shop at:
Sunny Studio
Frilly Frames Stripes Die
Shop at:
Sunny Studio
Snowflake Circle Frame
Shop at:
Sunny Studio
Winter Scenes Stamps
Shop at:
Sunny Studio
Winter Scenes Dies
Winter Scenes Dies
Shop at:
Sunny Studio
Reindeer Games Stamps
Shop at:
Sunny Studio
Dotted Diamond Portrait
Shop at:
Sunny Studio
Toasty Hugs Stamps
Toasty Hugs Stamps
Shop at:
Sunny Studio
Toasty Hugs Dies
Toasty Hugs Dies
Shop at:
Sunny Studio

Tuesday, October 22, 2024

Squirrel Friends Card with Amanda

Well hello there, friends! It's Amanda sharing a super sweet Autumn card I made with you today! I love being able to craft and share my creations with you! Keep scrolling to see how I created this card, featuring the Squirrel Friends Stamps, that I'm just NUTS about!

Sunny Studio Stamps: Squirrel Friends Fall Themed Card by Amanda Fitterer (featuring Pumpkin Patch Dies, Autumn Garland)

To create this card, I trimmed a piece of white cardstock to 3.25" x 6.25". I ink blended Catherine Pooler Buttercream and Apricot inks on the lower portion of the panel. I stamped some little leaves from the Squirrel Friends Stamps along the top and middle portion of the panel using the same inks.  

Next, I stamped out my squirrels, nuts and leaves from the Squirrel Friends Stamps. I colored them with Copic markers and then die cut them out with their coordinating dies. I added little white gel pen dots on their eyes to make them look that much more adorable!

Sunny Studio Stamps: Squirrel Friends Fall Themed Card by Amanda Fitterer (featuring Pumpkin Patch Dies, Autumn Garland)

Then, I grabbed the Pumpkin Patch Dies. These dies are so versatile, I've used them SO many times!  For this card, I cut each piece of the pumpkins two times. This gives me 6 pumpkins total to play with! I used Copic markers to color each one, making them all unique! I glued each piece of the pumpkin together with liquid glue.  

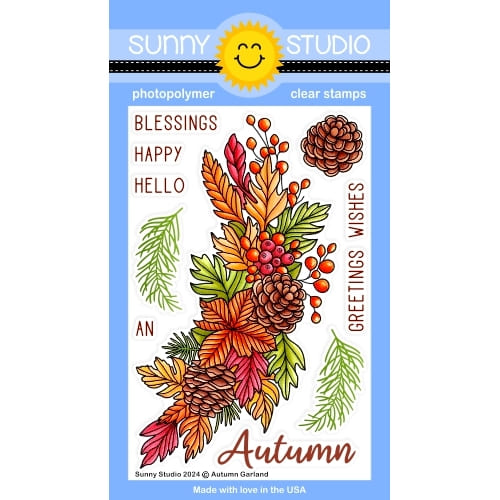
For my sentiment, I grabbed the Autumn Garland Stamps. I stamped the "GREETINGS" directly onto my card panel in black ink. For the "Autumn" piece, I stamped it with embossing glue ink on black cardstock, applied white embossing powder, and then melted the powder with a heat tool. I die cut it out with the coordinating die and put 3D foam tape behind it.

Sunny Studio Stamps: Squirrel Friends Fall Themed Card by Amanda Fitterer (featuring Pumpkin Patch Dies, Autumn Garland)

The next step was to assemble the card! I adhered each component to the card front with either liquid glue (for the background pieces) or 3D foam squares for the foreground elements.

Hope you enjoyed this card and THANK YOU for coming to the Sunny Studio Blog today! 

Sunny Studio Supplies Used:

Squirrel Friends Stamps
Shop at:
Sunny Studio
Squirrel Friends Dies
Shop at:
Sunny Studio
Pumpkin Patch Dies
Pumpkin Patch Dies
Shop at:
Sunny Studio
Autumn Garland Stamps
Shop at:
Sunny Studio
Autumn Garland Dies
Autumn Garland Dies
Shop at:
Sunny Studio

Monday, October 21, 2024

Merry Mocha Card by Leanne

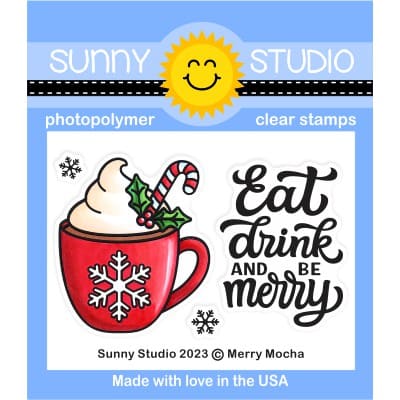
Hello everyone! Leanne here to share more holiday card inspiration. This one features the adorable little mugs from the Merry Mocha stamp set. I've repeated the image three times sitting atop a fun peppermint stripe border. 

Sunny Studio Stamps: Merry Mocha Christmas Card by Leanne West (featuring Layered Snowflake Frame Dies)

To recreate this card design you need the following Sunny Studio products:

This card is A2 size. For the top three quarters of the background, I blended on some Saltwater Taffy Distress Oxide Ink and generously splattered with thinned white paint. I added a one inch wide strip of the peppermint stripe patterned paper to the bottom.

Copics used to color the mugs: pink - R00, R30, R22; red - R22, R24, R27; green - G00, G03, G05; shading on whipped cream - YR30, R00; brown - E25, E44

Sunny Studio Stamps: Merry Mocha Christmas Card by Leanne West (featuring Layered Snowflake Frame Dies)

I added the mug images spaced evenly along the top edge of the stripe border. I then tied some white and silver baker's twine just below the mugs. 

To give the background some interest, I added the snowflakes. I die cut the snowflakes from white card stock and them lightly sprayed with some Barn Door Distress Spritz. This gives them a faint red tint and sparkle.

Sunny Studio Supplies Used: 

Snowflake Circle Frame
Shop at:
Sunny Studio
All Is Bright Paper
All Is Bright Paper
Shop at:
Sunny Studio
Big Bunny Stamps
Big Bunny Stamps
Shop at:
Sunny Studio
Big Bunny Dies
Big Bunny Dies
Shop at:
Sunny Studio
Merry Mocha Stamps
Merry Mocha Stamps
Shop at:
Sunny Studio
Merry Mocha Dies
Merry Mocha Dies
Shop at:
Sunny Studio