Saturday, August 3, 2024

Guest Designer Spotlight: Cards with Kavya

Hi, it's Kavya here with you today! I've created two cards using a variety of products from the latest release, combined with some of my favorite items from my stash. I love Sunny Studio Stamps because their thoughtfully designed stamps make it easy to mix and match with older releases, adding great versatility. This release did not disappoint!

Sunny Studio Stamps: Summer Jar Mug Summer Themed Cards by Kavya (featuring Tropical Paradise, Sweet Word Die, Juicy Watermelon dies)

My first card uses the new Summer Jar Mug and Juicy Watermelon dies. I started off by using some green striped paper from Striped Silly paper pack. I ink blended the center with some coordinating dye ink to make it darker and create a focal point. Then, I diecut the jars and watermelon out of cardstock. To make them look realistic, I added a bunch of details using white gel pen and copic markers. 

Sunny Studio Stamps: Summer Jar Mug Summer Themed Cards by Kavya (featuring Tropical Paradise, Sweet Word Die, Juicy Watermelon dies)

To continue with the tropical theme, I stamped and colored a bunch of images from Tropical Paradise stamp set. I finished off the card with sentiments from Sweet Word die and Beach Bus stamp set.

Sunny Studio Stamps: Beach Bus Summer Themed Cards by Kavya (featuring Ocean View, Beach Babies)

My next card reminds me of a fun beach vacation I took a few weeks ago! I started off by ink blending my scene using orange and yellow dye inks. For the sand, I used some tan cardstock. I ink blended the cardstock with coordinating dye ink to add some dimension. For the beach, I used Ocean View stamp set. 

Sunny Studio Stamps: Beach Bus Summer Themed Cards by Kavya (featuring Ocean View, Beach Babies)

Then I colored a bunch of images from Beach Bus and Beach Babies stamp sets. Adhered all the elements on my background and finished off my card with a sentiment from Beach Bus! 

That's it folks! I hope these projects inspire you :) Happy crafting!

Sunny Studio Supplies Used:

Sweet Word Die
Sweet Word Die
Shop at:
Sunny Studio
Tropical Paradise Dies
Shop at:
Sunny Studio
Tropical Paradise Stamps
Shop at:
Sunny Studio
Beach Babies Stamps
Beach Babies Stamps
Shop at:
Sunny Studio
Beach Babies Dies
Beach Babies Dies
Shop at:
Sunny Studio
Striped Silly 6x6 Paper
Shop at:
Sunny Studio
Ocean View Stamps
Ocean View Stamps
Shop at:
Sunny Studio
Ocean View Dies
Ocean View Dies
Shop at:
Sunny Studio
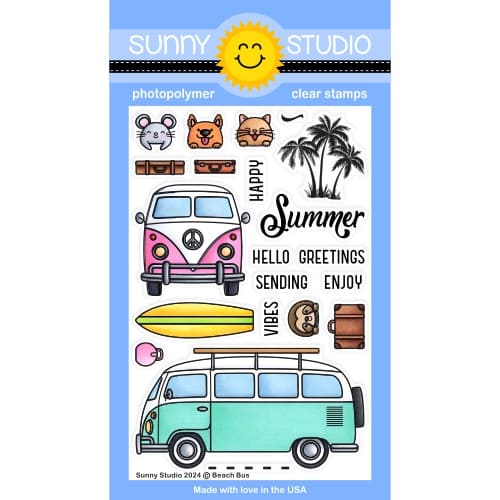
Beach Bus Stamps
Beach Bus Stamps
Shop at:
Sunny Studio
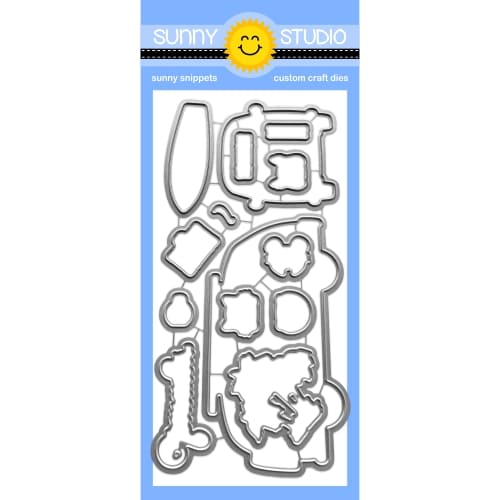
Beach Bus Dies
Beach Bus Dies
Shop at:
Sunny Studio
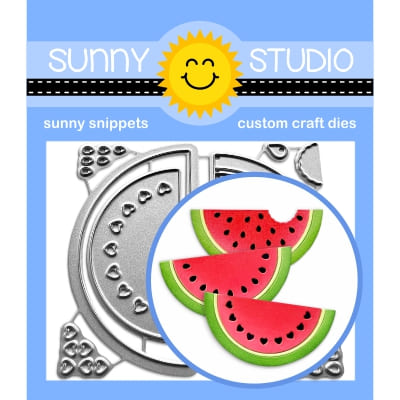
Juicy Watermelon Dies
Shop at:
Sunny Studio
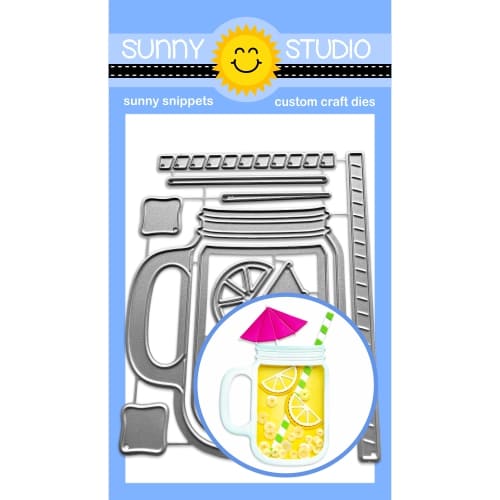
Summer Jar Mug Dies
Summer Jar Mug Dies
Shop at:
Sunny Studio

Friday, August 2, 2024

Scalloped Square Die Focused Card with Nicky

Hello everyone this is Nicky with you today on the blog where I'm sharing a new card featuring the Scalloped Square 2 Large Dies. Please read on for all the details.

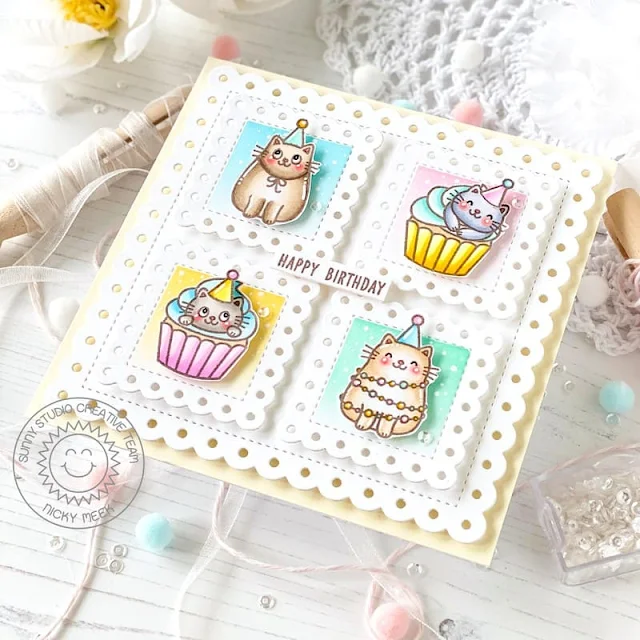
Sunny Studio Stamps: Scalloped Square Die Focused Birthday Cat Card by Nicky Meeks

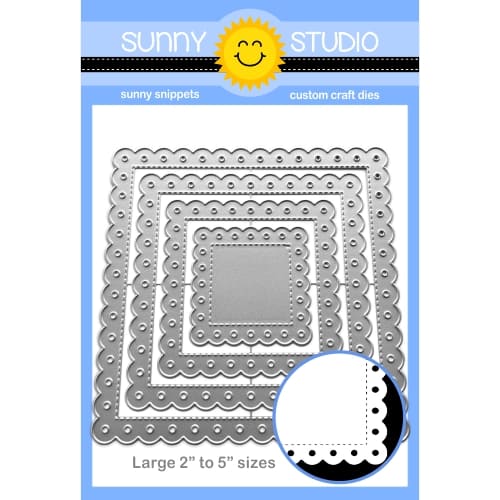
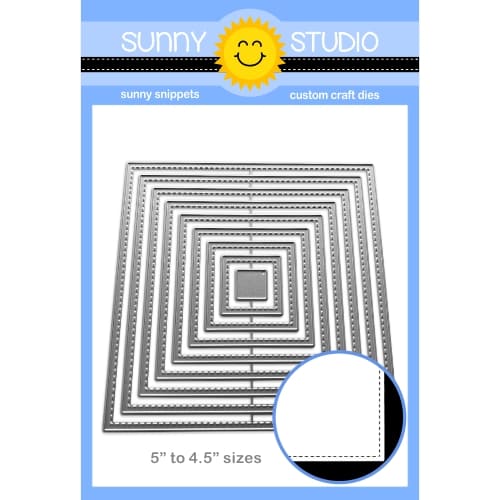
I took some sturdy white cardstock and die cut using the largest die from the Scalloped Square 2 Large Dies set. I then took the smallest die from the same set and die cut 4 smaller squares. I masked just inside the faux stitched line of each of the 4 small squares and ink blended using The Stamp Market inks in Fresh Pink, Minty, Sunshine and Breeze. I removed the masks, backed each square with foam tape and applied them to the large panel that I'd created.

Sunny Studio Stamps: Scalloped Square Die Focused Birthday Cat Card by Nicky Meeks

I stamped the images from Birthday Cat using Memento Ink in Rich Cocoa and I coloured with the following Copic marker combinations:

Cat (top left) - E44, E43, E41, W00
Cat (top right) - C3, C1, C0
Cat (lower right) - E31, E41, W00
Cat (lower left) - W4, W3, W2
Pink - RV63, RV02, RV00
Blue - BG01, BG00
Yellow - Y19, Y13, Y06
Green - BG32, BG11, G000

I fussy cut the images but you can purchase the coordinating Birthday Cat dies. I backed each image with foam tape and I applied to each of the backgrounds.

Sunny Studio Stamps: Scalloped Square Die Focused Birthday Cat Card by Nicky Meeks

I highlighted a few points with a white gel pen including dotting in some interest to the colour blended backgrounds. I applied the panel to a larger panel of cream cardstock with a layer of white craft foam sandwiched in between and I stamped the sentiment on a sentiment strip and applied this with a double layer of dimensional tape behind it so that it popped up between the feature squares. Lots of dimension with this project!

Thank you for coming by to read the blog today, I'll be back next Friday with something new.  Have a great weekend!

Sunny Studio Supplies Used:

Birthday Cat Stamps
Birthday Cat Stamps
Shop at:
Sunny Studio
Scalloped Square 2 Large Die
Shop at:
Sunny Studio

Thursday, August 1, 2024

Fresh Lemon Die Focused Tags with Marine

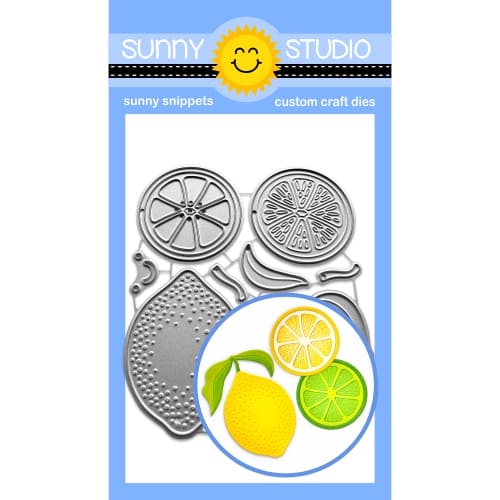
Hello crafty friends, Marine here, I'm back with this lovely trio of citrus Scalloped Square Tags showcasing Fresh Lemon, a die set that I like a lot because besides cutting beautiful lemon shapes, it also adds some amazing texture to your die-cut pieces. So fun!

Sunny Studio Stamps: Fresh Lemon Summer Themed Tags by Marine Simon (featuring Stitched Square Dies, Scalloped Tag Square Dies, Punny Fruit Greetings)

I started off by cutting all the Fresh Lemon bits and pieces out of colored cardstock, assembled them using liquid glue, and then cut everything to build my tags. Each tag was made the same way, so here are the different steps to build one:

1. Cut a large Scalloped Square Tag out of light brown woodgrain cardstock, and cut a window out of it using the fifth smallest Stitched Square die to create a frame

2. Cut a large Scalloped Square Tag out of vellum

Sunny Studio Stamps: Fresh Lemon Summer Themed Tags by Marine Simon (featuring Stitched Square Dies, Scalloped Tag Square Dies, Punny Fruit Greetings)

3. Cut a large Scalloped Square Tag out of pattern paper (I cut one out of a Summer Splash lemon paper, one out of a All Is Bright red paper, and one out of a Surprise Party green paper)

4. Attach the vellum tag to the pattern paper tag using liquid glue on the very edges

5. Attach the light brown woodgrain frame to the vellum tag using 1mm foam squares

Sunny Studio Stamps: Fresh Lemon Summer Themed Tags by Marine Simon (featuring Stitched Square Dies, Scalloped Tag Square Dies, Punny Fruit Greetings)

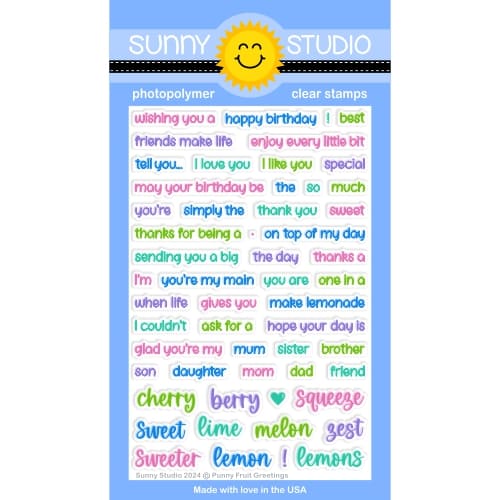
6. Stamp a Punny Fruit Greeting on the upper part of the vellum section using white stazon white (I went for "You're my main squeeze", "Squeeze the day", and "Sending you a big squeeze")

7. Cut a Scalloped Square Tag out of colored cardstock, and stick it at the back of the pattern paper tag to make the back of it nice and clean

8. Add ribbon and twine to make a handle

Sunny Studio Stamps: Fresh Lemon Summer Themed Tags by Marine Simon (featuring Stitched Square Dies, Scalloped Tag Square Dies, Punny Fruit Greetings)

Next I attached my Fresh Lemon die-cut pieces on each tag using 1mm and 2mm foam squares, added highlights and details using a white gel, and finished each tag by gluing matching clay heart confetti on each side of the greetings.

And that's it! These tags were so fun to make, super easy and quick, and I hope they have inspired you to create your own. Thanks so much for stopping by, and see you next time!

Sunny Studio Supplies Used:

Summer Splash 6x6 Paper
Shop at:
Sunny Studio
Surprise Party 6x6 Paper
Shop at:
Sunny Studio
Scalloped Tags-Square
Shop at:
Sunny Studio
All Is Bright Paper
All Is Bright Paper
Shop at:
Sunny Studio
Punny Fruit Greetings
Shop at:
Sunny Studio
Fresh Lemon Dies
Fresh Lemon Dies
Shop at:
Sunny Studio
Stitched Square Dies
Shop at:
Sunny Studio

Wednesday, July 31, 2024

Beach Bus Card with Tina

Hi crafty friends, I am Tina and wouldn’t you love to go on a holiday in this fun Beach Bus? The set comes with cute critters and lots of travel essentials!

Sunny Studio Stamps: Beach Bus Summer Themed Card by Tina Henkens (featuring Stitched Square Dies, Scalloped Square Dies, Sprawling Surfaces)

I started this project by creating a white square card base, layered with a piece of pink striped paper (Dots & Stripes Pastels) cut with the largest of the Scalloped Square 2 Large diesMy background panel is a white square made with one of the Stitched Square Dies. The sky part was inked with a cloud stencil and Distress Oxide Kitsch Flamingo.

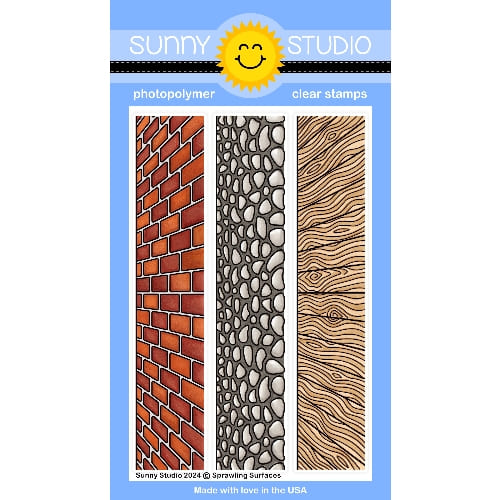
Since traveling often is also lots of adventure, I wanted an authentic cobble road for the bus to drive on. I stamped one of the Sprawling Surfaces to achieve that goal! Next, I selected the bus, all the cute critters, their suitcases and surfboard (Beach Bus). To create that ‘party bus vibe’ I also stamped a banner (Panda Party) as fun decoration.

Sunny Studio Stamps: Beach Bus Summer Themed Card by Tina Henkens (featuring Stitched Square Dies, Scalloped Square Dies, Sprawling Surfaces)

All the coloring was done with my Copics in happy colors, and I added highlights with a white gel pen. The sentiment was selected from the same Beach Bus set and stamped with Versafine Onyx Black ink.

To assemble the card, I gave all the critters a place in the bus and mounted the party banner. Then, I stacked the luggage on top and added the surfboard. Finally, I adhered a few Iridescent Jewels for that extra sparkle!

Thank you for visiting the blog and I can’t wait to see your Summer inspired cards! Happy crafting!

Sunny Studio Supplies Used:

Dots & Stripes Pastels 6x6 Paper
Shop at:
Sunny Studio
Panda Party Stamps
Panda Party Stamps
Shop at:
Sunny Studio
Panda Party Dies
Panda Party Dies
Shop at:
Sunny Studio
Sprawling Surfaces Stamps
Shop at:
Sunny Studio
Beach Bus Stamps
Beach Bus Stamps
Shop at:
Sunny Studio
Beach Bus Dies
Beach Bus Dies
Shop at:
Sunny Studio
Stitched Square Dies
Shop at:
Sunny Studio
Scalloped Square 2 Large Die
Shop at:
Sunny Studio

Tuesday, July 30, 2024

Breakfast Puns Cards with Laura

Hey everyone! It's Laura Vegas here, filling in on the blog for today. I'm sharing a set of clean and simple Breakfast Puns cards that I created for today's post. 

Sunny Studio Stamps: Breakfast Puns Cards by Laura Vegas (featuring Fancy Frame Dies, Lots of Dots Embossing Folder, Notebook Photo Corner Dies)

I'm not much of a stamper, so when I do stamp, it's pretty basic. I never really think to use images, sticking more to sentiments and basic shapes, as I wouldn't know where to begin coloring those fun images. The more I thought about it, I realized that I could easily work a single image into my clean and simple card making style, using just black ink and no coloring.

Sunny Studio Stamps: Breakfast Puns Cards by Laura Vegas (featuring Fancy Frame Dies, Lots of Dots Embossing Folder, Notebook Photo Corner Dies)

To get my cards started, I selected patterned papers for the background of each card, using both the Polka-Dot Parade paper pack and the Dots & Stripes Jewel Tones paper pack. I cut a slightly smaller piece of white cardstock for each card, embossed them using the Lots of Dots embossing folder, spritzed them with a little bit of black misting spray, and adhered them to the center of each card. I machine stitched along the edges of the white embossed cardstock, since I love how some simple machine stitching can add a finished look to a card.

Sunny Studio Stamps: Breakfast Puns Cards by Laura Vegas (featuring Fancy Frame Dies, Lots of Dots Embossing Folder, Notebook Photo Corner Dies)

I stamped each of my Breakfast Puns images onto a small square of white cardstock, and added the smallest of the Fancy Frame Square dies on top to frame the image. I then adhered each of the framed images to a square piece of textured black cardstock and adhered each to my card bases. Sure, these images would look SO much cuter colored - but I'm a huge fan of black and white in general, and I actually love the simplicity of leaving them un-colored.

Sunny Studio Stamps: Breakfast Puns Cards by Laura Vegas (featuring Fancy Frame Dies, Lots of Dots Embossing Folder, Notebook Photo Corner Dies)

I die cut banners from black cardstock using the Notebook Photo Corner dies, and heat embossed my sentiments with white embossing powder on each. I adhered these sentiment banners to each card to finish them off. 

I hope for anyone out there seeing these that don't consider themselves to be stampers, or don't know how they would use all of the amazing and fun images without learning how to color them - that this simple idea of just stamping images in black ink and calling them "done" gives you ideas of how to incorporate more stamps into your cardmaking and other paper crafting projects. Thanks for letting me hang with you on the blog today!

Sunny Studio Supplies Used:

Breakfast Puns Stamps
Shop at:
Sunny Studio
Fancy Frames-Square Dies
Shop at:
Sunny Studio
Polka-dot Parade 6x6 Paper
Shop at:
Sunny Studio
Dots & Stripes Jewel Tones 6x6 Paper
Shop at:
Sunny Studio
Lots of Dots Embossing
Shop at:
Sunny Studio
Notebook Photo Corners Dies
Shop at:
Sunny Studio