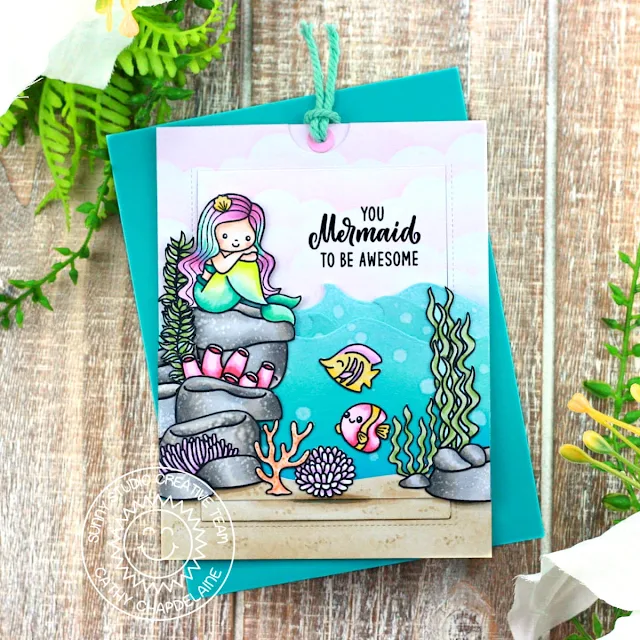
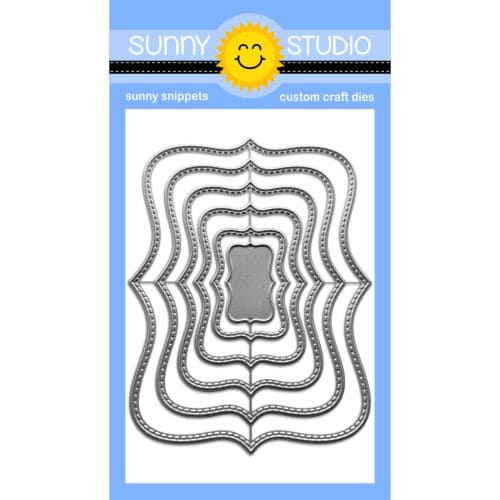
Hey friends! Cathy here today and I’m excited to share an ocean themed card using the Sliding Window Dies!
To make this fun card, I started with the base panel. I cut a piece of 110lb white cardstock 4 1/4" x 5 1/2" and inked the top half of the cardstock using a cloud stencil with Spun Sugar Distress ink. (I have several layers of ocean scene adhered to the window portion, so a heavier weight cardstock added extra stability). I then cut a post-it note in a wavy pattern, masked the bottom 1” of the panel and inked the ocean with Tumbled Glass, Salvaged Patina and Mermaid Lagoon Distress inks. I splattered a little water with a fan brush and once dry, masked the ocean and inked the bottom 1” with Antique Linen Distress ink. I then heat embossed a sentiment from the Mermaid Kisses Stamps with black embossing powder on the cloud portion approximately 1” from the top and right sides. With the inking complete, I die-cut the center of the panel with the Sliding Window Dies and the center of the top edge with the small semi-circle die included with these dies.
Next, I cut a piece of white cardstock 3 1/4" x 4 7/8” for the pull-out panel that opens the sliding window. I inked this piece with a cloud stencil using Spun Sugar Distress ink, die-cut a hole protector from pink cardstock and adhered it to the center of the top edge. I punched a hole through the center of the hole protector and tied off a piece of teal cording.
It was now time to construct the sliding window mechanism. I adhered the small flap of the sliding window to the bottom of the pink cloud panel. (Video instructions for this can be found in the product details on the Sunny website).
For the panel revealed under the window, I cut a piece of white cardstock 4 1/4” x 5 1/2", masked the bottom 1” of the cardstock and inked the ocean using the same Distress inks as before. I then inked the sand with Antique Linen Distress ink. I heat embossed a sentiment from the Mermaid Kisses Stamps with black embossing powder approximately 2” from the bottom of the cardstock. I adhered the sliding window panel to this bottom panel and then adhered the combined piece to an A2 card front.
For my ocean scene, I cut 3 pieces of white cardstock for the waves on the sliding panel (2 1/4" x 4 1/4" and 2 pieces 1 1/2" x 4 1/4"). I die-cut the top edge of each piece using the Catch A Wave Dies and inked the smaller pieces with Tumbled Glass Distress ink. I also splattered a little water on these pieces. On the larger piece, I masked the very bottom, inked the ocean and then inked the bottom sand portion. I overlapped/adhered the small wave pieces behind the large wave piece. I then adhered the waves to the sliding window on the card front making sure to only apply adhesive on the window portion itself so the whole scene slides upward.
To finish, I stamped all images on Neenah Classic Crest 80lb solar white cardstock and colored them with Copics. I fussy cut all images as I used portions of some images to create this scene.
I used the following stamps:
Mermaid
Kisses Stamps
I hope you enjoyed my interactive mermaid scene and thanks for
stopping by today! For more inspiration, please visit my blog www.inkredibleadventures.com and you can
also find me on Instagram as @cathy.chapdelaine.
Sunny Studio Supplies Used:
 Sliding Window Dies Shop at: Sunny Studio |
 Catch A Wave Dies Shop at: Sunny Studio |
 Fintastic Friends Stamps Shop at: Sunny Studio |
 Fintastic Friends Dies Shop at: Sunny Studio |
 Ocean View Stamps Shop at: Sunny Studio |
 Ocean View Dies Shop at: Sunny Studio |
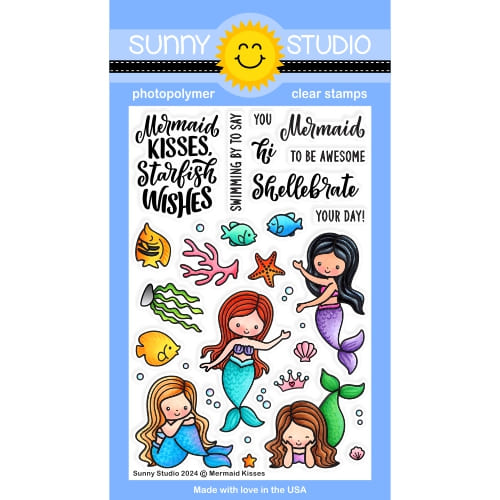 Mermaid Kisses Stamps Shop at: Sunny Studio |
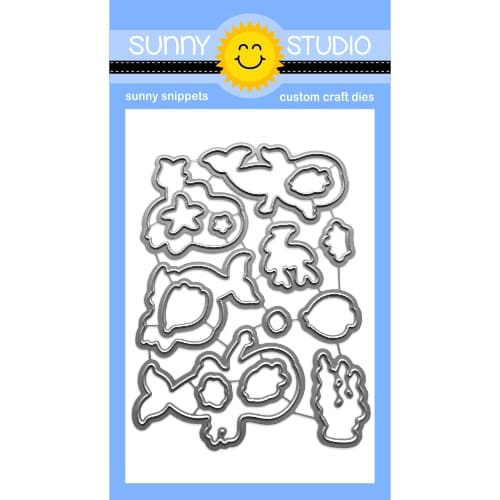 Mermaid Kisses Dies Shop at: Sunny Studio |

