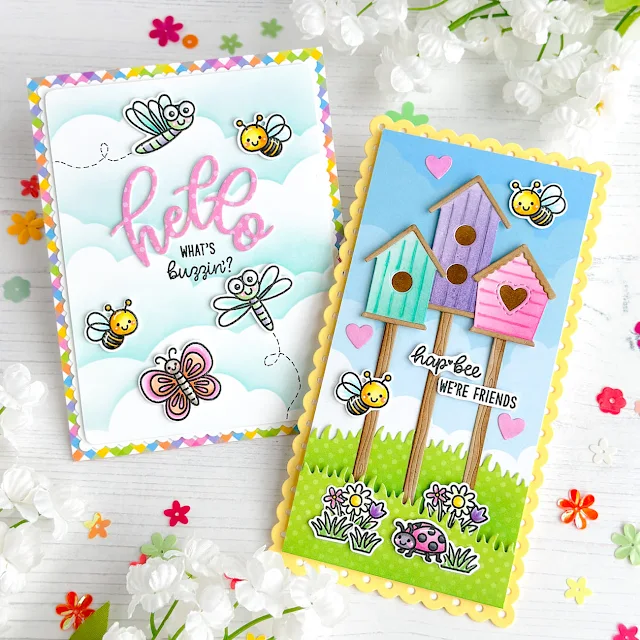
Hello everyone, Leanne West here! I’m so happy to be here on the blog again. I have made two cards to share and they both feature the adorable bugs from the Garden Critters stamp set. I have such an affinity for bug images. Especially bees and ladybugs! They always add a touch of whimsy to any scene.
The first card I’ve made is a relatively clean and simple one. I’ve created a stenciled cloud background and placed a greeting right in the center. I then arranged the bugs flying around it. I hand drew some swirly trails for the dragonflies. After trimming this panel down a bit, I added a scalloped white border and the colorful gingham pattern paper behind it. The finished card is A2 size.
Here are the copics I used to color the stamped images: bees- Y11,Y13,Y15, N4,N6, B00; butterfly- RV52, RV63, RV55, YR61,YR65, W3, W4; Dragonfly- B00, BV01,BV02, YG11, YG05; Ladybug- RV63, RV55, N4,N6, N8
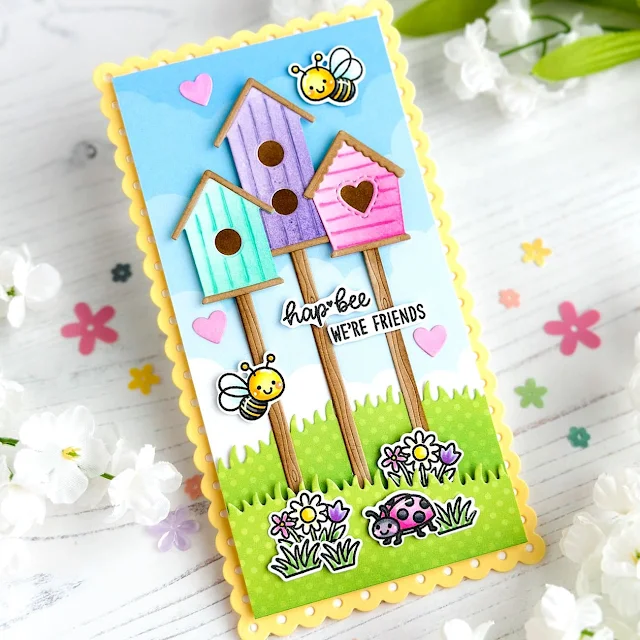
My second card is a mini slimline design. I’ve created a garden scene with the bird houses, grassy hills, some flowers, bees and a ladybug. The cloud background and polka dot grass hills are patterned paper from the Spring Fever paper pad.
I’ve done a little die-cutting magic to create the double-decker birdhouse. You’ll notice that the Build-a-Birdhouse dies come with two different styles of house. I wanted the third in my scene to be a little different. When die-cutting this birdhouse, I positioned the top cutting plate off of the bottom edge of the die before I ran it through my die cutting machine. Then on the next pass through to complete the cut, I moved the die down slightly to elongate the shape. I positioned the top cutting plate off of the roof area of the die this time. This may sound complicated, but it’s really easy to do and allows you customize die cuts.
Sunny Studio Supplies Used:
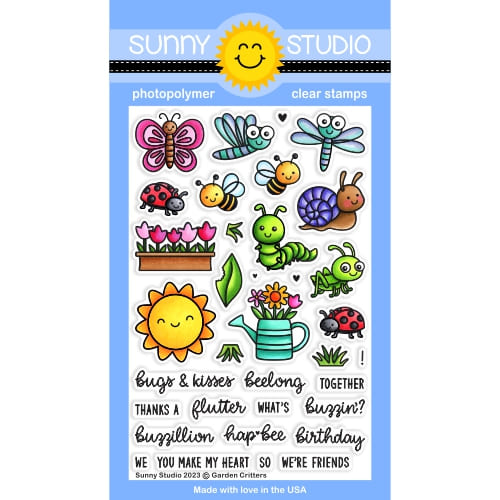 Garden Critters Stamps Shop at: Sunny Studio |
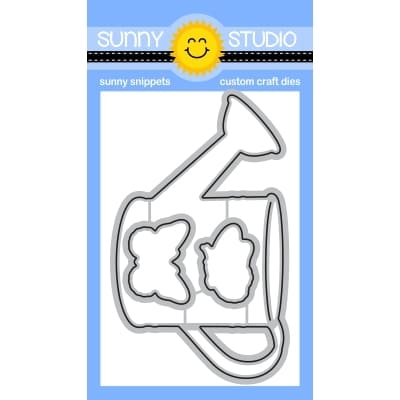
 Garden Critters Dies Shop at: Sunny Studio |
 Build-A-Birdhouse Dies Shop at: Sunny Studio |
 Spring Fever Paper Shop at: Sunny Studio |


