Hey
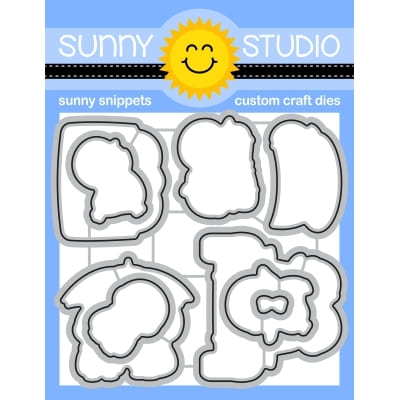
friends! Cathy here sharing a tweat card today featuring the cute Build-A-Birdhouse Dies!
I just love the different detailed pieces that you can use to make each
birdhouse unique.
To begin this
mini slimline card, I cut a piece of white cardstock 3” x 6” and lightly inked
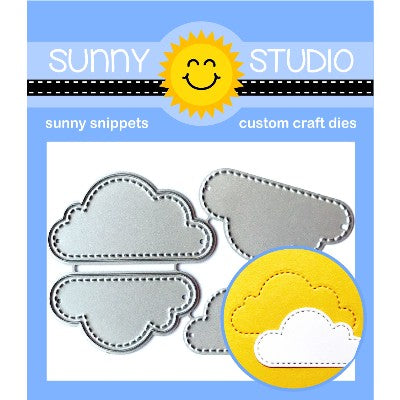
the very top with Spun Sugar Distress ink. I die-cut 3 panels with the Fluffy Clouds Border Dies and
overlapped them on the 3” x 6” panel after inking each lightly with Tumbled
Glass Distress ink. The top panel measures 1 1/2" x 3” and I adhered it
approximately 1/2” down from the top edge. The middle cloud panel measures 1
1/2" x 3” and the bottom panel measures 3” x 4”. I stamped the “tweatheart”
sentiment from the Little Birdie Stamps on
the middle cloud panel in Memento London Fog ink and heat embossed it with
clear embossing powder before adhering it to the 3” x 6” panel.
Next, I cut a
white card base 6 1/4” x 6 1/2" (scored on the 6 1/2" side at 3
1/4" and folded in half) and adhered the 3” x 6” panel to the card front.
I die-cut a fence from white cardstock using the Picket Fence Border Die, added
some gray Copic details and adhered it 1” from the bottom edge of the 3” x 6”
panel. I inked 2 pieces of white cardstock (1 1/4" x 3” and 3/4" x
3”) with Shabby Shutters Distress ink and die-cut the top edge of each with the
grass border die from the Picket Fence Die. I adhered the 1 1/4” x 3” piece to
the bottom edge of the 3” x 6” panel slightly overlapping the fence. Before I
adhered the 3/4” x 3” grass piece, I needed to adhere a birdhouse and tulips. I
die-cut the Build-a-Birdhouse elements from gray, yellow, pink and white
cardstock and Copic colored the white house portions. I adhered a birdhouse to
the left side of the card front. For the tulips, I stamped and Copic colored
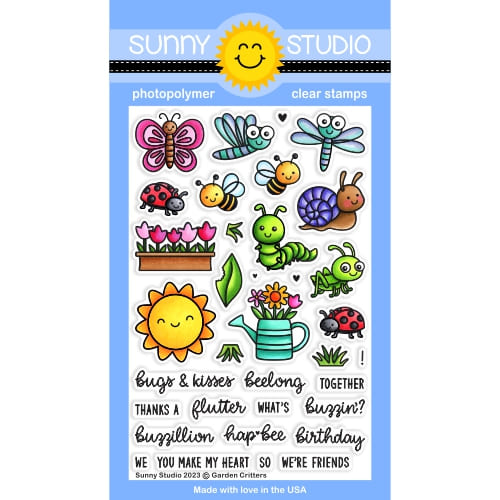
the tulip planter from the Garden Critters Stamps and
die-cut it using the coordinating dies. I
adhered it over the post of the birdhouse and then adhered the bottom grass
piece so that only the tulips were peeking out. I then adhered the second
birdhouse.

To finish, I
stamped 2 adorable birds from the Little Birdie Stamps on
Neenah Classic Crest 80lb solar white cardstock, colored them with Copics and
die-cut them using the coordinating dies. I
added 3 little die-cut hearts from the Build-A-Birdhouse Dies.
Finally, I die-cut the “hello” sentiment from the Slimline Scalloped Frame Dies from
a light and dark yellow cardstock and overlapped them slightly to help it stand
out a bit more.
I hope you
enjoyed and are looking forward to Spring as much as I am! Thanks for stopping
by today! For more inspiration, please visit my blog www.inkredibleadventures.com and you can
also find me on Instagram as @cathy.chapdelaine.
----------------------------------------------
Hi friends, Bobbi here. With spring just a
few months away, It’s time to start thinking about singing birds and cute
birdhouses. Sunny Studio Stamps has a cute
new birdhouse die set, called Build-a-Birdhouse, that has a number of fun design elements to
make one-of-a-kind houses for our feathered friends. There’s two darling birds
in the set, too.
To make this 5″ X 7″
card, I splattered watercolor paints in vibrant colors on a white card base. I
added a cloudy sky with a stitched cloud design. Sunny Studios offers a cute
stitched cloud die set called Fluffy Clouds to
make a fun stitched sky background. I applied Distress Oxide Ink in Tumbled
Glass and Salvaged Patina for a varied sky color. I attached the blended
background, bordered with 2- 1/8″ strips made from green pattern paper from
the Spring Fever paper pad on
the top and bottom, and attached it to the splattered front panel.
I
made three birdhouses, mixing
and matching the die cut pieces. Each one was colored using shades of pink,
oranges and aquas. Additional details were added like scalloped roofs, hearts,
flowers and more. Each birdhouse was adhered to a post and attached to the
card. I added a number of blue birds to the houses, too.
Using the Big Bold Greetings stamp set and coordinating dies, I
stamped the “Happy Birthday” in two tones of blue and cut it out. I attached it
with foam tabs to make it stand out. I added additional flowers around the
greeting and a few sparkly sequins, too.
Thanks
for stopping by today. If you want to see more ideas and inspiration from me,
subscribe to my blog, BobbiHartDesign.com. I’ll
send you updates on new posts! You can also find me on Instagram as @BobbiHartDesign and on Facebook as BobbiHartDesign.
Sunny Studio Supplies Used:


