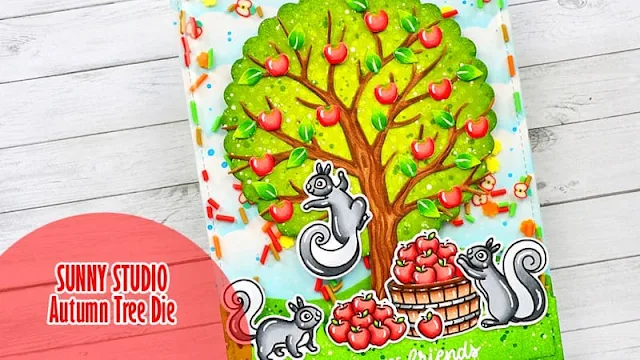
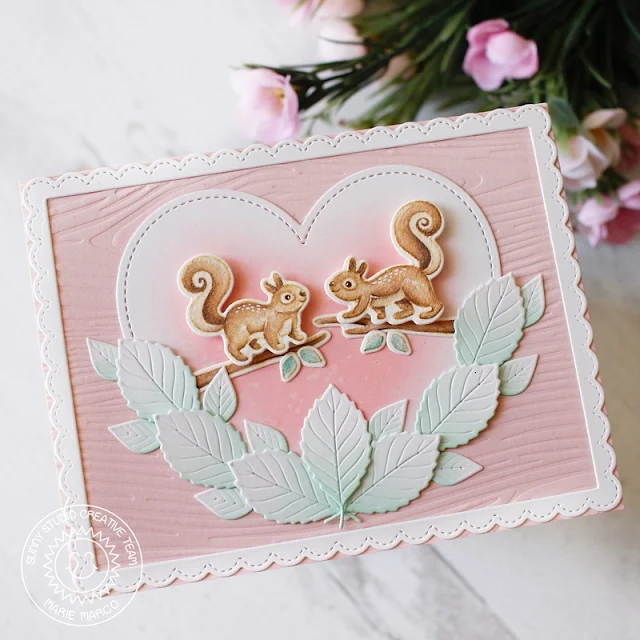
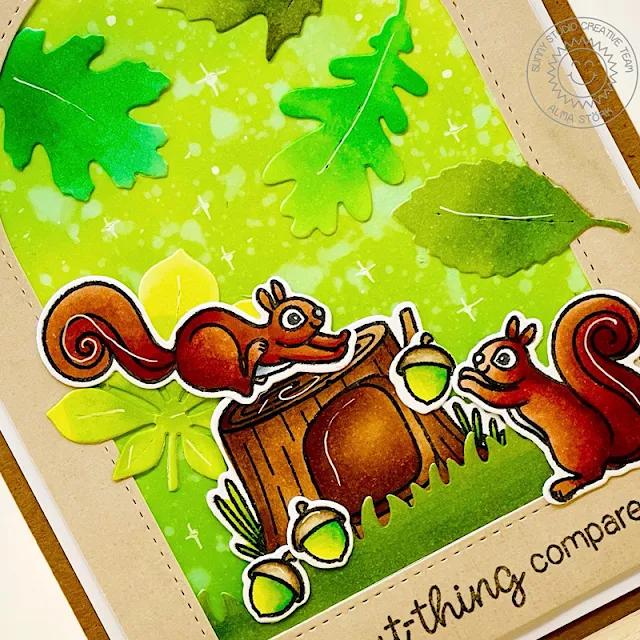
Hello to you! Vanessa here with a little card set using Fall Scenes.
Fall Scenes stamps + dies
Happy Harvests stamps + dies
Harvest Mice stamps + dies
Mini Mat + Tag 1 dies
Stitched Rectangle dies
Have a lovely weekend!
-----------------------------------------
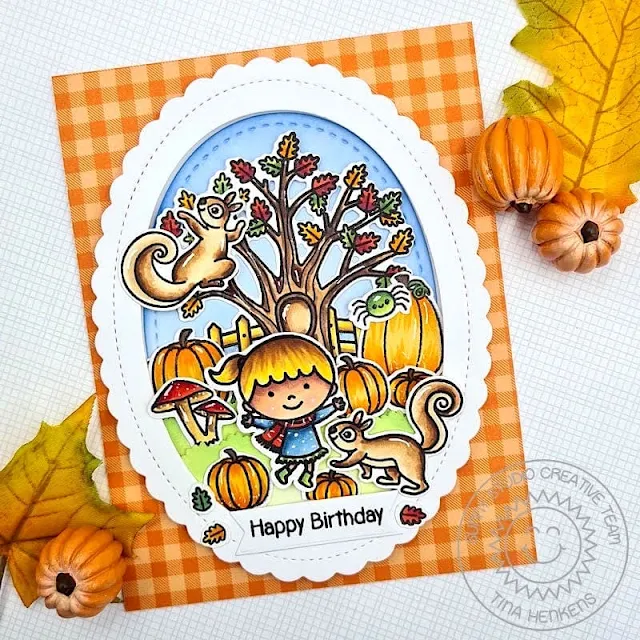
Hello crafty friends, it’s Tina and today I am creating a birthday card with the new Fall Scenes stamp and die set. Having the die to cut the scene makes it so easy to assemble your background! This card also consists of a lot of layers, generating depth and dimension.
First, I die cut an oval shape from white cardstock with the largest of the Scalloped Oval Mat 1 dies. To turn this oval into a frame I used another slightly smaller oval die from my stash. This second oval will become the background panel for my scene, I ink blended the sky part with Tumbled Glass Distress Oxide. Next, I cut two grassy borders and used some Twisted Citron and Mowed Lawns Oxides for the coloring.
Then it was time to stamp and die cut all the images for my Autumn scene. There was a lot of mixing and matching between several sets! I used the large tree and fence from Fall Scenes, the sweet girl from Fall Kiddos, the squirrels and leaves from Squirrel Friends, some pumpkins from Fall Friends and Too Cute To Spook (also the cute little spider!), and finally the mushrooms from Woodsy Autumn.
I absolutely love going through my stamps and see which ones go well together, so helpful when you want to assemble a sweet scene. I used my trusty Copic markers for the coloring and added some white highlights to the images with a gel pen. For the sentiment, I stamped the ‘Happy Birthday’ from the Squirrel Friends set onto a small white banner.
Time to assemble this card! To make things a little easier, I die cut another large oval from white cardstock with the largest of the Scalloped Oval Mat 1 dies. I added thick foam tape to the oval frame and adhered it to the oval mat. Next, I added the inked oval, which fitted into the frame like a puzzle piece.
Now, I could start building the layers by gluing the tree and fence directly to the small oval, then I added two layers of grassy borders and finally all my images scattered over the scene. The sentiment banner and a few leaves, as embellishment, finished the layered frame.
All that was left was to create a background panel, for
which I selected a vibrant orange gingham paper from the new Critter
Country paper pad and added that to an A2 size card base. Finally, I
glued the oval scene onto the card with some liquid glue.
I hope you like this sweet card and got inspired to try some mixing and matching! Thank you for joining me and happy crafting!
Sunny Studio Supplies Used:
 Stitched Rectangle Dies Shop at: Sunny Studio |
 Fall Friends Stamps Shop at: Sunny Studio |
 Fall Friends Dies Shop at: Sunny Studio |
 Fall Kiddos Stamps Shop at: Sunny Studio |
 Fall Kiddos Dies Shop at: Sunny Studio |
 Happy Harvest Stamps Shop at: Sunny Studio |
 Happy Harvest Dies Shop at: Sunny Studio |
 Woodsy Autumn Stamps Shop at: Sunny Studio |
 Woodsy Autumn Dies Shop at: Sunny Studio | |
 Harvest Mice Stamps Shop at: Sunny Studio |
 Harvest Mice Dies Shop at: Sunny Studio |
 Scalloped Oval Mat 1 Dies Shop at: Sunny Studio |
 Fall Scenes Stamps Shop at: Sunny Studio | |
 Fall Scenes Dies Shop at: Sunny Studio |
 Squirrel Friends Stamps Shop at: Sunny Studio |
 Squirrel Friends Dies Shop at: Sunny Studio |
 Too Cute To Spook Stamps Shop at: Sunny Studio | |
 Too Cute To Spook Dies Shop at: Sunny Studio |
 Mini Mat & Tag 1 Dies Shop at: Sunny Studio |
 Critter Country Paper Shop at: Sunny Studio |


