To create this bag, I used several patterned papers that matched
my winter theme. Subtle Grey Tones 6x6 paper for the bag base. Very Merry 6x6 paper for the roof, door,
bows, ornaments and tag topper. Holiday Cheer 6x6 paper for the trees and hedges.
White 110lb cardstock for tag base, window and door frame. I started with die
cutting the bag base from 2 pieces of grey paper and adhering them together.
Out of red paper, I die cut the roof base and 6 pieces of shingles layering them together with glue tape then adding them to the top of the bag. I cut the door, bows ornaments and a star out of the same red paper.
Out of red paper, I die cut the roof base and 6 pieces of shingles layering them together with glue tape then adding them to the top of the bag. I cut the door, bows ornaments and a star out of the same red paper.
I used Woodland Borders dies to die cut the
trees, wreath and hedges (which are mini tag toppers turned upside down). Using
the same die set (Woodland Borders) I die cut the snow out of glitter paper.
I adhered all the elements to the bag and added Glossy accents to the wreath bow and ornaments and Wink of Stella to the other two bows. Finally, I stamped the To/From to the tag and tied it to the handle with twine.
This adorable treat bag was so much fun to make and I love the way it turned out! I really hope you enjoyed today’s post and got inspired. Thank you so much for stopping by today and until next week I wish you happy crafting!
--------------------------------------------------
Aww look at this cute festive treat bag!! First of all I
created my bag by die-cutting the main piece out of white cardstock. Then
I trimmed to size this red patterned paper panel (using a design from the Very Merry Paper pad) and I glued it
on the front.
I cut out another piece of patterned paper from the same pad (I love this snowy design!) and glued it down too. I left this a little bit taller than my goodie bag so I could fold it over and secure my treat box closed.
I cut out another piece of patterned paper from the same pad (I love this snowy design!) and glued it down too. I left this a little bit taller than my goodie bag so I could fold it over and secure my treat box closed.
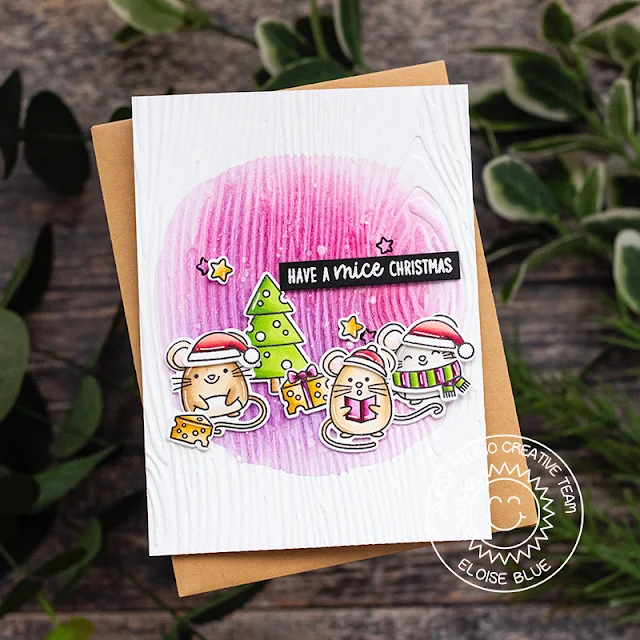
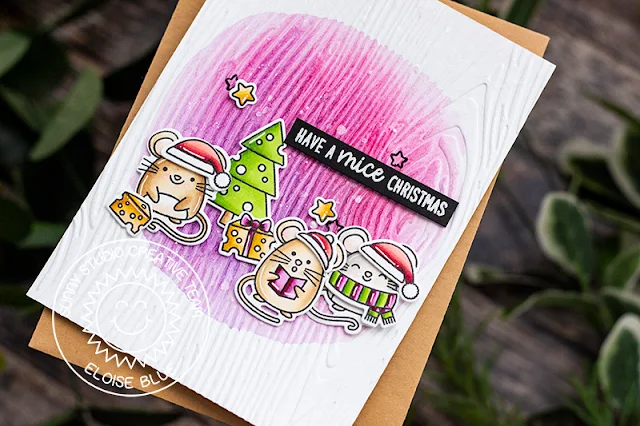
Then I stamped colored and die cut some cute images from
the Merry Mice set, colored them with
Copics and cut them out with their coordinated dies. I stuck them in this fun
design and secured them to my goodie bag with some foam adhesive.
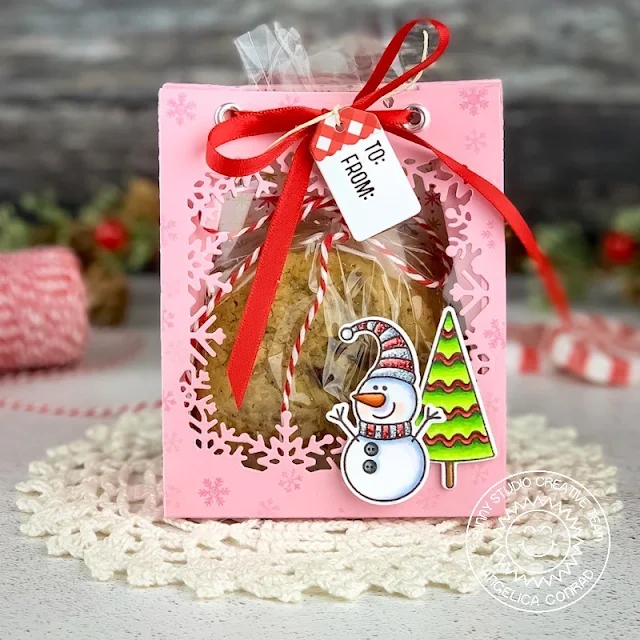
Finally I die cut the little tag and the snowflake (using the Snowflake Circle Frame die set) out of white cardstock and I stamped my "to: & from:" using some little stamps included in the Season's Greetings Stamps.
Finally I added some details with a white gel pen and close my little Christmas treat bag at the top with a small wooden clip. Thanks a lot for stopping by!
Sunny Studio Supplies Used:
 Woodland Borders Dies Shop at: Sunny Studio |
 Holiday Cheer 6x6 Paper Shop at: Sunny Studio |
 Subtle Grey Tones Paper Shop at: Sunny Studio |
 Very Merry 6x6 Paper Shop at: Sunny Studio |
 Season's Greetings Stamps Shop at: Sunny Studio |
 Merry Mice Stamps Shop at: Sunny Studio |
 Merry Mice Dies Shop at: Sunny Studio |
 Snowflake Circle Frame Shop at: Sunny Studio |
 Sweet Treats Gift Bag Shop at: Sunny Studio | |
 Sweet Treats House Add-on Shop at: Sunny Studio |


