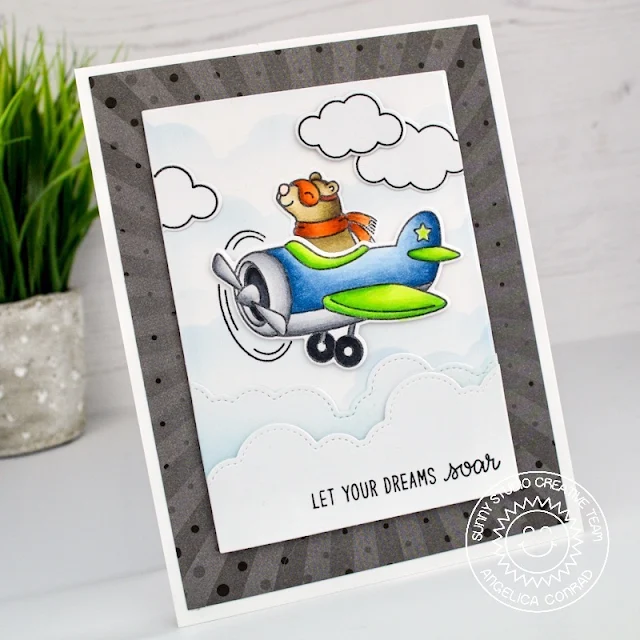
I started the card by stamping the images onto white card stock,
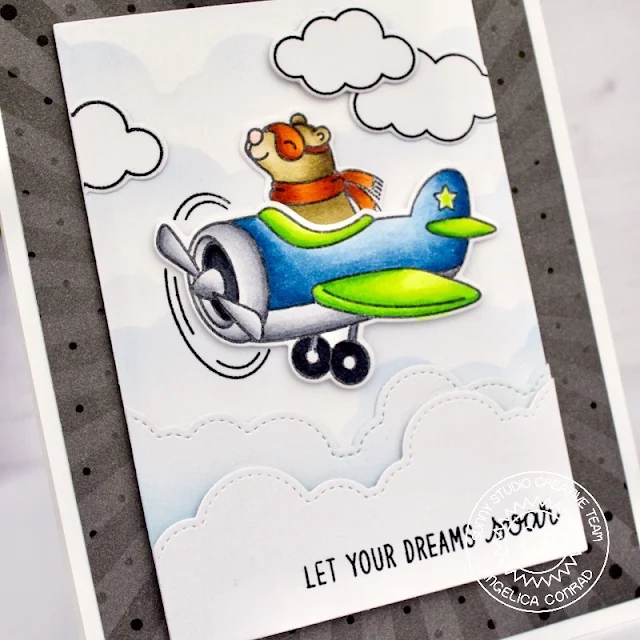
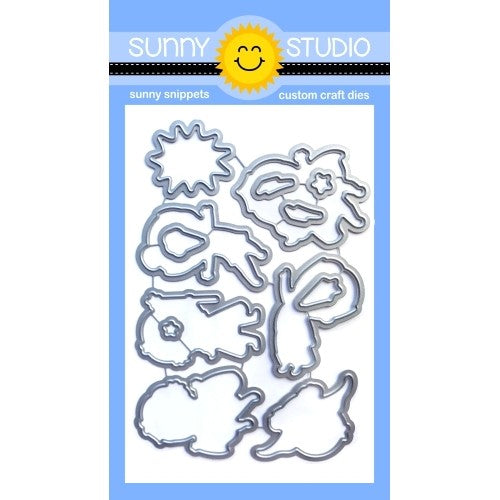
and using Copic Markers to color them. I die-cut them with the coordinating dies, then
moved on to the background.
I used the Fluffy Clouds Border Dies to
die-cut white card stock. I also die-cut a cloud to use as a stencil for the
cloud background, blending light blue ink over it. I trimmed the panel and
clouds down, then put a sentiment together to stamp onto the bottom cloud.
I attached everything together with thin foam squares and glue,
then added the panel to black sunburst paper from the Heroic Halftones Pattern Paper Pack.
I used double-sided adhesive to adhere the card front to an A2 card base.
I hope I have helped with ideas on using the Plane Awesome stamp set. Thanks for stopping by!
-----------------------------------------------------------
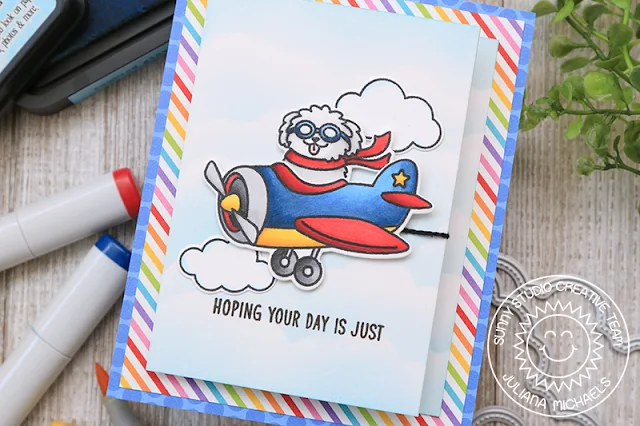
Hello friends! It's Juliana here today to share a Z Fold Card featuring the Plane Awesome Stamp Set along with a stenciled cloud background using the Fluffy Clouds Border Dies.
I began by
stamping the various images from the Plane Awesome Stamp Set. I then colored them with Copic Markers and die cut them
using the Plane Awesome Dies. I wanted to create a vertical card design, but I quickly
realized that a standard card size (4.25 x 5.5 inches) wasn't going to allow me
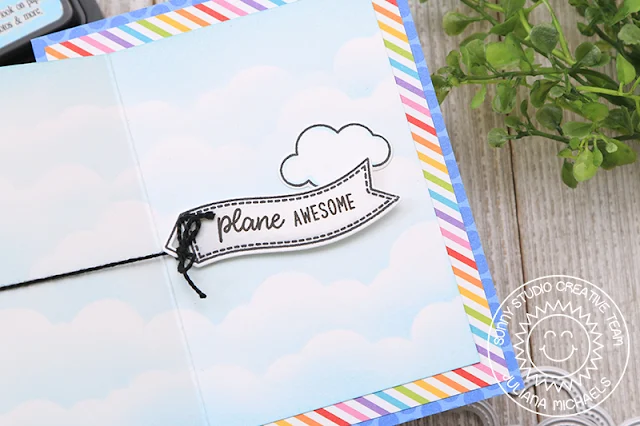
to include both the airplane and the banner. That's when I thought of creating
a Z fold card. To do this, I cut a piece of Bristol Paper to 8.5 x 3.75 inches.
Before I scored
the paper to make the Z fold, I created a cloudy sky using the Fluffy
Clouds Border Dies. I cut each one from scrap cardstock to use as a mask. I
alternated laying each one down on the Bristol paper and inked the mask with
Tumbled Glass Distress Ink. Make sure to tap off excess ink and then apply the
ink heavier along the edge of the mask and lighter as you move away from it so
that you leave a bit of white or at least less inked paper for contrast.
Once the cloudy
sky was complete, I then scored the card at 3 inches and at 5 5/8 inches to
create the Z fold. This allowed the airplane to show nicely on the front of the
card and to keep the banner hidden on the inside until you opened the card.
After adhering
the images, I added a bit of black craft floss to tie the banner to the plane.
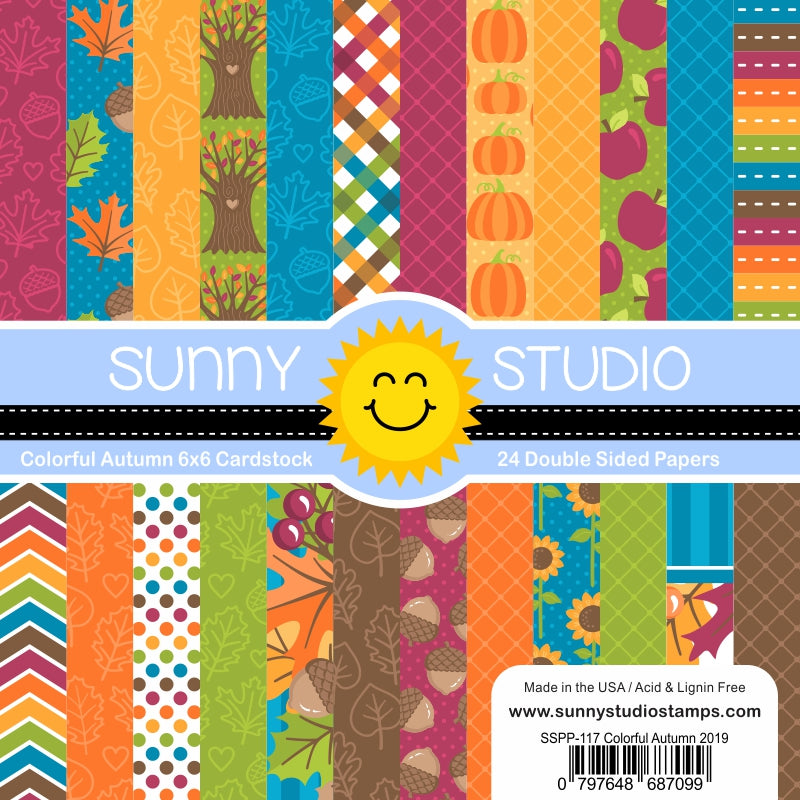
I then matted the entire piece onto patterned paper from the Rainbow
Bright 6x6 Paper and Polka
Dot Parade 6x6 Paper to create a finished card size of 4.25 x 5.5 inches.
I hope you
enjoyed learning how to create this Z Fold Card using the Plane
Awesome Stamp Set. Thanks so much for stopping by today!
Sunny Studio Supplies Used:
Sunny Studio Supplies Used:
 Polka-dot Parade 6x6 Paper Shop at: Sunny Studio |
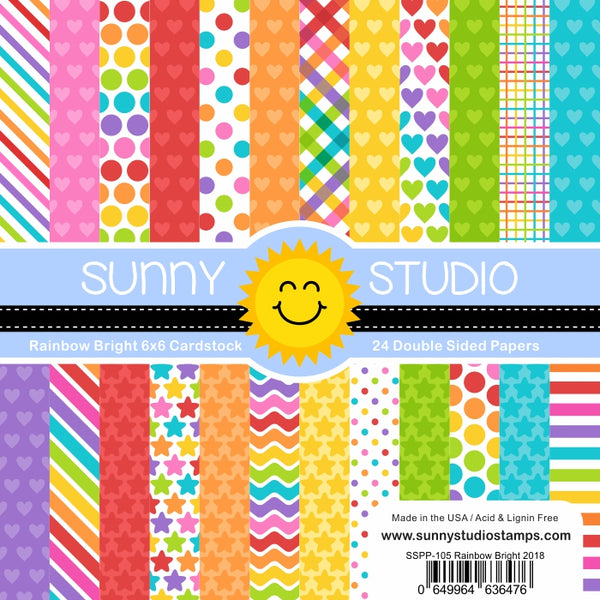 Rainbow Bright 6x6 Paper Shop at: Sunny Studio |
 Heroic Halftones 6x6 Paper Shop at: Sunny Studio |
 Plane Awesome Stamps Shop at: Sunny Studio |
 Plane Awesome Dies Shop at: Sunny Studio |
 Fluffy Clouds Border Dies Shop at: Sunny Studio |


