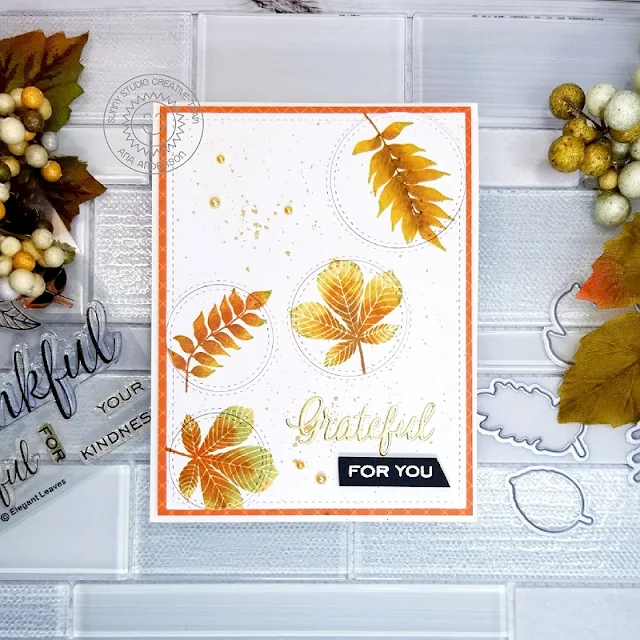
This
technique is easy to achieve if you have a stamping platform and don't mind
getting your fingers inky! As I stamped each color, I wiped off the rough edges
mini ink cubes created. I started with the darkest color in the middle of each
image and worked my way out to the lightest, making sure the colors mix. I did
not clean the stamp between each color.
For the colors, I used several different brands of inks in dark and medium browns, rust, mustard, dark yellow and green.
Once all the stamping was done, I die cut circles using Staggered Circles Dies and adhered the panel on a piece of beautiful patterned paper from Colorful Autumn Paper Pack. I heat embossed the sentiments, added some splatter and few pearls to finish the card.

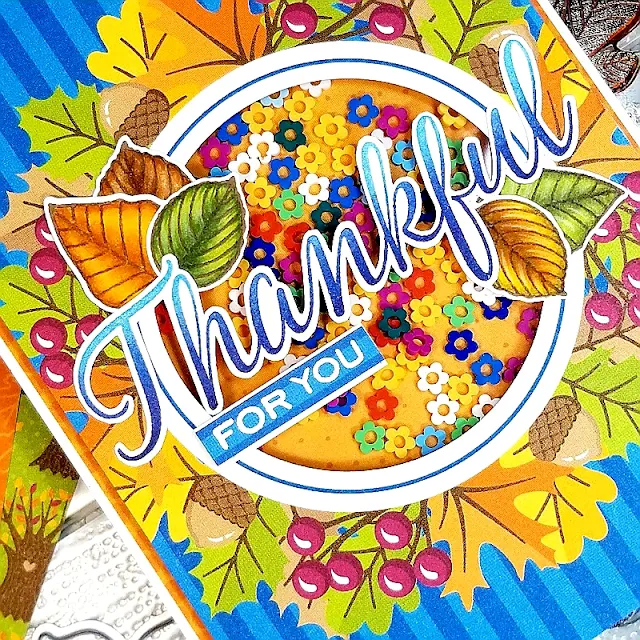
I decided to make a shaker card for my second project. I used Colorful Autumn Patterned paper for the background. I die cut a circle in the middle creating a shaker opening and backed the panel with patterned paper from Heroic Halftones Patterned Paper pack. For my shaker elements, I used rainbow Clay Flower Confetti.
I stamped the Thankful sentiment (from Elegant Leaves stamp set) with 3 shades of blue ink, creating an ombre effect, then fussy cut it out. The leaves were stamped with brown ink, colored with alcohol markers then tucked behind the sentiment. I white heat embossed the rest of the sentiment.
Completed panel was adhered to A2 size card base.
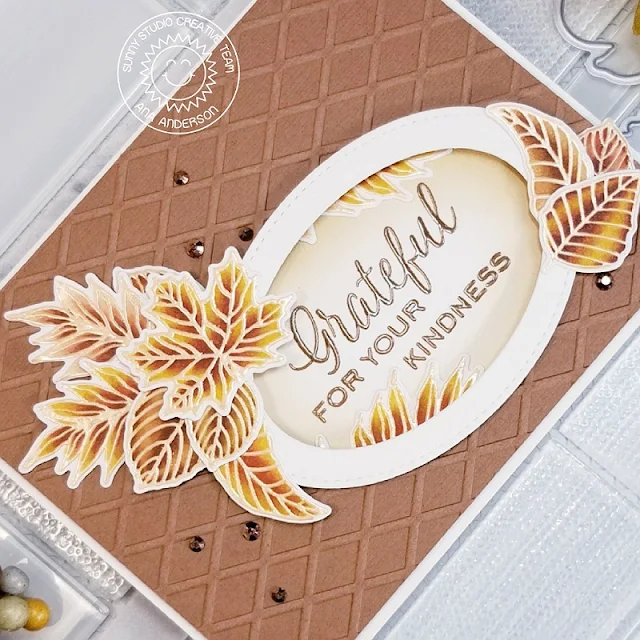
For my third card I used Stitched Oval Dies to create white oval frame as well as an opening in the brown background panel. I used Dapper Diamonds Embossing Folder to create the pattern on the background panel then added white oval frame with foam tape.
I heat embossed the sentiment directly on the card base, added some shading with Vintage Photo Distress Ink around the sentiment, then adhered the background panel to the card base.
I heat embossed the leaves from Elegant Leaves stamp set, colored them with alcohol markers and die cut with coordinating dies. I arranged the leaves around the oval frame, tucked few inside of the frame, them embellished the card with brown gems.
Thank you so much for visiting today! I really hope you liked the cards I have shared today and got inspired. Have a wonderful day!
----------------------------------------------------------
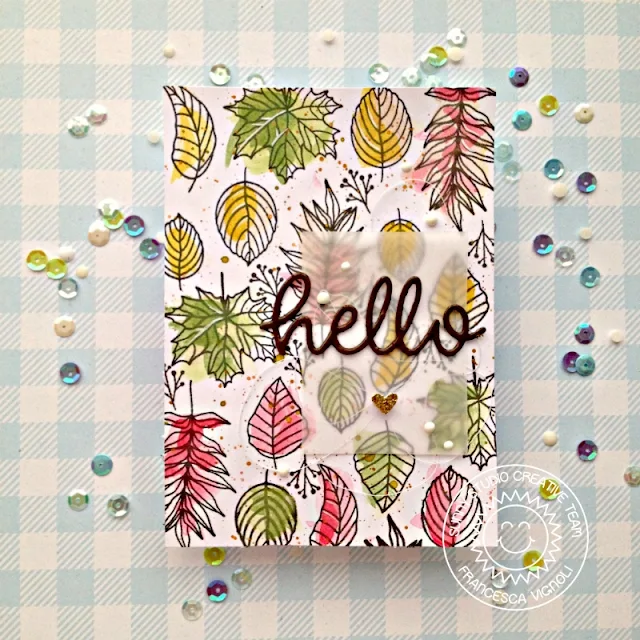
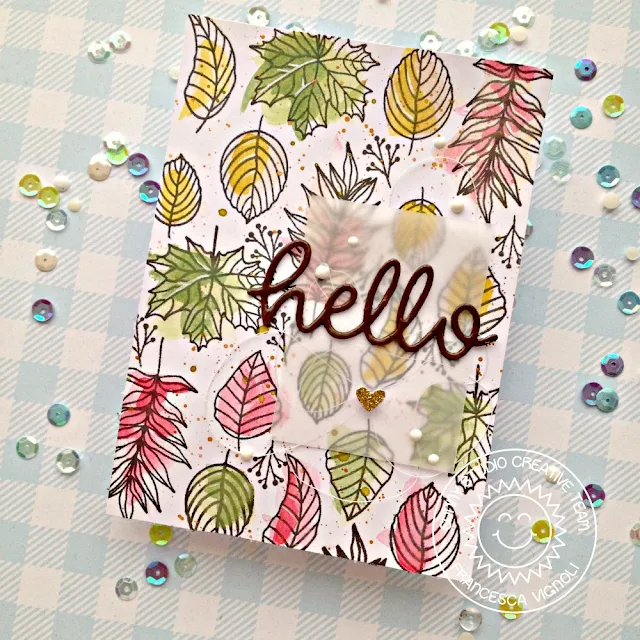
Hello there and happy Wednesday! Franci here with you today with my first card featuring the new release which I adore!! Here I'm showcasing the new Elegant Leaves set with a special card, totally out of my comfy zone but super fun to make!
First of all I stamped all the leaves on to my white panel, I let them dry completely and I watercolored them with light colors. I also added some sparkle watercolors splatters here and there. I had this idea in my mind: making a dreamy fall leaves patterned paper - I'm so happy about how it turned out.
Then I die cut the word Hello twice out of chocolate cardstock, I glued the layers together and added a coat of Glossy Accents. I also die cut a little heart out of sparkle gold paper using the mini die included in the Comic Strip Everyday Dies set.
I glued my panel on to a white card base, I added some white twine, some vellum and glued everything down. Finally I also added some white embellishments.
Hope you like my card and thank you so much for stopping by!
Sunny Studio Supplies Used:
 Hello Word Die Shop at: Sunny Studio |
 Comic Strip Everyday Dies Shop at: Sunny Studio |
 Dapper Diamonds Embossing Shop at: Sunny Studio |
 Stitched Oval Dies Shop at: Sunny Studio |
 Staggered Circles Die Shop at: Sunny Studio |
 Heroic Halftones 6x6 Paper Shop at: Sunny Studio |
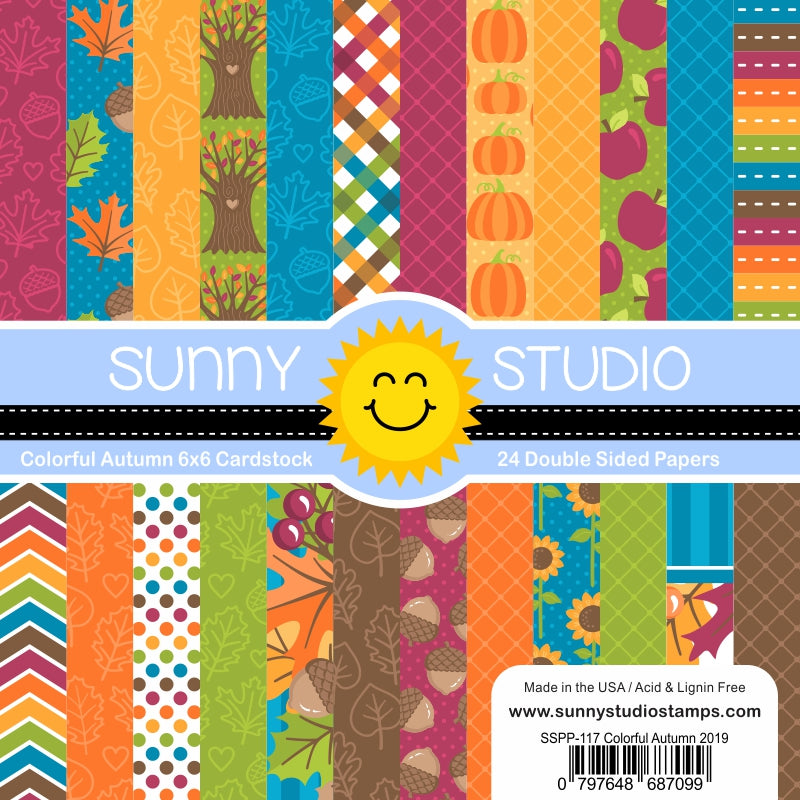 Colorful Autumn 6x6 Paper Shop at: Sunny Studio |
 Elegant Leaves Stamps Shop at: Sunny Studio |
 Elegant Leaves Dies Shop at: Sunny Studio | |

