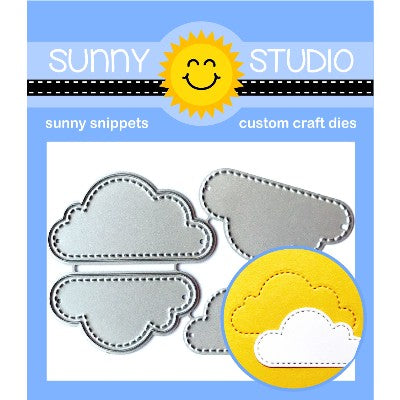
Card No.1: With my first card, allow me to introduce you to our new Silly Sloths Stamps and Dies, as well as that new standalone die called Fluffy Clouds. It comes with two clouds that cut stitched cloud die-cuts, as well as two clouds that only add stitching to your card background without cutting all the way through. Love all the flexibility these have, as well as the affordable $7.99 price tag!
For my card here I used our Window Trio Circle dies to first cut out the windows for my little guys to hang from and then set to work adding my random cloud pattern to my aqua card panel (using micropore tape to hold my dies in place). As a final finishing touch I heat embossed my sentiment with opaque white embossing powder onto the pennant from our Fancy Frames Rectangle Dies.
Card No.2: For my next card I cut our Botanical Backdrop die from white cardstock and then used my Copic Markers to color them, starting first with a lighter green shade and then quickly sketching in some veining with a darker color. I read that hibiscus flowers are like candy for sloths so the set comes with a little hibiscus flower that compliments the larger hibiscus in our Island Getaway Stamps.
Card No.3: I created my next card for a card challenge at my local scrapbook store. They had provided us with the chevron paper and pink paper flowers and it was up to us to use them in some way on a card and bring them back to share. For my card I took a jungle approach, using our Stitched Oval Dies to cut a window from the center and then backing it with various leaves from our Botanical Backdrop Dies and topping it with a stitched oval from our Fancy Frames Oval Dies. For my sentiment, I stamped the banner from our Sunny Borders stamps onto a piece of kraft cardstock and then masked off the edges with a post-it note to shade the back parts of the banner with some coordinating Distress Ink.
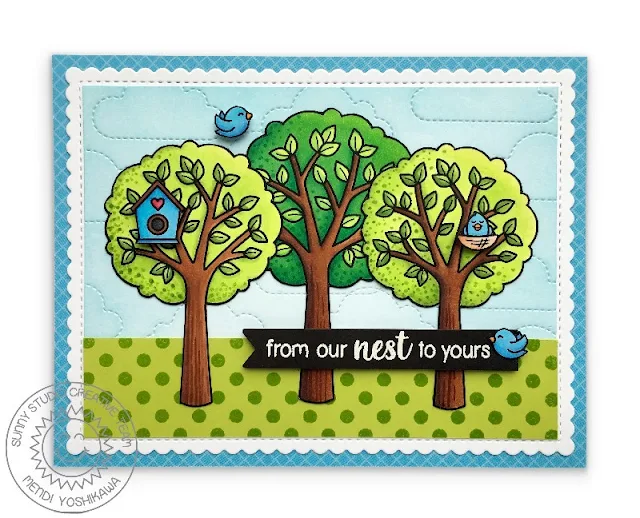
Card No.4: Our second new stamp of the day is our new Seasonal Trees Stamps and Dies. This set comes with 5 fun trees and one log perfect for scene building all year long. These coordinate well with the trees from some of our previous releases, but are not identical in size or orientation so they are a nice compliment to the others. For example this card uses the two new trees on the outer edges together with the tree from our Summer Picnic Stamps which is larger in size and whose branches are slightly different.
For this card I started by die-cutting the stitched clouds onto a white cardstock panel which I then inked up with some Tumbled Glass Distress Ink. You can ink before or after, but by inking after you die-cut, the ink is more emphasized where the stitched lines are.
For my grass, I heat embossed a strip of polka-dots from our Background Basics stamps and then mounted my sky and grass onto a scalloped frame from our Frilly Frames Stripes Dies. I then mounted them again onto a 5.5" x 4.25" piece of diagonal grid paper from our Gingham Pastels 6x6 Paper pack. The final touch was a heat embossed sentiment from our A Bird's Life Stamps.
Card No.5: For my next card I wanted to showcase the two cool fir trees (and log) from the set. These can be used for an outdoorsy type card like I did here or they come with a star and balls to turn them into Christmas trees. It think they are also drawn in such a way that you could color them like they were covered in snow for a chilly winter scene.
I completed my camping scene with some images & a sentiment from our Critter Campout Stamps. I kept my background very simple blending Colorbox Dyestress Capri and Dystress Inchworm ink onto a 5.25" x 4" panel and mounting them onto an A2 card base. Loving the soft, chalky look of these inks when they dry!
Card No.6: Up next is a tree from the set that can be used for spring like I did here or colored in fall colors for autumn scene building. For my tree, I colored and fussy cut two of the little posies from the stamp set. This set comes with so many things to accessorize your tree from birdhouses, bird nests, tree swings, leaves, flowers, apples, coconuts, you name it.
It's difficult to tell from my photo because of how light I kept the center of my background, but I actually used the coordinating dies for my tree. I usually like to fussy cut my images, but this is another one of those images where the dies are a lifesaver. ;) I mounted my little scene behind one of our Fancy Frames Square dies which I cut apart to elongate behind my sentiment. I wasn't liking how my sentiment was covering the bottom of my frame and I didn't want to cover the tire swing so cutting them apart was the perfect solution.
I cut my banner from a polka-dot print from our Dots & Stripes Pastels Paper pack and stamped my greeting using a sentiment from our Timeless Tulips Stamps. I then mounted them onto a piece of pink floral print paper from our Flirty Flowers Paper pack. My card was just feeling like it need a little something extra so I then cut off 1/4" along the bottom and added a scalloped edge using our Stitched Scalloped Dies and a thin strip of striped paper from our Spring Sunburst Paper pack.
Card No.7: For my last card of the day I used that same tree from card no.4, this time layering on some apples from the set. I die-cut a ric-rac mat from white cardstock using our Frilly Frames Chevron Dies and then masked them off along the edge using some purple tape. I then flicked on color using a bunch of different green Copic Markers until my grassy background was filled in, adding a little shading with some Mowed Lawn Distress ink around the edges. When it was complete, I die-cut a grass border using our Sunny Sentiments Dies. I then cut a second ric-rac mat and repeated the process with the purple tape and inked up my sky with Broken China Distress ink.
When my inks were dry I heat embossed a sentiment borrowed from our Fruit Cocktail Stamps. I then added a few clouds from our new Fluffy Clouds dies and a boy to sit on my log from our Fall Kiddos Stamps. I just love all the scene building opportunities this set has and I can't wait to play with it more. I'm sure it's going to be one I find myself reaching for over and over again. ;)
I'm so happy you've joined me for today's sneak peek and I'd love to give a $25 gift code to one lucky winner. Make sure to keep checking back all this week for more peeks & prizes for up to five chances to win. The contests run through Saturday at Midnight PST with winners announced here on Sunday, April 14th. :)
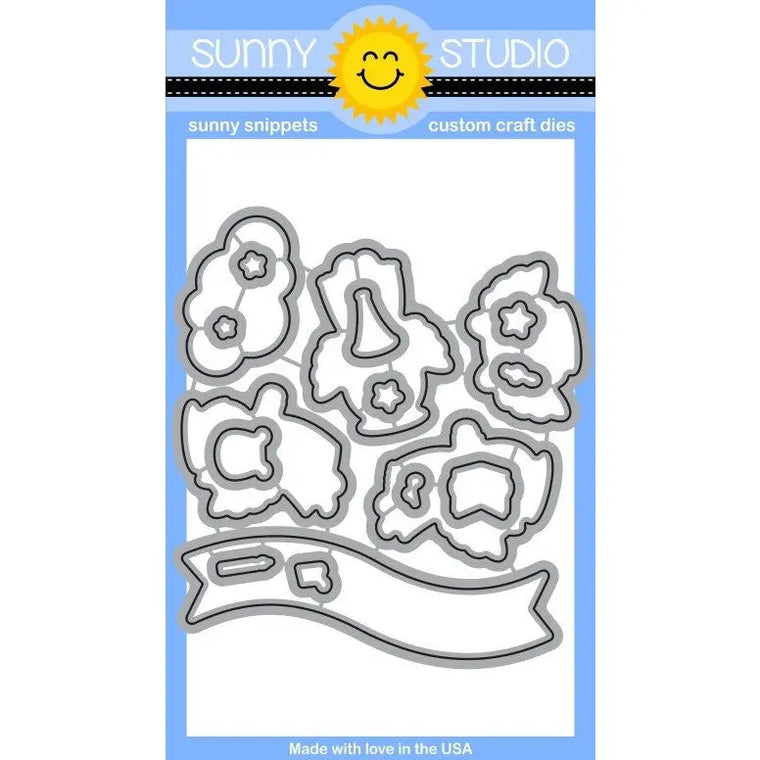
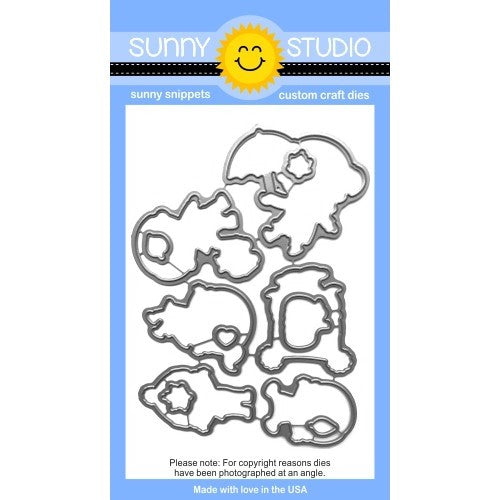
a Rafflecopter giveaway Here's a closer look at the new Silly Sloths and Seasonal Trees stamps & coordinating dies, as well as the new standalone Fluffy Clouds dies used today (available for purchase on Friday, April 12th).
Other Sunny Studio Supplies Used:
 A Bird's Life Stamps Shop at: Sunny Studio |
 Little Angels Dies Shop at: Sunny Studio |
 Stitched Scallop Dies Shop at: Sunny Studio |
 Sunny Borders Dies Shop at: Sunny Studio |
 Sunny Borders Stamps Shop at: Sunny Studio |
 Timeless Tulips Stamps Shop at: Sunny Studio |
 Fancy Frames-Square Dies Shop at: Sunny Studio |
 Critter Campout Stamps Shop at: Sunny Studio |
 Critter Campout Dies Shop at: Sunny Studio | |
 Fancy Frames- Ovals Shop at: Sunny Studio |
 Fancy Frames- Rectangles Shop at: Sunny Studio |
 Window Trio- Circles Die Shop at: Sunny Studio |
 Background Basics Stamps Shop at: Sunny Studio | |
 Fruit Cocktail Stamps Shop at: Sunny Studio |
 Gingham Pastels 6x6 Paper Shop at: Sunny Studio |
 Spring Sunburst 6x6 Paper Shop at: Sunny Studio |
 Flirty Flowers 6x6 Paper Shop at: Sunny Studio | |
 Dots & Stripes Pastels 6x6 Paper Shop at: Sunny Studio |
 Botanical Backdrop Die Shop at: Sunny Studio |
 Frilly Frames Chevron Die Shop at: Sunny Studio |
 Frilly Frames Stripes Die Shop at: Sunny Studio |
 Island Getaway Dies Shop at: Sunny Studio |
 Island Getaway Stamps Shop at: Sunny Studio |
 Summer Picnic Dies Shop at: Sunny Studio |
 Summer Picnic Stamps Shop at: Sunny Studio |
 Sunny Sentiments Dies Shop at: Sunny Studio |
 Fall Kiddos Stamps Shop at: Sunny Studio |
 Fall Kiddos Dies Shop at: Sunny Studio |
 Stitched Oval Dies Shop at: Sunny Studio |


