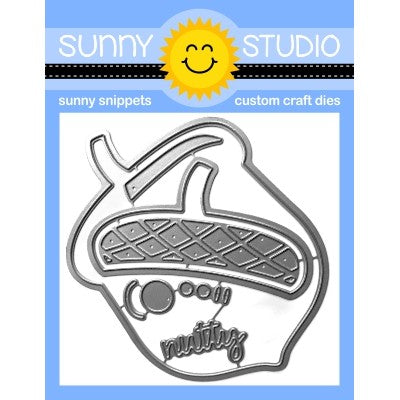
I began by stamping and coloring the images with Copic markers. I then die cut them using the coordinating dies. I decided to do a little cluster of leaves and acorns to look like a swag. However, before I started adhering the images, I added some black ink splatters to a piece of kraft cardstock trimmed to 4 x 5.25 inches.
Next, I played around with the placement of the stamped images. Once I had the images were I wanted them, I grabbed a piece of Therm O Web Purple Tape. I simply adhered the tape on top of the images to hold them in place and then I added adhesive to the back side of them.
For a few of the images I added some double sided foam adhesive to give them a little bit of dimension. To finish off the card, I stamped the gorgeous sentiment onto a white cardstock banner.
I hope you enjoyed this bit of inspiration using the Beautiful Autumn stamp set. I love the versatility of this small stamp set and that definitely makes it a must-have in my stamp collection! Which way would you use this stamp set for your cardmaking? Would you go more traditional or more playful? We can't wait to see what you create and share with us!
Sunny Studio Supplies Used:
 Beautiful Autumn Stamps Shop at: Sunny Studio |
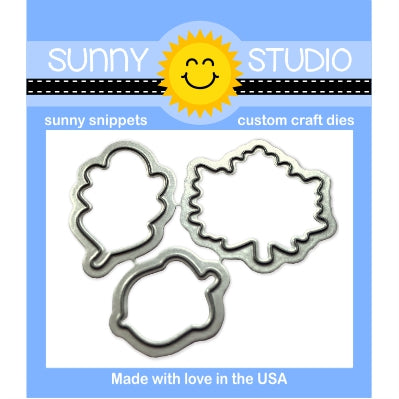 Beautiful Autumn Dies Shop at: Sunny Studio |


