Card No. 1: My first card combines all of the new products in one fun card. We have a new standalone die called the Fall Flicks Filmstrip die which creates the perfect frame for scene building. The die set also takes advantage of the negative spaces between the frames to include some bonus mini layered pumpkin and sunflower dies (which I've used in my last two cards below).
For this card I created a little scene using our new Fall Kiddos stamps & dies and Happy Harvest stamps & dies (and the grassy border from a new set that will be featured tomorrow). As many of you know I actually enjoy fussy cutting my images, but the tree is one image that I quickly realized is best used with the coordinating dies or stamped directly to your card background because it turned out to be one crazy image to cut out by hand. ;) The tree trunk comes with an opening in the wood grain print to either stamp a carved heart or a happy face which is super fun!
I completed my card with argyle borders above and below my scene by cutting strips of paper from our new Amazing Argyle 6x6 Paper pack.
Card No. 2: For this card I created a different scene using those same five products. This time instead of using patterned paper, I stamped a subtle tone-on-tone striped pattern using our Background Basics stamps. These sunflowers images can be stamped plain or be personalized with one of the many smiley faces in the Happy Harvest set like I did here.
Card No. 3: Up next is a card I created using the girl with umbrella, wind and sentiment from the Fall Kiddos. I love how well the she paired with the puddle from Rain or Shine and our mini Rain Showers background stamp!
For my patchwork border I used the square die from our exclusive Basic Mini Shaped dies together with the papers from our Amazing Argyle 6x6 Paper pack. For the die-cut squares I adhered them to my card base starting in the top corner near the fold and worked along the edge. After I had the top row on, I had to trim my notecard slightly narrower to approximately 5-3/8" or something close to that.
For my patchwork border I used the square die from our exclusive Basic Mini Shaped dies together with the papers from our Amazing Argyle 6x6 Paper pack. For the die-cut squares I adhered them to my card base starting in the top corner near the fold and worked along the edge. After I had the top row on, I had to trim my notecard slightly narrower to approximately 5-3/8" or something close to that.
Card No. 4: For this card I wanted to show how the filmstrip die can well for vertical cards too. In this format, one of the sections is the perfect size to fit a sentiment. To keep things from getting too busy, I chose one of the two brown polka-dot prints from the Dots & Stripes Jewel Tones 6x6 Paper pack.
Card No. 5: I love that depending how you color the tree it can work with autumn leaves or green ones for early fall or even Spring. For this card I added a happy face to the trunk of my tree and layered it with a number of the little apples from the set which I also stamped with the smallest happy face and coated with glossy accents. I then added those same little faces to the apples in the basket.
For this card I colored my scene to match my two papers taken from the Gingham Jewel Tones 6x6 Paper pad, although these colors can be found in all four new paper packs. I love how well they mix and match with each other! To add a little interest I created button flaps using the pennant from our Fancy Frames Rectangle dies and heat embossed my sentiment with white powder on the smallest oval from our Fancy Frames Oval dies.
For this card I colored my scene to match my two papers taken from the Gingham Jewel Tones 6x6 Paper pad, although these colors can be found in all four new paper packs. I love how well they mix and match with each other! To add a little interest I created button flaps using the pennant from our Fancy Frames Rectangle dies and heat embossed my sentiment with white powder on the smallest oval from our Fancy Frames Oval dies.
Card No. 6: Up next is a card showcasing the mini layering pumpkins that come with the Fall Flicks Filmstrip die. These are sized to work together with the stamped images and not be too gigantic in your scenes, but I must warn you that the parts are definitely on the small side if you struggle with little pieces. ;) To make them look even more 3D, I used a finger dauber to ink the edges with Carved Pumpkin distress ink and then assembled them using a Zig glue pen. Love how they pop!
As I was looking for a paper to use I came across this fun stripe in our Preppy Prints 6x6 Paper pack that I was drawn to so I decided to pull out the darker blue and turn my scene into a evening visit to the pumpkin patch (after all It's the Great Pumpkin Charlie Brown is still one of my favorites). Using a Sharpie Extra Fine White Paint Pen, I hand drew some stars and dots to create my night's sky. I finished off the card with a simple sentiment using a stitched label cut in half from a new die set that I'll be sharing on Friday.
As I was looking for a paper to use I came across this fun stripe in our Preppy Prints 6x6 Paper pack that I was drawn to so I decided to pull out the darker blue and turn my scene into a evening visit to the pumpkin patch (after all It's the Great Pumpkin Charlie Brown is still one of my favorites). Using a Sharpie Extra Fine White Paint Pen, I hand drew some stars and dots to create my night's sky. I finished off the card with a simple sentiment using a stitched label cut in half from a new die set that I'll be sharing on Friday.
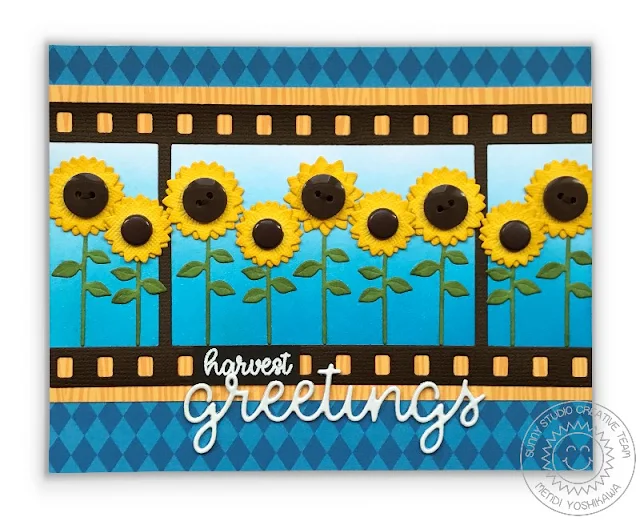
Card No. 7: For my last card of the day I used the mini layering sunflower dies that also come with the Fall Flicks Filmstrip die and papers from our Amazing Argyle and Preppy Prints 6x6 Paper Packs. For my sentiment I used the word "harvest" from the Fall Kiddos stamps and paired it the new Greetings Word die which I cut from three pieces of white cardstock and layered together with a glue pen.
Phew! That was a lot to take in. Are you still with me?
I'm so happy you've joined me for today's sneak peek and I'd love to give a $25 gift code to one lucky winner. Make sure to keep checking back all this week for more peeks & prizes for up to five chances to win. The contests run through Saturday at Midnight PST with winners announced here on Sunday, July 15th. :)
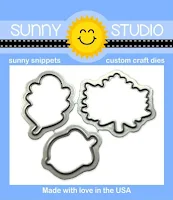
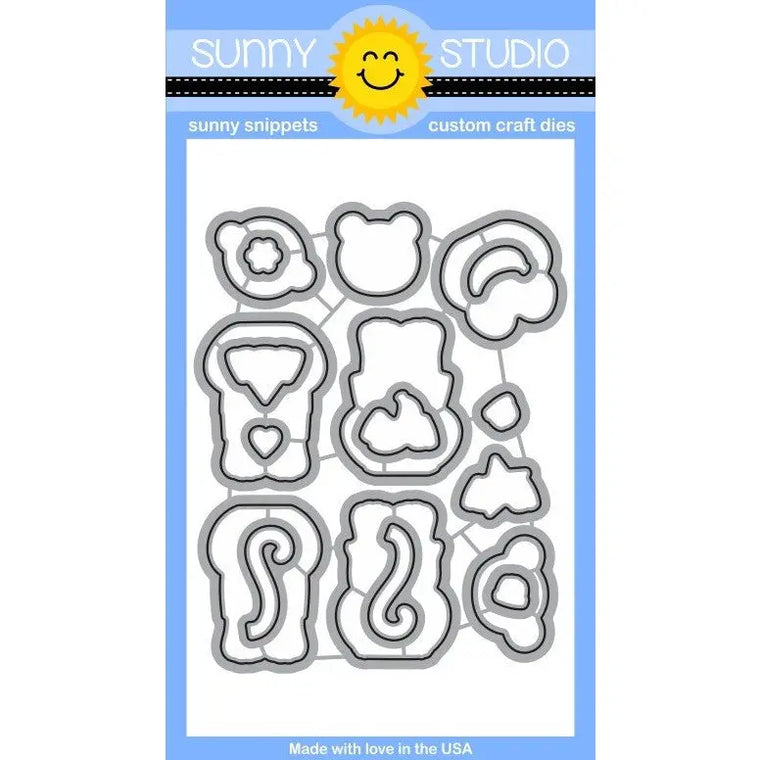
a Rafflecopter giveaway Here's a closer look at the new stamps & coordinating dies (which will be available for purchase on Friday, July 13th).
*Many linked supplies are part of the Fall release and will not be available for purchase until July 13th.
I'm so happy you've joined me for today's sneak peek and I'd love to give a $25 gift code to one lucky winner. Make sure to keep checking back all this week for more peeks & prizes for up to five chances to win. The contests run through Saturday at Midnight PST with winners announced here on Sunday, July 15th. :)
a Rafflecopter giveaway Here's a closer look at the new stamps & coordinating dies (which will be available for purchase on Friday, July 13th).
Other Sunny Studio Supplies Used:
 Rain or Shine Stamps Shop at: Sunny Studio |
 Memento Tuxedo Black Ink Pad Shop at: Sunny Studio |
 Memento Tuxedo Black Marker Shop at: Sunny Studio |
 Tsukineko Jumbo Dauber Shop at: Sunny Studio |
 Rain Showers Stamps Shop at: Sunny Studio |
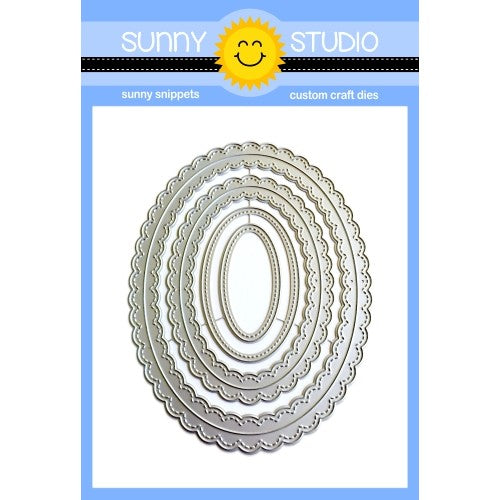 Fancy Frames- Ovals Shop at: Sunny Studio |
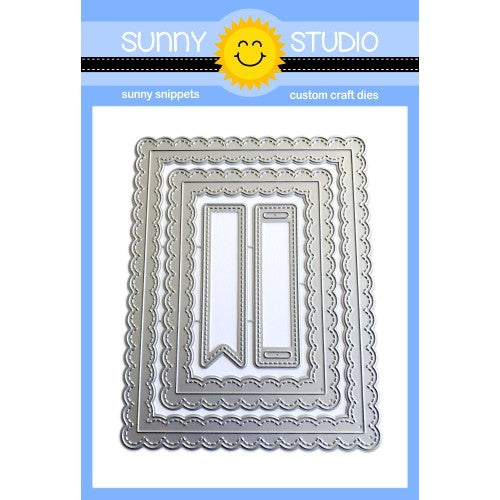 Fancy Frames- Rectangles Shop at: Sunny Studio |
 Background Basics Stamps Shop at: Sunny Studio |
 Gingham Jewel Tones 6x6 Paper Shop at: Sunny Studio | |
 Amazing Argyle 6x6 Paper Shop at: Sunny Studio |
 Dots & Stripes Jewel Tones 6x6 Paper Shop at: Sunny Studio |
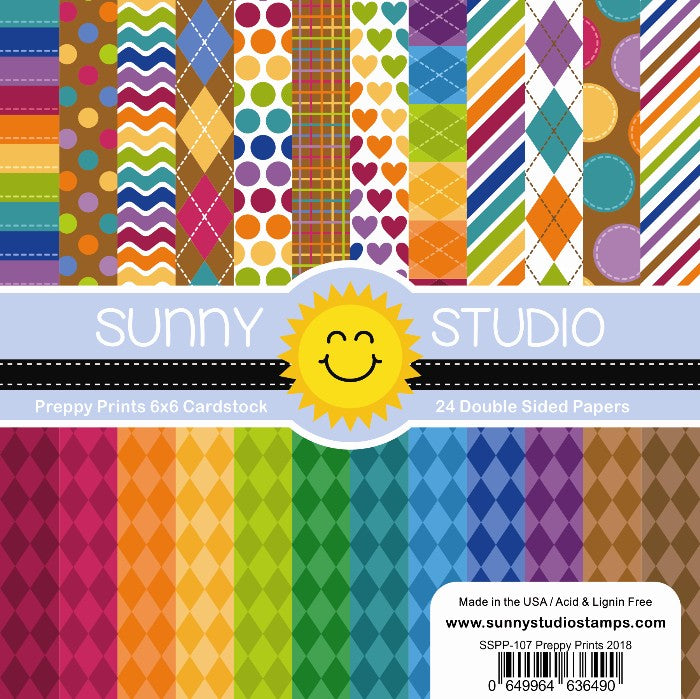 Preppy Prints 6x6 Paper Shop at: Sunny Studio |
 Greetings Word Die Shop at: Sunny Studio | |
 Mini Basic Shape Dies Shop at: Sunny Studio |


