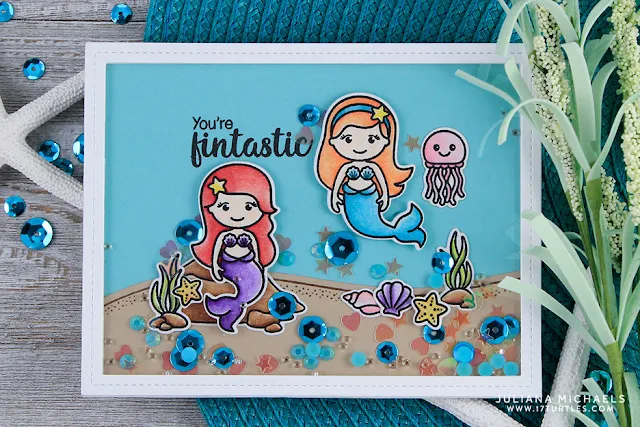
To begin I stamped and coloured all my images from the Magical Mermaids stamp set. I tried to use my lightest Copic Markers that I owned to create the soft look in my colouring. Once everything was coloured I used the coordinating dies to cut them out.
Next up I needed to create the window in my panel. I first cut two 1 1/2" slits in the top and bottom of my panel and then used my knife to create the curved edges going from each cut line. This created the fun wave effect going down the card. I could have used dies, but I figured this would be easier. Once my panel was cut I adhered a piece of acetate behind the opening and then put a double layer of foam tape on the back of the panel and around the opening.
For my background, I took three colours of Distress Oxide inks and ink blended onto some watercolour cardstock, and then covered it with some snow sparkling embossing powder from WOW! and heat set it. I then filled my shaker panel with a ton of different sequins and seed beads from Pretty Pink Posh and also adhered down some fish and other little accents to my coloured background piece. I then took off the foam tape and adhered my coloured panel to my shaker panel.
I used foam tape to adhere the rest of my images to the front of the shaker panel and then stamped my sentiment also from the Magical Mermaids stamp set onto the white area on the left.
To finish up the card I added some sparkle onto my mermaids and adhered my panel onto a piece of mint cardstock that I adhered onto a card base.
That finished up my card for today and I hope you got inspired. I'm still not sure I love the pastel look for me - I love when others do it, but I still think I prefer my bright and bold style!
Anyway, thanks so much for stopping by!
Sunny Studio Supplies Used:


