Hi, Lindsey here today sharing a card using the so cute Woodsy Creatures. This is my third card using this set, and it is just too fun! This time I went with a Thanksgiving theme. Let's see how this card came together.
I began by cutting an A2 sized card base from some patterned paper. Next I cut a scalloped oval from some teal polka dot paper. Then, I cut a white oval to do my stamping on. I decided to use the little squirrel and fox from the Woodsy Creatures set, and I wanted them to be dressed up for Thanksgiving. I stamped a feather headdress for the squirrel and the pilgrim hat for the fox. I then masked off the hats and stamped the critters' heads and bodies. I then stamped my sentiment and scattered some falling leaves to complete my scene. I colored all my images with Copic markers. To finish up the card, I rounded the corners of the card base and added some Wink of Stella to the leaves and hats.
That's it for me today. I hope you enjoyed my card and will continue to check back to the blog for more inspiration. Thanks for reading and have a great day!
Sunny Studio Supplies Used:
Wednesday, August 31, 2016
Tuesday, August 30, 2016
Woodsy Creatures: Sweet Birthday Wishes with Anni
Hey stampers, Anni here!
Isn't this hedgehog from the set Woodsy Creatures the cutest?
I still had a colored milk shake from this card left (from the set Sock Hop) so I decided a hedgehog wants to drink a milk shake now and then, too. I love it when different sets come together so easily.
I stamped and colored all of the images that I wanted to use in my little scene and then I fussy cut them.
For the background I added some ink blending to my cardbase. I used Distress Inks in Cracked Pistachio and Mermaid Lagoon. I love to add splatters of water to my background for that bleached effect.
The Sweet Word die is one of my favorite so I decided it would go perfectly with the milk shake. I die cut it several times from turquoise cardstock and once from white cardstock. I stacked it up to get some dimension. The rest of the sentiment is from the Sweet Shoppe set. I stamped it in Versamark and heat embossed it in white on black cardstock.
Thanks for stopping by and have a sunny week.
Monday, August 29, 2016
Woodsy Creatures Thankful For You Card with Eloise
Hello everyone, Eloise here and today I'm here to show my project for Woodsy Creatures - this is such a super fun set. I love woodland creatures and this one has some super fun elements to make scenes with. :)
To begin my card today I stamped, coloured and die cut all my images out. I used Copic Markers this time round since I didn't have many images to colour. I then took some green distress inks and made a nice blended background on some watercolour paper. I used my favourite water splotch technique to give the green blended piece a little interest.
Once the background was done I arranged my scene on my card and then white heat embossed a sentiment from the Harvest Happiness set on a black die cut banner. Once everything was adhered I foam mounted the panel onto a kraft card base and the card was done.
Thanks for stopping by today, make sure you check by the blog the rest of the week for more inspiration.
- Eloise
Sunny Studio Supplies Used:
Saturday, August 27, 2016
Sunny Saturday Share: Customer Cards for All Occasions
Hello there! How are you? I'm so excited to finally share some amazing cards spotted online using our stamps & dies over the past few weeks!
Sweet Shoppe Cupcake Card by Rebekah Weckerly
Sweet Shoppe Card by Sandy Allnock (with video tutorial HERE)
Tropical Paradise Pineapple Card by Kimberly Rendino
Backyard Bugs Thank You Card by Rebekah Weckerly
Sweet Shoppe Ice Cream Card by creative_cucina (variation of card shared HERE)
Backyard Bugs Bumblebee Thank You Card by Rebekah Weckerly
School Time Good Apple Card by Waleska Galindo
Halloween Cuties Card by Juliana Michaels
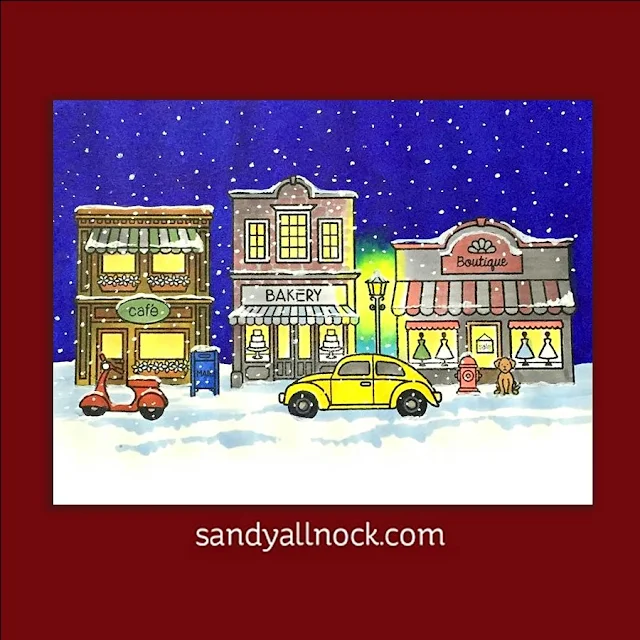
City Streets Holiday Winter Scene Card by Sandy Allnock
Thank you for sharing your gorgeous cards. Please keep them coming. My heart always skips a beat when I stumble upon your fabulous projects!
Want to be featured in a future Sunny Saturday Share post? Tag us with the hashtag #sunnystudiostamps and share your projects with us on Instagram, our facebook page or in our flickr group. :)
Sunny Studio Supplies Used:
Friday, August 26, 2016
School Time Thank You Teacher Card by Lexa
Hello everyone! Lexa here today with a back to school inspiration card starring School Time stamp. It's an older set from Sunny Studio but I totally love this. This set is perfect for encouragement cards and even a thank you card just like I made today. I hope you enjoy the whole post. Happy reading!
I started with a 4.25" x 5.5" white cardstock panel. My favorite is Neenah Solar White because it's so smooth and works perfectly with alcohol markers and stamping with dye inks, etc. I made my own striped patterned paper by drawing yellow lines with my alcohol markers. It doesn't need to be perfectly straight, a little bit imperfection is beautiful. After I finished my background panel, I decided to add a watercolor border on the left and I think it looks better with it.
I stamped all the images with black Versafine ink and watercolored them with Distress Markers. For extra cuteness, I want a critter on my card so I choose the racoon from Woodsy Creatures to sit on the pencil. Isn't he so adorable?? A little trick for you, I always to decide the color scheme I want for my card in the begining so that I can match the whole card and keep on track. As for this one, I choose yellow and red as the main color. I white embossed the sentiment on a stripe of red cardstock to match my apple.
I hope you like today's card. Have a great weekend!
Subscribe to:
Comments (Atom)


