Hey stampers, Anni here!
Can't you wait for the summer to start? There are so many fun things you can do: Swimming, staying at the beach... AND have a picnic! If you like picnics you will LOVE this set called Summer Picnic. It is awesome!
I stamped, colored and die-cut way more food than you can see here. I like to prepare more images than I use in the end. That way I can arrange them as I want and have a lot of opportunities.
I used a piece of patterned paper as a picnic blanket and arranged all the food. It looks yummy, doesn't it? To emphasize the focal point I added some ink blending to my background. I stamped the sentiment and that finished my card.
Thanks for stopping by and have a sunny week.
Tuesday, April 26, 2016
Monday, April 25, 2016
Summer Picnic & Sunny Sentiments Let's do Lunch Card by Eloise
Hello everyone! Eloise here today to feature the new Summer Picnic stamp set. I love this stamp set with so many images to colour in and to create fun scenes. This set has so many great uses and it mixes in well with lots of the other stamp sets that have been released as well. It’s super fun!
Today I’m going to be creating a scene using a ton of the fun images included in this set along with the previously released stamp set called Sunny Sentiments to create a fun sort of lunch date card for a friend or family member.
To start off this card I first stamped out pretty much all of the image stamps included in the Summer Picnic stamp set. I used some black ink along with some white cardstock. I decided for this card I would use some Copic markers to colour them in. Once they were all coloured in, I cut them all out. This set along with other sets have coordinating dies too, which makes it super easy! Once they’re all cut out I decided to work on the background. I cut down a piece of card stock and first started off with the sky. For this I used Broken China and Tumbled Glass distress ink. I then moved onto the grass. For this I used Twisted Citron and Mowed Lawn. Once the grass was coloured I used the grass stamp from the Sunny Sentiments set and stamped it onto the green piece. I then used my scissors to cut along the black line. To complete the sky and grass pieces I also flicked on some water to create a water splotch effect.
Once the piece had dried I moved on to creating my scene. I placed all my images onto the card first before I adhered them down to know the placement. Once I was happy with it I started adhering pieces down. I used some liquid glue and foam adhesive to do so to give varying heights. Once everything was glued together including the sky and grass piece I took the ‘let’s do lunch’ sentiment from the same Summer Picnic stamp set and stamped that onto the sky with some more black ink. I then adhered the whole panel onto a white card base. I decided to add some clouds from the Sunny Sentiments set also because I thought the sky needed something a little extra. That finished up my card.
I hope you enjoyed and don’t forget to stop by tomorrow and check out another project using this super fun Summer Picnic stamp set!
- Eloise
Sunny Studio Products Used:
Saturday, April 23, 2016
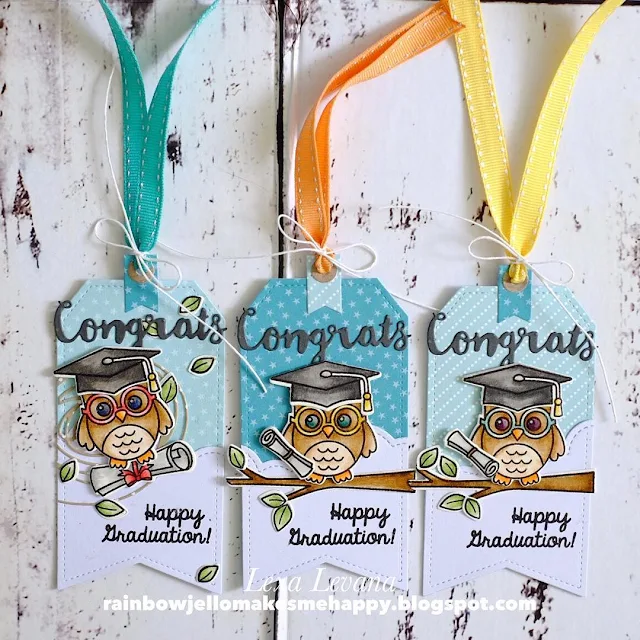
Sunny Saturday Share: Graduation Gift Tags, Teacher Cards & More
Hello there! I hope you are all enjoying a great start to your weekend! I am half way through designing our release for early July. I am toying with the idea of breaking it into two smaller releases with some everyday sets in early July and some sets for fall in mid-August. I just finished the everyday sets and I think you're going to love what I have in store! :)
In the meantime I thought I would pop in with some wonderful customer projects that caught my eye on the web over the past couple of weeks...
School Time Teacher card by Alba (@albasevadilla on Instagram)

Fresh & Fruity Citrus Slice card by Jenny (@owlbecrafty on Instagram)
Fresh & Fruity Pear Card by Jenny (@owlbecrafty on Instagram)
Backyard Bugs Daisy Birthday Card by Karen Nutkins
Aren't these all so much fun?! I hope you will share your projects with us too! I can't fully express how happy it makes me to find your projects out there using our stamps and dies! You can share with us on our Facebook page, in our Flickr group or by tagging us with the hashtag #SunnyStudioStamps on instagram. :)
Sunny Studio Supplies Used:
Friday, April 22, 2016
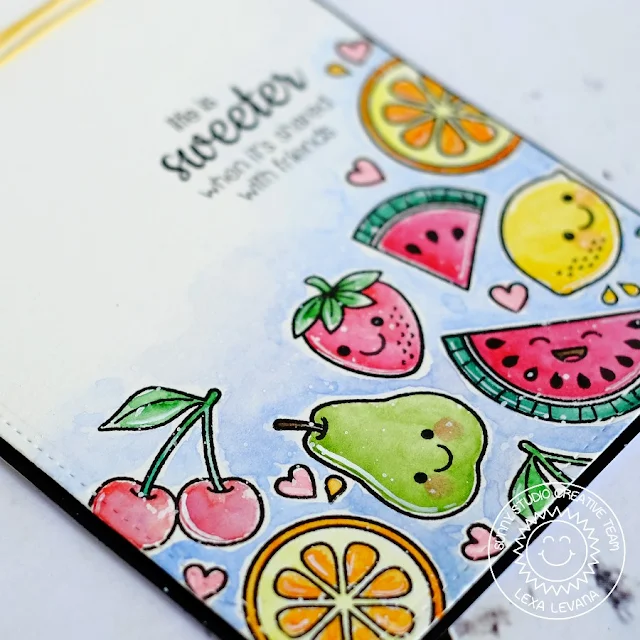
Fresh & Fruity Life Is Sweeter with Friends Card by Lexa
Hi everyone!
Lexa here today with a sweet fruity card using the brand new Fresh & Fruity set. I love this set a little bit too much, those adorable looking fruits are irresistible. I made a one layer card, stamping all of them in random position. Then I add smiley faces before watercoloring all the images.
I use my Gansai Tambi for this one--the vibrant colors are perfect for this! I also stamped a few little hearts from Comfy Creatures to fill in empty spaces. After I finished coloring all my images, I also did the same thing for the background. For a final touch, I splash some white ink all over the card. It's a random thing, but it's absolutely my thing. LOL!
I tied yellow thin string on top of my card to match the yellow lemon. Lastly, I adhered the card to a piece of black cardstock. I hope you enjoy today's card. Have a sweet day! <3
Thursday, April 21, 2016
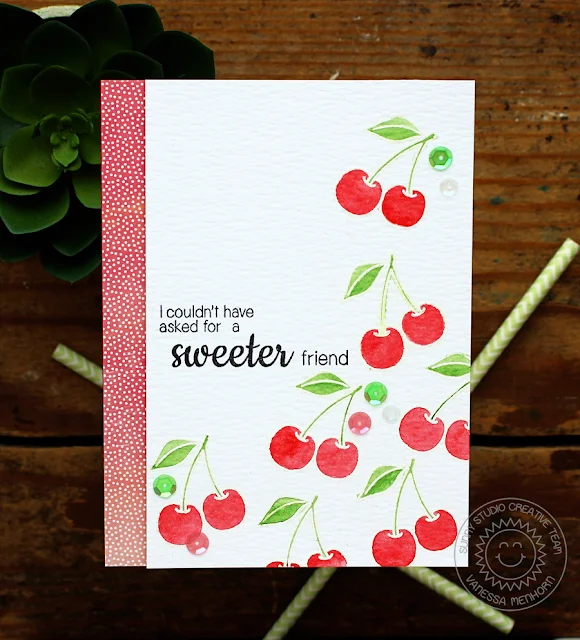
Fresh & Fruity Sweet Cherries Watercolor Card with Vanessa
Hi sweet Sunny Studio friends! Vanessa here with a cherry sweet card using Fresh & Fruity. This set is so yummy!
For my card, I wanted to focus on the sweet cherries from the set. First, I covered the card with patterned paper. Now I stamped the cherry image repeatedly with Versamark ink onto a panel of watercolor paper and heat-embossed the cherries using white embossing powder. Then I colored them with watercolors. Now I stamped the sentiment, trimmed the panel to become a bit narrower than the card base and adhered it to the card with foam tape. Finally, I added matching sequins.
Mmm, I would love to eat a bowl of cherries now! I hope you liked today's inspiration! Thanks for stopping by!
Subscribe to:
Comments (Atom)


