Hey crafty friends! You’re here with Amanda today and I’m so happy to be here with you! Today I’m going to walk you through how I made this square belated birthday card!
Are you loving the background on this card?! Me too! I used a combination of the new Tulip Path Background Stamps, the Spring Scenes Stamps and the Sprawling Surfaces Stamps. There’s quite a few layers, but I’ll break down each one!
I started by trimming a piece of white cardstock to 6”x12” for my card base. I scored it at the 6” mark and folded it. My next layer is the sky background panel. I trimmed this piece of white cardstock to 5.5”x5.5”. I lightly blended Catherine Pooler’s Hot Tub ink on the top portion of the panel.
For the next layer, I’ve trimmed another piece of white cardstock to 5.5”x5.5”. On this panel, I stamped the main background stamp from the Tulip Path Background Stamps. I used the coordinating dies to cut out the foreground.
My next layer is the Spring Scenes Stamps. I stamped the image on a piece of white cardstock trimmed to 5.5”x 3”. I used the coordinating dies to trim off the top part of the panel. On the bottom portion, I stamped the rocky road stamp from the Sprawling Surfaces Stamps.
I colored the entire background with Copic markers. Then, I assembled the card. I glued the background layers to the card base. I propped the foreground layer up with foam tape.
Now that all my layers are complete, it’s time to stamp my cuties! The 2 bunnies are from the Tulip Path Background Stamps. The little kitty and the birthday accessories are from the Party Pets Stamps. I used Copic markers to color in all my stamped images. I used the coordinating dies to cut out all the images. I propped all these little guys up with 3D foam squares and adhered them to the card.
The “Happy Birthday” sentiment is also from the Party Pets Stamps. My banner sentiment is from the Inside Greetings Belated Birthday Stamps. I love that these clear stamps are so flexible!Although it’s a straight stamp, I was able to bend it into a wave on my stamping platform. After stamping it, I simply used scissors to cut it into a banner. I placed a thin piece of foam tape behind it and then adhered it to my card.
The card is finished! What a fun and colorful card to give to a friend! I hope you enjoyed this blog post and will come back tomorrow for more inspiration! Thanks for coming by the Sunny Studio Stamps blog!
Sunny Studio Supplies Used:
 Spring Scenes Stamps Shop at: Sunny Studio |
 Spring Scenes Dies Shop at: Sunny Studio |
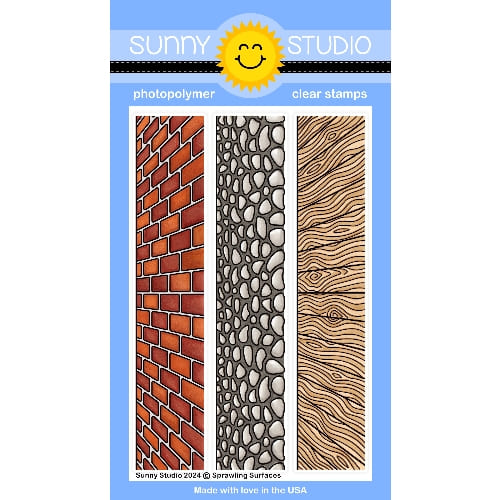 Sprawling Surfaces Stamps Shop at: Sunny Studio |
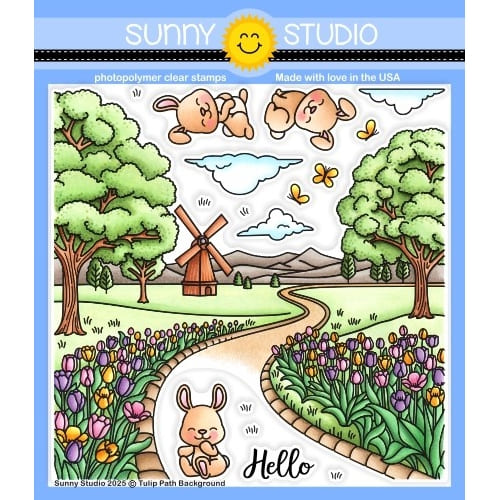 Tulip Path Background Stamps Shop at: Sunny Studio |
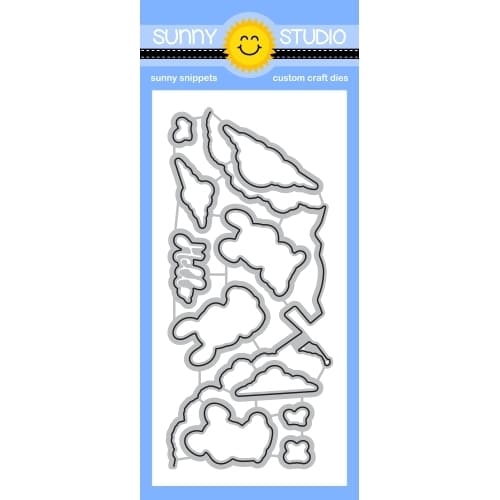 Tulip Path Background Dies Shop at: Sunny Studio |
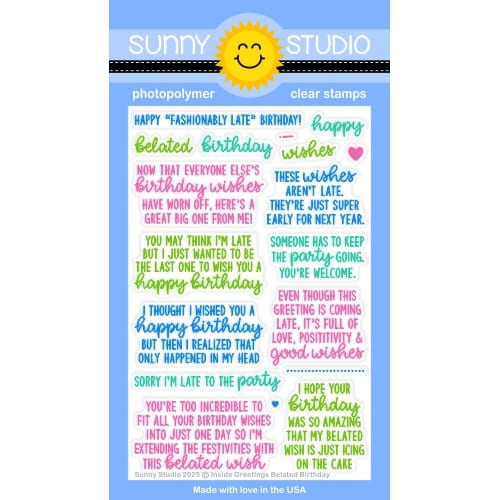 Inside Greetings Belated Birthday Shop at: Sunny Studio |
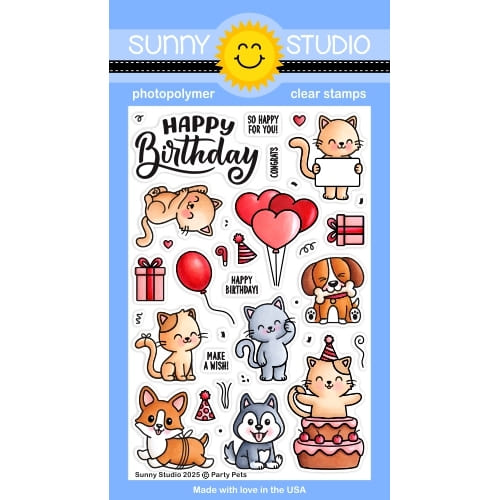 Party Pets Stamps Shop at: Sunny Studio |
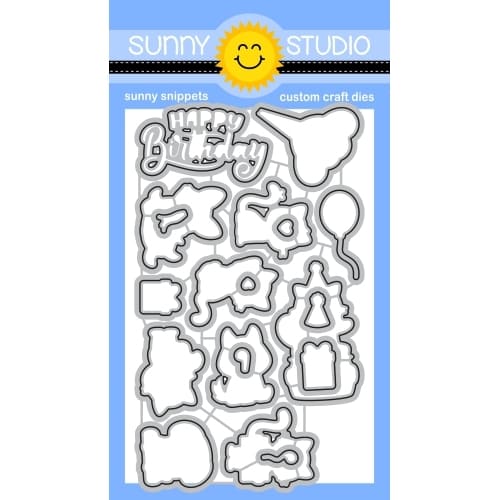 Party Pets Dies Shop at: Sunny Studio |


No comments:
Post a Comment