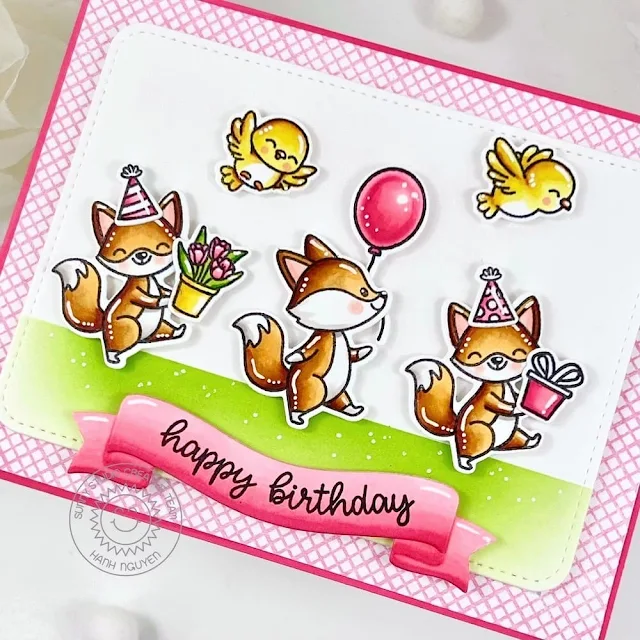
Hello Crafty Friends! This is Hanh on the Sunny Studio Stamps blog today with a fun birthday card to share with you showcasing the Background Basics 2 Stamps, Foxy Friends and Little Birdie sets. I love that this Background Basics 2 Stamps allows you to create a patterned paper to match any scheme.
I stamped the foxes from the Foxy Friends stamps, birds from the Little Birdie stamps and the balloon from the Party Pets Stamps set onto a piece of Neenah Solar White 110 lb cardstock with Memento Tuxedo Black ink and used the coordinating Foxy Friends Dies, Little Birdie Dies and Party Pets Dies to die cut them out. I colored them with Copic markers and highlighted them with a white gel pen.
COPIC COLORS:
Fox: YR21/23/24/27
E09, W00/1/3, W7, R00/30
Birds: Y11/13/15
YR27, Y38, R20
Pink: RV21/23/25
Yellow: Y11/13/15
Green: YG03/17
For the background, I
masked off the top portion of a piece of Neenah Solar White cardstock and
lightly ink blended the grass with Mowed Lawn DIstress Oxide ink. The
second largest die from the Rounded Rectangle Mat Dies was used to trim out the panel. A white gel pen was used to add
some dots and interest to the grass.
For the sentiment, I used the Brilliant Banner 1 Die to die cut a banner out of the same Neenah Solar White cardstock. I didn't have a perfectly matched piece of pink cardstock so I colored with banner with the same pink Copic markers that I used for the colored images (RV21/23/25). I stamped one of the sentiments from the new Inside Greetings Belated Birthday Stamps set with Memento Tuxedo Black ink onto the banner. I assembled the banner die and adhered the banner to the panel with foam tape.
I used Kitsch Flamingo Distress Oxide ink to stamp the Background Basics 2 Stamps onto another piece of white cardstock (4.25" x 5.5"). Once the panel was dried, I trimmed a total of 1/8" off from each dimension of the panel. Once again, to create a matching cardstock, I used a Copic marker (RV25) to color the edge of a piece of white cardstock (4.25" x 5.5"). I adhered the two pink panels together.
I adhered colored images to the grassy panel with foam tape. A piece of craft foam was adhered to the back of the grassy panel before it was adhered to the two pink panels. Finally, I adhered the finished panel to an A2 white cardbase (4.25" x 5.5"I).
I appreciate you taking the time to stop by and visit today. I hope you liked my card. For more info, ideas and to check out the entire new Spring Release, be sure to visit the Sunny Studio Stamps Shop. Please also visit my INSTAGRAM feed for more inspirations.
Have a wonderful and crafty day!
Sunny Studio Supplies Used:
 Little Birdie Stamps Shop at: Sunny Studio |
 Little Birdie Dies Shop at: Sunny Studio |
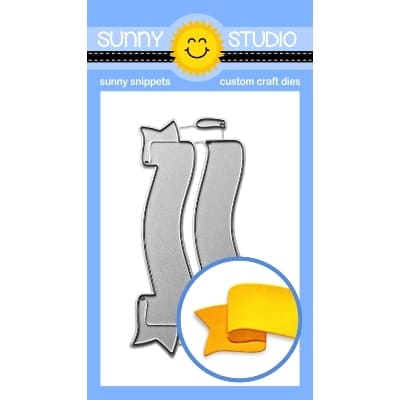 Brilliant Banner 1 Dies Shop at: Sunny Studio |
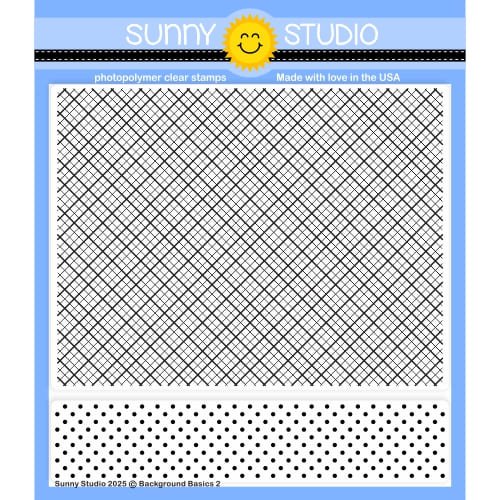 Background Basics 2 Stamps Shop at: Sunny Studio |
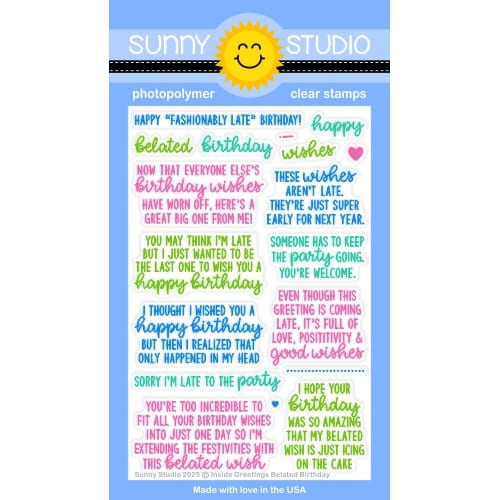 Inside Greetings Belated Birthday Shop at: Sunny Studio |
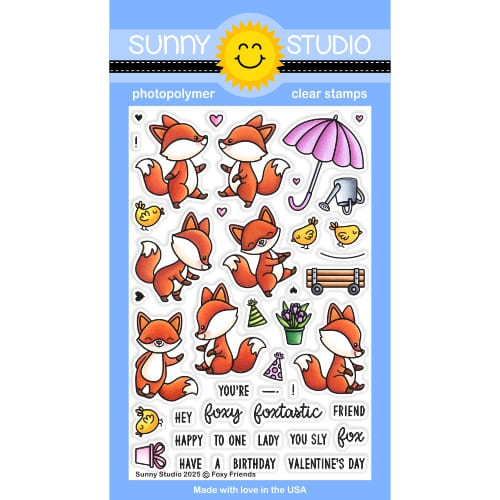 Foxy Friends Stamps Shop at: Sunny Studio |
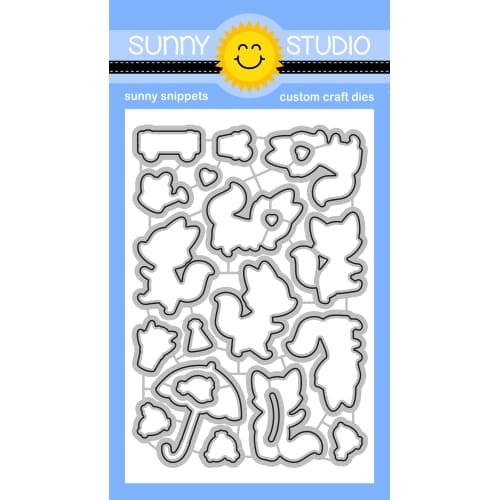 Foxy Friends Dies Shop at: Sunny Studio |
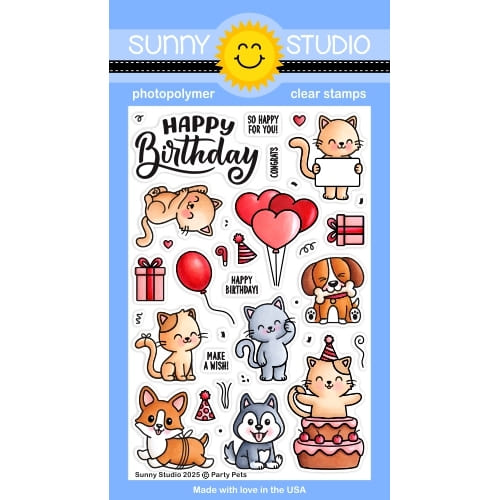 Party Pets Stamps Shop at: Sunny Studio |
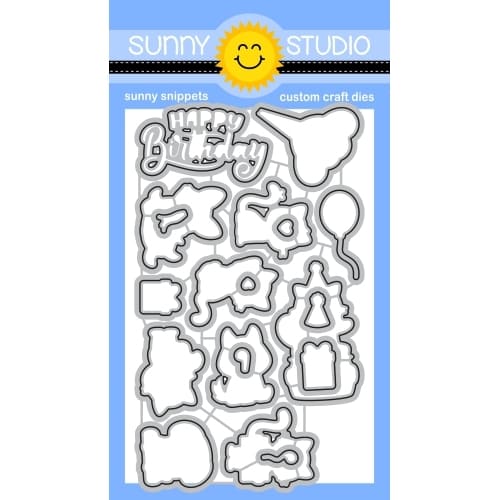 Party Pets Dies Shop at: Sunny Studio |
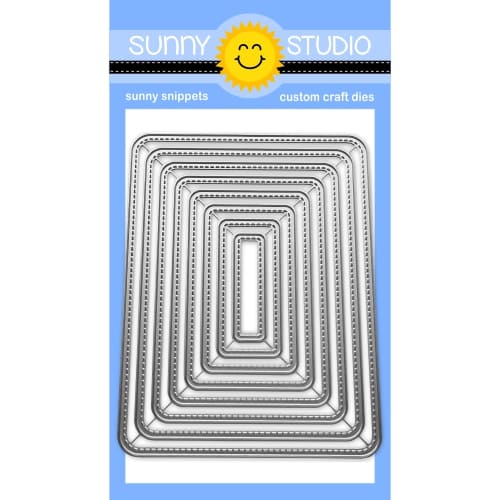 Rounded Rectangle Mat Dies Shop at: Sunny Studio |




Absolutely adorable!!
ReplyDelete