Hello and welcome to day 3 of our Summer Peek Week! All this week I am showcasing cards using our newest collection which will be available for purchase on Friday, April 16th.
For today's new products I'm sharing our sweet new Candy Shoppe Stamps & die set, a standalone Cupcake Shape Die and a playful new Chloe Alphabet die set. Let's dig right in!
For the rest of my card, I used a 4.25" x 4.25" aqua striped print from our Striped Silly Paper pack, a polka-dot print along the bottom from our Rainbow Bright Paper pack and a little belt of sorts between the two using our Slimline Pennant Dies. To frame my focal point and to have a place to add my punny greeting, I die-cut a circle from white cardstock using our Stitched Circle Large Dies.
Card No. 2: I wanted a fun way to "display" and show off many of the fun candies in the Candy Shoppe set so I created a sweet shop window display with awning for my next card. To achieve this look, I started by cutting my store window using our Comic Strip Everyday Dies and then bleeding off the top of my card, trimming off the one interior divider that was going to show with my scissors. I then used the oval handle die from our Sweet Treats Bag Dies to cut white and pink print paper using our Gingham Pastels Paper pack. I messed up my original calculations though thinking I had space for 11 pieces. In hindsight I would have used a centering ruler to put a white piece in the center and bled pink pieces off both sides, trimming off the excess, but mine were already glued down tight so I just went with it. ;)
To fill the space below my window, I used a coordinating striped print from our Sleek Stripes Paper pack and heat embossed the words "birthday wishes" using our Happy Thoughts Stamps. The Candy Shoppe set comes with the script word "sweet" which I stamped using Hero Arts Ultra Pink Ink and then die-cut using the coordinating Candy Shoppe Dies.
Card No. 3: My next card showcases the new Swirl Candy Confetti mix (that will be new in our shop on Friday) for a fun shaker card. To create my shaker window I started by trimming a yellow polka-dot paper from our Dots & Striped Pastels Paper pack and then die-cut an opening using our Stitched Circle Small Dies. I then used those same circle dies together with our Scalloped Circle Mat 3 dies to create a little frame for my shaker window.
The candy sticks from the set were purposefully designed a bit ambiguous so you can color them to look like hand twisted candy & peppermint sticks as shown in my previous card or like licorice vines like I did here. For my previous card I also passed on all the cute little faces from the set, but for this one I embraced the faces and added them any of the candy pieces I could fit them on.
Card No. 4: Up next is a card that spotlights the cute little cotton candy stamps from the Candy Shoppe set. It's hard to tell from the stamp set illustration shared below, but the face portion is actually a separate stamp image that pops out so if you don't like your inanimate objects to have personalities you can completely forgo that option. To turn mine into a girl and boy, I used a little bow from our new Looking Sharp Stamps which I will be sharing more of on Friday.
For this card I was trying to conjure up the feeling of a state fair or a circus so I borrowed the little banner from our Balloon Rides Stamps and cut my cloud background using Spring Fling Paper pack and Slimline Pennant Dies. For the white pennant mat below, I used the largest pennant die from that same set and then trimmed it down with my paper trimmer on each side and added stitching on each side to match the others using our Slimline Basic Border dies. For my background I used a sky blue check from our Gingham Pastels Paper pack and added a scalloped edge along the bottom using those same Slimline Basic Border dies.
Card No. 5: Our Rainbow Bright Paper pack feels like it was custom made to compliment these Candy Shoppe Stamps. The colorful papers make it so easy to create quick and simple cards that are anything, but boring. For this card I paired our Fancy Frames Rectangle Dies together with our new Stitched Rectangle Dies to frame my red gumball machine. I then used the little stitched pennant from the stitched rectangles set to stamp my "I love you to pieces" punny greeting using Versafine Onyx Black Ink.
Card No. 6: Switching gears, my next set of projects showcase our new Cupcake Shape dies. These are larger than life A2 sized cupcakes that can be used to create shaped cards, banners, gift bags and even to embellish your scrapbook pages. The die set includes a cupcake that can be added directly to a rectangular card, a cupcake shadow to turn it into a standalone shape, a layered candle die, a cherry and two different candy sprinkle options.
My first project is showing how you can use it to create a shaped card. To do this I used the accompanying shadow to cut two cupcake shapes from white cardstock. For the piece to be used on the back of my card, I cut off just a sliver along the bottom of my cupcake so that when completed my card won't rock and it can stand upright on a flat surface without rolling. I then put that flat portion along the side of my scoring tool and scored a line near the top of my cupcake that was parallel to the bottom. I then added adhesive above that score line and adhered both cupcake pieces together. This forms my card base.
To build my cupcake, I cut the wrapper portion using our Spring Sunburst Paper pack and the frosting portion using our Gingham Pastels Paper pack, decorating with clay sprinkles from our Rainbow Dot Confetti mix. I wanted a way to tuck in my candle to look like it was between the layers of frosting and just not floating on the top so I used the little die from our Tropical Scenes Dies to create an opening. I finished my card by stamping the "sweet birthday wishes" sentiment from our Candy Shoppe Stamps and layering them on a banner cut from a polka-dot print using our Dots & Stripes Pastels Paper and the die from our Little Angels Die set.
Cupcake Gift Bag: For my next project using the Cupcake Shape Dies, I created a gift bag inspired by a faux patent leather Gymboree purse of my daughters from way back when. To give my bag the patent leather look and to help my Rainbow Sprinkles & Girly Sprinkles stay in place, I coated the entire surface with Glossy Accents. However, I'm not sure I would pull out the glossy accents for a project of this size again. It uses a lot and didn't dry as evenly as I would have liked since it's hard to work quick enough before it starts to set.
For these cupcakes, I cut the cake portion in a yellow polka-dot print from our Dots & Stripes Pastels Paper pack, the wrapper using a colorful stripe from our Summer Splash Paper pack and embellished the top with a stitched heart that comes with the cupcake die set.
For these cupcakes, I cut the cake portion in a yellow polka-dot print from our Dots & Stripes Pastels Paper pack, the wrapper using a colorful stripe from our Summer Splash Paper pack and embellished the top with a stitched heart that comes with the cupcake die set.
I've created a little tutorial to show how I created the bag from a single sheet of 8-1/2" x 11" cardstock:
And here's a view of the bag from the side just so you can see how it was constructed better.
If you look closely, you can see I hid the ends of my grosgrain ribbon handles on the inside of my bag by cutting the cupcake toppers with the main cupcake dies in that same kraft cardstock and then gluing them over the top of my ribbon. It blends in and really gives my bag a sturdy, finished look on the inside.
Cupcake Banner: Up next is a "celebrate" birthday banner created with the Cupcake Shape Dies, as well as our new Chloe Alphabet Dies.
Our new Chloe Alphabet Dies measure .75" tall making them the ideal height for custom card sentiments, however on their own they were a bit on the small side for my banner. I was able to help them to take center stage though by cutting them from circles using our Stitched Circle Large Dies and then backing each of them with our Scalloped Circle Mat 1 Dies cut from white cardstock.
For my patterned papers, I used a mix of prints from both our Rainbow Bright Paper and Surprise Party Paper packs and embellished my cupcakes with the layered candles and sprinkles from the die set. Long banners like this can be really difficult to capture a good detailed photo of with it's horizontal orientation so I snapped a photo of each cupcake prior to adhering them to my white grosgrain ribbon.
Card No. 7: When I was done with my banner, I had all positive portion of my "celebrate" Chloe Alphabet letters leftover that I had punched out so I set them aside and used them for a fun birthday card, pairing them some extra candles I had made with the Cupcake Shape Dies. My card base was created using papers from our Surprise Party Paper pack and the pink diagonal grid print from our Gingham Pastels Paper pack.
I added some wicks to my candles with my favorite Sharpie extra fine point white paint pen and sprinkled them with some white embossing powder, heating them up just to be certain they weren't going to bleed before covering the flames with glossy accents. While my glossy accents were out I went ahead and coated my "celebrate" letters too. I think I just might have used more glossy accents for this release than I have used in the past three years combined! I completed my sentiment with the words "your special day" from our Inside Greetings Birthday Stamps.
Card No. 8: For my last card of the day, I have another project using the Cupcake Shape Dies without the cupcake. I had made these cherries up and then when I was cleaning up my desk, I realized I had forgotten to actually add them to any of my cupcakes so I thought I would create a special card for them to take center stage.
Card No. 8: For my last card of the day, I have another project using the Cupcake Shape Dies without the cupcake. I had made these cherries up and then when I was cleaning up my desk, I realized I had forgotten to actually add them to any of my cupcakes so I thought I would create a special card for them to take center stage.
For my leaves I used the dies from our Potted Rose Dies, creating a little mask from a post-it note to add a vein down the center and shade each side with Mowed Lawn distress ink. For my cherries I gave them a shiny glow rubbing on some Hero Arts Unicorn Pigment ink with my finger and then added a shiny mark with my Sharpie White Paint Pen.
I framed the cherries by layering our Stitched Circle Large Dies with a 3" circle die in my stash (for the thin blue circle peeking out), then the Scalloped Circle Mat 2 Dies cut from white, and the Scalloped Circle Mat 1 dies cut from red. I then mounted them onto a blue gingham print from our Gingham Pastels Paper pack and mimicked the same red & white scallop along the bottom using our Slimline Basic Border Dies. I completed my card with a custom punny sentiment pairing our Cute As a Button Stamps with the word "cherry" spelled out using our new Chloe Alphabet Dies. These dies have been so much fun to play with!
Phew! Are you still with me? That was one long post, but I'm so thrilled you joined me. I'd love to give a $50 gift code to one lucky winner using the rafflecopter below. Make sure to keep checking back all this week for more peeks & prizes. The contests run through Saturday, April 17th at Midnight PST with winners announced here on Sunday, April 18th. :)
a Rafflecopter giveaway Here's a closer look at the our new Candy Shoppe Stamps & Dies, Cupcake Shape Dies and Chloe Alphabet Dies used today (available for purchase on April 16th)
Other Sunny Studio Supplies Used:
 Little Angels Dies Shop at: Sunny Studio |
 Happy Hamsters Stamps Shop at: Sunny Studio |
 Happy Hamsters Dies Shop at: Sunny Studio |
 Stitched Rectangle Dies Shop at: Sunny Studio |
|
 Tsukineko Jumbo Dauber Shop at: Sunny Studio |
 Versafine Onyx Black Ink Shop at: Sunny Studio |
 Cute As A Button Stamps Shop at: Sunny Studio |
 Fancy Frames- Rectangles Shop at: Sunny Studio | |
 Classic Gingham 6x6 Paper Shop at: Sunny Studio |
 Striped Silly 6x6 Paper Shop at: Sunny Studio |
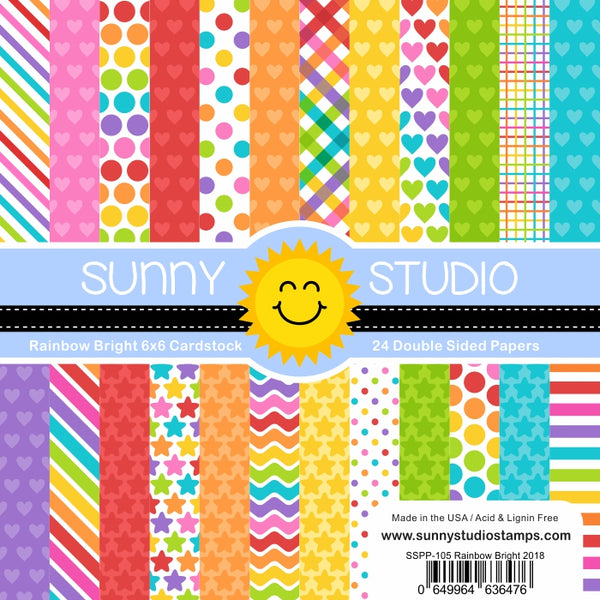 Rainbow Bright 6x6 Paper Shop at: Sunny Studio |
 Comic Strip Everyday Dies Shop at: Sunny Studio | |
 Happy Thoughts Stamps Shop at: Sunny Studio |
 Gingham Pastels 6x6 Paper Shop at: Sunny Studio |
 Spring Sunburst 6x6 Paper Shop at: Sunny Studio |
 Dots & Stripes Pastels 6x6 Paper Shop at: Sunny Studio | |
 Summer Splash 6x6 Paper Shop at: Sunny Studio |
 Surprise Party 6x6 Paper Shop at: Sunny Studio |
 Sweet Treats Gift Bag Shop at: Sunny Studio |
 Banner Basics Stamps Shop at: Sunny Studio | |
 Slimline Basic Borders Shop at: Sunny Studio |
 Sleek Stripes Paper Shop at: Sunny Studio |
 Balloon Rides Stamps Shop at: Sunny Studio |
 Balloon Rides Dies Shop at: Sunny Studio | |
 Scalloped Circle Mat 1 Dies Shop at: Sunny Studio |
 Scalloped Circle Mat 2 Dies Shop at: Sunny Studio |
 Slimline Pennant Dies Shop at: Sunny Studio |
 Stitched Circle Large Dies Shop at: Sunny Studio | |
 Rainbow Sprinkles Shop at: Sunny Studio |
 Girly Sprinkles Shop at: Sunny Studio |
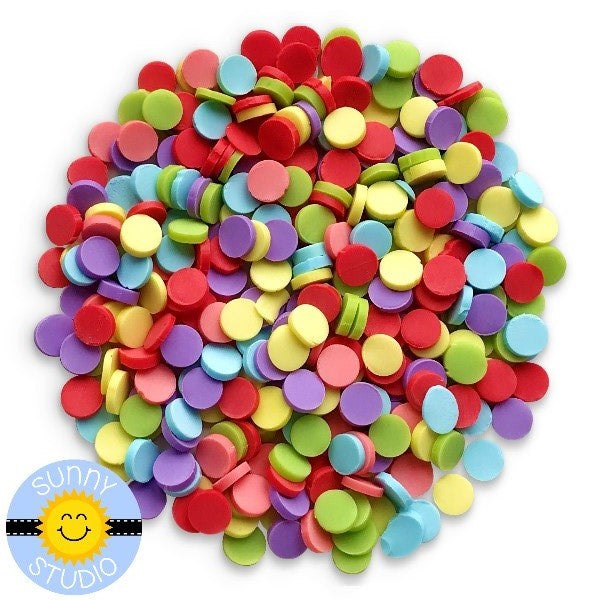 Rainbow Dot Confetti Shop at: Sunny Studio |
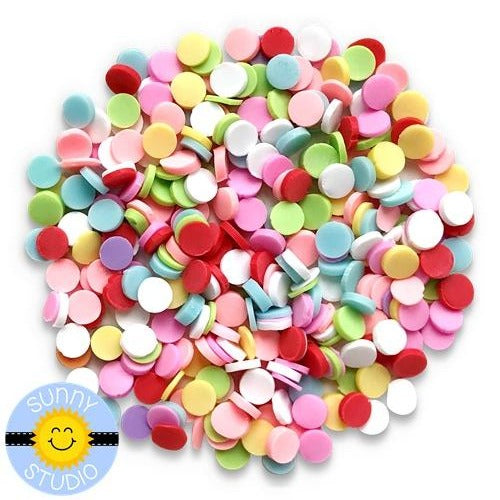 Birthday Cake Dot Sprinkles Shop at: Sunny Studio | |
 Swirl Candy Confetti Shop at: Sunny Studio |
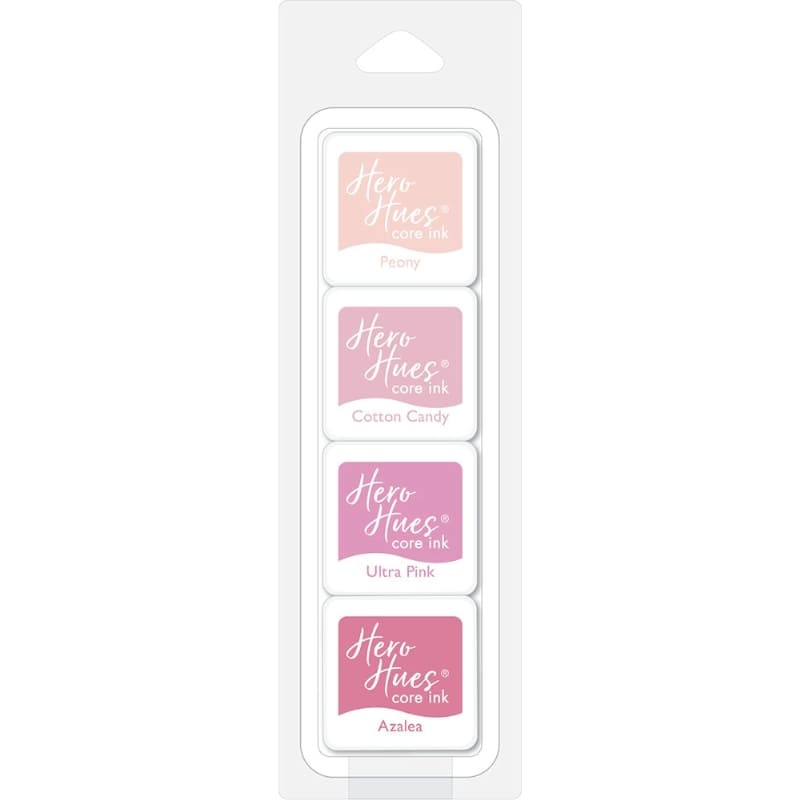 Hero Arts Pinks Core Ink Shop at: Sunny Studio |
 Hero Arts Morning Glory Ink Shop at: Sunny Studio |
 Hero Arts White Detail Shop at: Sunny Studio | |
 VersaMark Watermark Ink Shop at: Sunny Studio |
 PinkFresh Morning Sky Ink Shop at: Sunny Studio |


