Tuesday, November 4, 2025

Let's Chill Card with Amanda

Hey, crafty friends, and welcome back to the Sunny Studio Stamps blog! It’s Amanda here with you today sharing a cute little shaker card. I’ve been in a shaker-card mood lately, and I couldn’t resist making a fun, playful design featuring some of my favorite Sunny Studio holiday stamps!

Sunny Studio Stamps: Let's Chill Winter Themed Shaker Card by Amanda Fitterer (featuring Scenic Route, Stitched Arch Dies, Build-A-Greetings Holidays)

I started by creating my shaker portion of the card. To do this, I grabbed my All is Bright patterned paper and found the snowy teal paper. I trimmed this paper down to 4.25” x 5.5”. Using the largest of the Stitched Arch Dies, I ran it through my die cutting machine, centering the arch in the center of the panel.

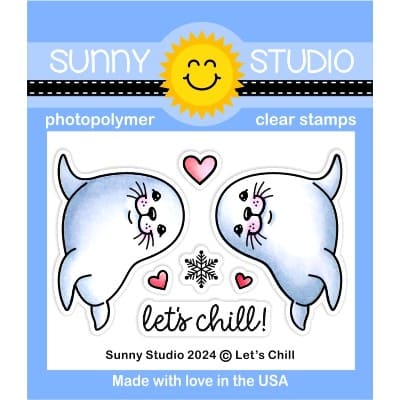
Once I had my 2 pieces, I glued the background arch to an A2 card base and set it aside. I created my snowy hilly background with the Scenic Route Stamps. While I had all my stamp supplies out, I also stamped my 2 cuties from the Let’s Chill Stamps.  

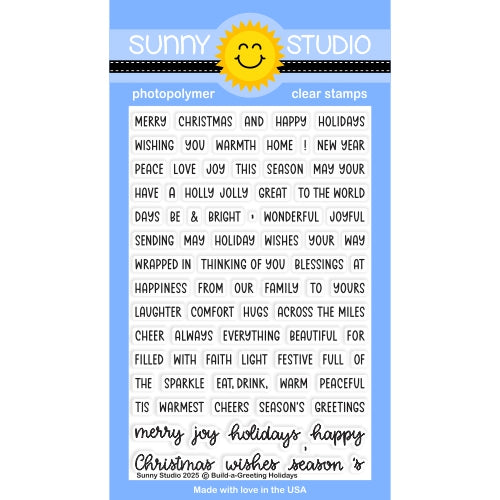
I created my sentiment using the Build-a-Greeting Holidays Stamps. This set has hundreds of combinations to make holiday sentiments and I LOVE it! I stamped the red words with Catherine Pooler’s Rouge ink first. Then, I stamped the rest with black ink.

I colored the images in with Copic markers. Here are the marker colors I used:
Trees: YG17 YG23
Snow: BG10, BG11, BG13
Seals: W0, W2, W3, W5, R20

Sunny Studio Stamps: Let's Chill Winter Themed Shaker Card by Amanda Fitterer (featuring Scenic Route, Stitched Arch Dies, Build-A-Greetings Holidays)

Once all the images were colored, I cut them out with their coordinating dies. To make the hilly scene look like it’s in the background, I glued it behind my arched frame. I also put my sentiment strip behind the frame and glued it in place.

Now, to create the shaker part! I placed some Snow White Jewels on my card base in the center of the arch. On my front panel (the frame), I used double sided tape to adhere my piece of acetate. Then, I added foam strips around the entire front panel and then adhered it to my card base. The final step was to add my cute seals with some 3D foam squares to make them pop! 

I had so much fun making this shaker card, and I hope it brings a smile to your face today! If you haven’t tried making a shaker in a while, consider this your little crafty nudge!

Sunny Studio Supplies Used:

Scenic Route Stamps
Scenic Route Stamps
Shop at:
Sunny Studio
Scenic Route Dies
Scenic Route Dies
Shop at:
Sunny Studio
Stitched Arch Dies
Stitched Arch Dies
Shop at:
Sunny Studio
All Is Bright Paper
All Is Bright Paper
Shop at:
Sunny Studio
Let's Chill Stamps
Let's Chill Stamps
Shop at:
Sunny Studio
Let's Chill Dies
Let's Chill Dies
Shop at:
Sunny Studio
Build-a-Greeting Holidays
Shop at:
Sunny Studio

Monday, November 3, 2025

Santa Claus Lane & North Pole Christmas Cards with Mendi

Hello and welcome! This is Mendi here today, popping in to share some Christmas cards featuring our Santa Claus Lane Stamps and North Pole Stamps.

Sunny Studio Holiday Christmas Cards using Santa Claus Lane, North Pole & Reindeer Games Clear Stamps & Cutting Craft Dies

My first card today, showcasing our Santa Claus Lane Stamps, is a rare creation for me because it utilizes only a single stamp set. I blended three large dots onto my card front using Salvaged Patina, Kitsh Flamingo, and Twisted Citron Distress inks to create a way to ground three mini scenes created with the images from the set. First, I have Santa holding a candy cane going down the chimney. My next scene has the other Santa from the set next to a decorated Christmas tree using the included ornaments, star, and gifts. My last scene along the bottom of my card has Santa standing next to the fireplace with four stockings hanging from the mantel. As a finishing touch, I stamped a greeting from the set in my card's top, right corner.

Sunny Studio Santa by Holiday Tree & Fireplace Chimney Christmas Card using Santa Claus Lane Clear Stamps & Metal Craft Dies

For my second card I used Mrs. Claus, Santa in a new pose, two elves, and the sign from our 
North Pole Stamps, with the reindeer from Reindeer Games Stamps, and the sleigh and bags of toys from the Santa Claus Lane Stamps. To set the mood of the North Pole in my background, I inked my sky using Salty Ocean Distress Ink, added snowflakes with a white gel pen, and then layered in the snowy fir trees and hills using the Scene Route Stamps. Lastly, I stamped the "Spreading Christmas Cheer" sentiment from the North Pole set onto a thin pennant strip from the Notebook Photo Corners Dies.

Sunny Studio Santa & Elves Holiday Christmas Card using North Pole, Reindeer Games & Scenic Route Clear Stamps & Craft Dies

That wraps up my projects for today. Thanks so much for hanging out with me. I hope I've inspired you to spread a little happiness by sending out a card to someone you love. ðŸ’›

Don't forget to check out the Santa Claus Lane Stamps and North Pole Stamps in our online shop, which are both currently on sale!

Also, please check out all the card ideas using these sets on each of their product pages. I always make sure to upload tons of card ideas following the product image, so there are lots of ideas to scroll through, organized by set.

Supplies Used: 

Santa Claus Lane Stamps
Shop at:
Sunny Studio
Santa Claus Lane Dies
Shop at:
Sunny Studio
Scenic Route Stamps
Scenic Route Stamps
Shop at:
Sunny Studio
Scenic Route Dies
Scenic Route Dies
Shop at:
Sunny Studio
North Pole Stamps
North Pole Stamps
Shop at:
Sunny Studio
North Pole Dies
North Pole Dies
Shop at:
Sunny Studio
Reindeer Games Stamps
Shop at:
Sunny Studio
Reindeer Games Dies
Reindeer Games Dies
Shop at:
Sunny Studio
Notebook Photo Corners Dies
Shop at:
Sunny Studio
PinkFresh Studio Blending Brushes
Shop at:
Sunny Studio
Versafine Onyx Black Ink
Shop at:
Sunny Studio
Zig Chisel Tip Glue Pen
Shop at:
Sunny Studio

Sunday, November 2, 2025

Roly Poly Penguins Card with Hanh

Hello Crafty Friends! This is Hanh on the Sunny Studio Stamps blog today sharing a fun Christmas card featuring these adorable Roly Poly Penguins who are using the Build-a-Greeting Holidays Stamp set to wish you a Holly Jolly Christmas.

Sunny Studio Stamps: Roly Poly Penguins Christmas Card by Hanh Nguyen (featuring Basic Mini Shapes Dies, Brilliant Banner Dies, Frilly Frame Dies, Build-A-Greetings Holidays)

For the layout, I diecut a piece of white cardstock using the outer die of the Frilly Frames Polka Dot Dies. Next, I took a piece of Bristol Smooth cardstock and lightly ink blended it with Spun Sugar Distress Oxide ink. I trimmed the pink panel down to fit inside white scalloped panel. 

Sunny Studio Stamps: Roly Poly Penguins Christmas Card by Hanh Nguyen (featuring Basic Mini Shapes Dies, Brilliant Banner Dies, Frilly Frame Dies, Build-A-Greetings Holidays)

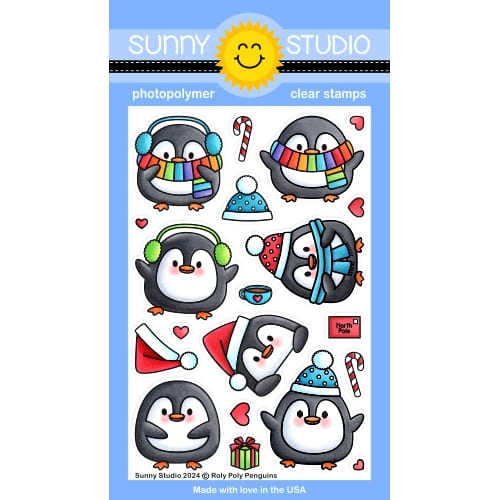
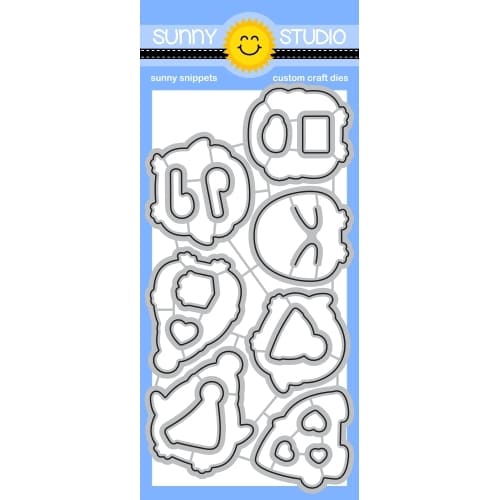
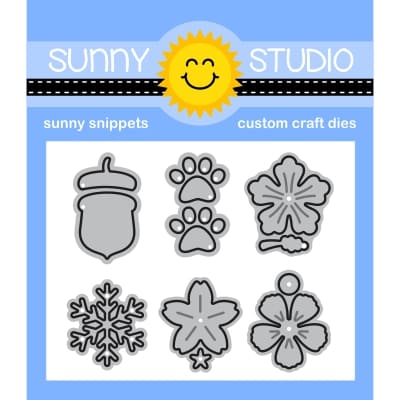
I stamped the images from the Roly Poly Penguins Stamp set onto a piece of Neenah Solar White 110 lb cardstock with Memento Tuxedo Black ink and used the coordinating Roly Poly Penguins Dies to diecut them out. I also used the Basic Mini Shape Dies and Basic Mini Shape Dies 3 to diecut some holly leaves and berries out of white and red cardstock. I colored the elements with Copic markers and accented with a white gel pen.

COPIC COLORS:
Penguins: T4/5/7/9, W00/0/1, Y38 YR04, R00/20
Red: R24/29/39
Green: YG01/03/17
White: C00/1/3

Sunny Studio Stamps: Roly Poly Penguins Christmas Card by Hanh Nguyen (featuring Basic Mini Shapes Dies, Brilliant Banner Dies, Frilly Frame Dies, Build-A-Greetings Holidays)

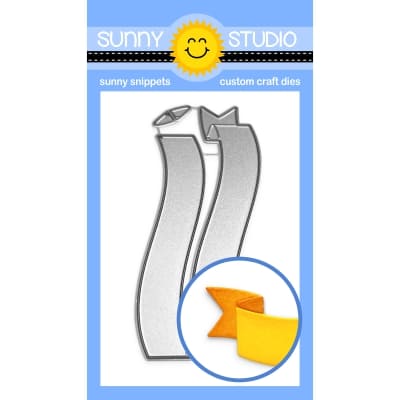
For the sentiment, I diecut a banner out of red cardstock using the Brilliant Banner 3 Dies.  The Build-a-Greeting Holidays Stamp set from the latest release was used to create a sentiment. I stamped the sentiment with Versamark Watermark ink onto the red banner and heat embossed with Detail White Embossing Powder.

Sunny Studio Stamps: Roly Poly Penguins Christmas Card by Hanh Nguyen (featuring Basic Mini Shapes Dies, Brilliant Banner Dies, Frilly Frame Dies, Build-A-Greetings Holidays)

I adhered the sentiment banner and all of the colored images onto the inked panel with foam tape. I added some snowflakes diecut from white cardstock using the Basic Mini Shape Dies 2 and the Basic Mini Shape Dies 5. Finally, I adhered the entire panel onto the front of a top folding white card base (4.25" x 5.5"). 

I appreciate you taking the time to stop by and visit today. I hope you liked my card. Be sure to check out the Sunny Studio Stamps Shop for more info and ideas. Please also visit my INSTAGRAM feed for more inspirations.

Have a wonderful and crafty day!

Sunny Studio Supplies Used:

#REF! #REF!
Mini Basic Shape Dies
Shop at:
Sunny Studio
Frilly Frames Polka-Dot
Shop at:
Sunny Studio
Basic Mini Shape Dies 2
Shop at:
Sunny Studio
Roly Poly Penguin Stamps
Shop at:
Sunny Studio
Roly Poly Penguin Dies
Shop at:
Sunny Studio
Brilliant Banner 3 Dies
Shop at:
Sunny Studio
Basic Mini Shape Dies 5
Shop at:
Sunny Studio
Build-a-Greeting Holidays
Shop at:
Sunny Studio

Saturday, November 1, 2025

Santa's Stocking & Woolen Mitten Shaped Holiday Cards with Mendi

Hello and welcome! This is Mendi, popping in to share some shaped Christmas cards for giving gift cards featuring our Santa's Stocking Dies and Woolen Mitten Dies.

For my first card, I created a fairisle print for our Santa's Stocking Dies using the decorative elements from the Woolen Mitten Dies and the thinnest stitched pennant strip from the Slimline Pennant Dies. I added the aqua hearts in the center of each fairisle motif using the smallest heart from the Basic Mini Shape 2 Dies. To create my pocket for the gift card, I cut two stockings from white cardstock and used a thin line of liquid adhesive around the outside edge to adhere the two pieces together. I stamped a customized "May your Christmas be wrapped in joy" greeting from our new Build-a-Greeting Holidays Stamps onto the cuff using Versafine Onyx Black Ink and added highlights to the bow and candy canes from the Santa's Stocking set with a white gel pen.


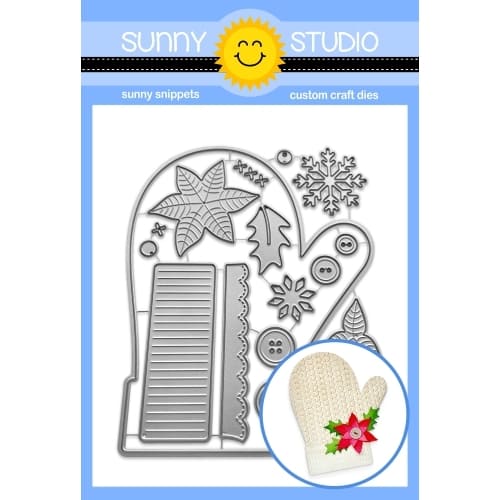
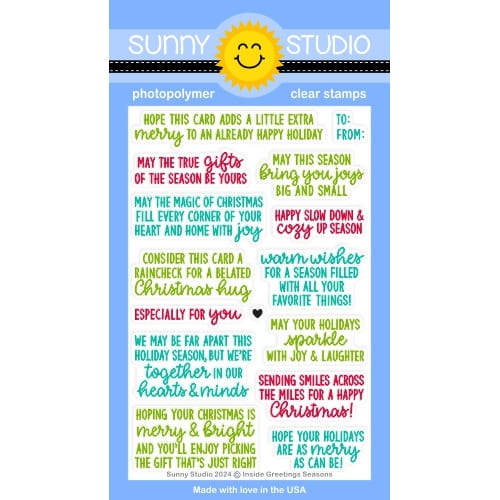
I created mitten gift card pockets for my second set of cards today, featuring the Woolen Mitten Dies. This cute and simple design is easy to mass produce for holiday gift giving, whether cash or gift cards. To add a touch of realism to my mittens, I embossed the top piece using the Cable Knit Embossing Folder and inked the edges with a coordinating Gina K. Turquoise Sea and PinkFresh Studio Raspberry Bliss inks. I found the perfect sentiment from the Inside Greetings Seasons Stamps, which I stamped onto a Scalloped Heart Die cut from white cardstock. I added a small coordinating stitched heart to fill the space below the greeting from the Warm & Cozy Dies. Lastly, I embellished the cuff with a snowflake and assembled button that comes with the Woolen Mittens set. I love how realistic these buttons look, but they are much slimmer for mailing!  
Also, today's cards all can fit A2-sized envelopes (aside from the popped-up candy canes).


That wraps up my projects for today. Thanks so much for hanging out with me. I hope I've inspired you to spread a little happiness by sending out a card to someone you love. ðŸ’›

Supplies Used: 

Woolen Mitten Dies
Woolen Mitten Dies
Shop at:
Sunny Studio
Santa's Stocking Dies
Shop at:
Sunny Studio
Warm & Cozy Dies
Warm & Cozy Dies
Shop at:
Sunny Studio
Cable Knit Embossing
Shop at:
Sunny Studio
Slimline Pennant Dies
Shop at:
Sunny Studio
Scalloped Heart Dies
Shop at:
Sunny Studio
Build-a-Greeting Holiday
Shop at:
Sunny Studio
Inside Greetings Seasons
Shop at:
Sunny Studio
Basic Mini Shape Dies 2
Shop at:
Sunny Studio
Zig Chisel Tip Glue Pen
Shop at:
Sunny Studio
PinkFresh Studio Blending Brushes
Shop at:
Sunny Studio
PinkFresh Fairy Dust Ink
Shop at:
Sunny Studio
Versafine Onyx Black Ink
Shop at:
Sunny Studio