Saturday, August 9, 2025

Sunny Saturday Share: Customer Cards


Hey everyone, how are you all doing this weekend? I'm so excited to be popping in today with a Sunny Saturday Share. There have been so many amazing cards popping up on Instagram that have made my jaw drop so I couldn't wait to share them with all of you! 


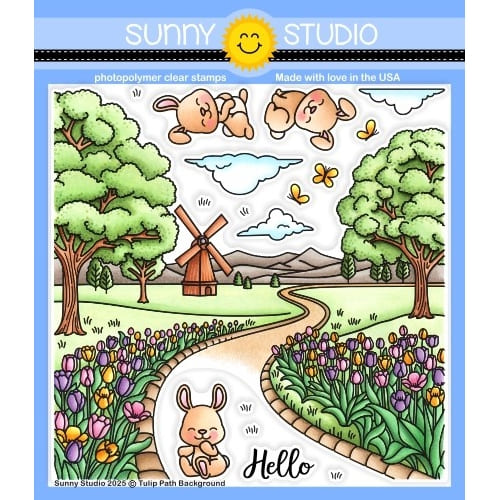
Sunny Studio Stamps: Tulip Path Background Customer Card by Patricia

Birthday Balloon card by Tammy Massey


Sunny Studio Stamps: Birthday Balloon Customer Card by Tammy Massey

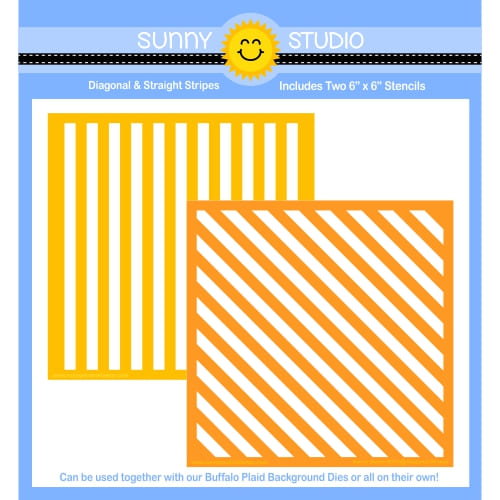
Birthday Mouse and Diagonal & Straight Stripes Stencils card by Kati


Sunny Studio Stamps: Birthday Mouse Customer Card by Kati (featuring Diagonal & Straight Stripes Stencils)

Garden Fairy and Window Trio Square card by Tiffany


Sunny Studio Stamps: Garden Fairy Customer Card by Tiffany (featuring Window Trio Square Dies)


Thank you for sharing all these fabulous ideas with us! I hope you will continue to share your gorgeous projects with us--It always makes my day to see them. Please tag us on instagram @sunnystudiostamps or share your projects with us in our flickr group. Sadly we are no longer able to view all the posts using our hashtag on Instagram so it's super important for you to also tag us @sunnystudiostamps so we can find them and they don't get missed.


Sunny Studio Supplies Used:

City Streets Dies
City Streets Dies
Shop at:
Sunny Studio
City Streets Stamps
City Streets Stamps
Shop at:
Sunny Studio
Happy Home Dies
Happy Home Dies
Shop at:
Sunny Studio
Happy Home Stamps
Happy Home Stamps
Shop at:
Sunny Studio
Tropical Paradise Dies
Shop at:
Sunny Studio
Tropical Paradise Stamps
Shop at:
Sunny Studio
Tiki Time Stamps
Tiki Time Stamps
Shop at:
Sunny Studio
Tiki Time Dies
Tiki Time Dies
Shop at:
Sunny Studio
Window Trio- Square Die
Shop at:
Sunny Studio
Silly Sloths Stamps
Silly Sloths Stamps
Shop at:
Sunny Studio
Silly Sloths Dies
Silly Sloths Dies
Shop at:
Sunny Studio
Garden Fairy Stamps
Garden Fairy Stamps
Shop at:
Sunny Studio
Garden Fairy Dies
Garden Fairy Dies
Shop at:
Sunny Studio
Birthday Mouse Stamps
Shop at:
Sunny Studio
Birthday Mouse Dies
Birthday Mouse Dies
Shop at:
Sunny Studio
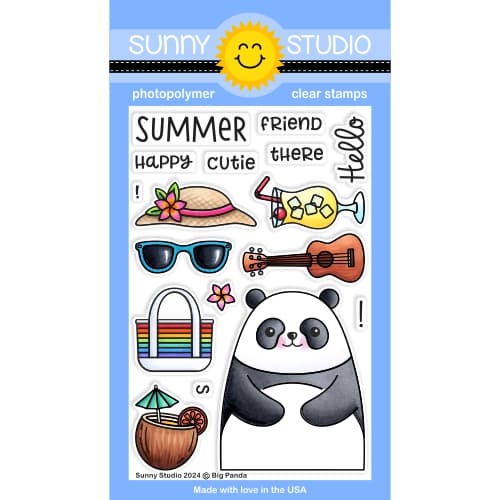
Big Panda Stamps
Big Panda Stamps
Shop at:
Sunny Studio
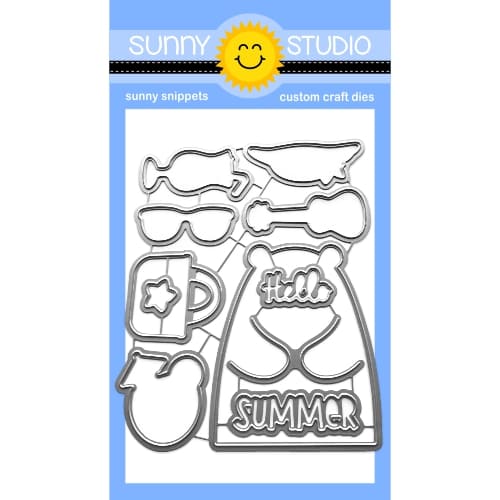
Big Panda Dies
Big Panda Dies
Shop at:
Sunny Studio
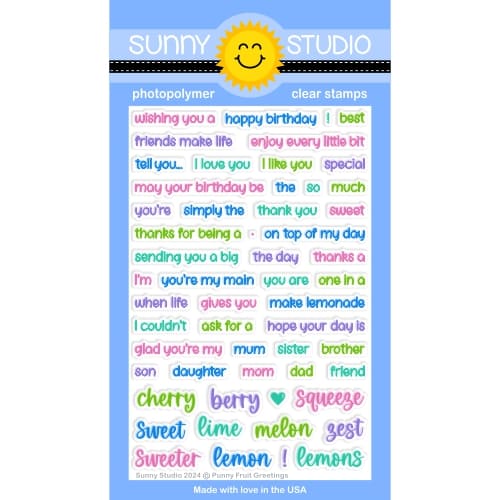
Punny Fruit Greetings
Shop at:
Sunny Studio
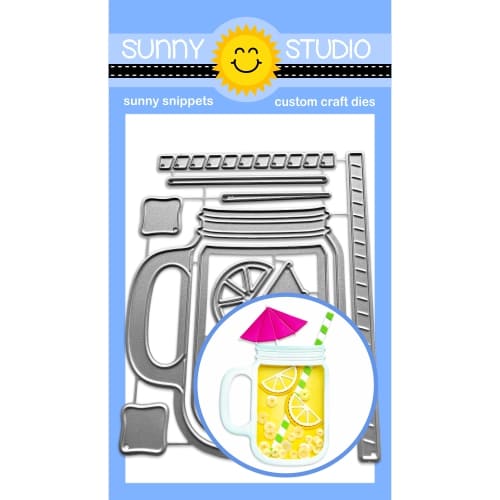
Summer Jar Mug Dies
Summer Jar Mug Dies
Shop at:
Sunny Studio
Buffalo Plaid Diagonal Die
Shop at:
Sunny Studio
Diagonal & Straight Stripes Stencils
Shop at:
Sunny Studio
Tulip Path Background Stamps
Shop at:
Sunny Studio
Tulip Path Background Dies
Shop at:
Sunny Studio
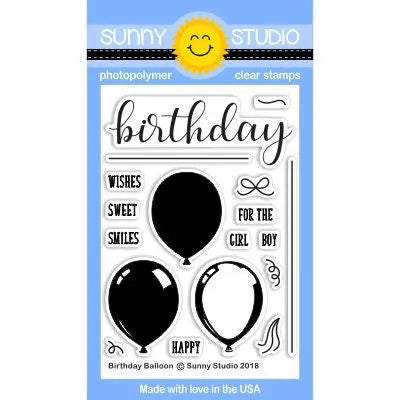
Birthday Balloon Stamps
Shop at:
Sunny Studio
Birthday Balloon Die
Shop at:
Sunny Studio

Friday, August 8, 2025

Candy Shoppe Sweet-Themed Cards With Mendi

Hello and welcome! This is Mendi here today, dropping in to share some sweet-themed cards for Summer using our Candy Shoppe Stamps.

Sunny Studio Candy Card Set using Candy Shoppe & Spring Showers Clear Craft Stamps, Stitched Arch Dies & Rainbow Bright Paper

used the gumball machine and gumballs to take center stage for my first card showcasing the Candy Shoppe Stamps. I framed my images by creating a stitched window using our Stitched Arch Dies and then added stitching to either side of my 3.25" wide panel using the stitched edge die from our Ribbon & Lace Border Dies. I inked behind my window directly onto my card base (to reduce bulk and extra paper) using a light touch of Salty Ocean distress ink and then added strips of rainbow gingham patterned paper to either side from our Rainbow Bright Paper pack. It was such a simple card to create, but I love how it turned out! I'm always a sucker for bright, happy cards (no pun intended).

Sunny Studio Gumball Machine Card using Candy Shoppe Clear Craft Stamps, Stitched Arch Dies & Rainbow Bright 6x6 Paper Pad

My second card pairs the lollipops, licorice, suckers, and wrapped candies from our Candy Shoppe Stamps with the kids from our Spring Showers Stamps. When my daughters were little, my husband would often bring them back these larger than life Chupa Chups Giant Lollipops as gifts when returning from business trips (which are wrapped to look like their famous lollipops, but really are just a plastic case holding normal sized Lollipops inside). With that sweet memory in mind, I thought it would be fun to pair these two stamp sets together, despite them not matching in scale at first glance.

I once again inked up a small section behind them, directly onto my white card base, before adhering the parade of kids to my scene. I then stamped the punny greeting from the set and added a row of wrapped candies from the set to form a border between the scene and the polka-dot print from our Rainbow Bright Paper pack.

Sunny Studio Kids with Lollipops & Suckers Card using Candy Shoppe & Spring Showers Clear Craft Stamps & Rainbow Bright Paper

That wraps up my projects for this morning. I hope I've inspired you in your own cardmaking and that you spread a little happiness by sending out a card to a loved one today.💛

Don't forget to check out our Candy Shoppe Stamps and Spring Showers Stamps in our online shop, which are currently on sale!

Also, please check out all the card ideas using these sets on each of their product pages. I always make sure to upload tons of card ideas following the product image so there are lots of ideas to scroll through there organized by set.

Supplies Used:

Candy Shoppe Stamps
Candy Shoppe Stamps
Shop at:
Sunny Studio
Candy Shoppe Dies
Candy Shoppe Dies
Shop at:
Sunny Studio
Memento Tuxedo Black Ink Pad
Shop at:
Sunny Studio
Versafine Onyx Black Ink
Shop at:
Sunny Studio
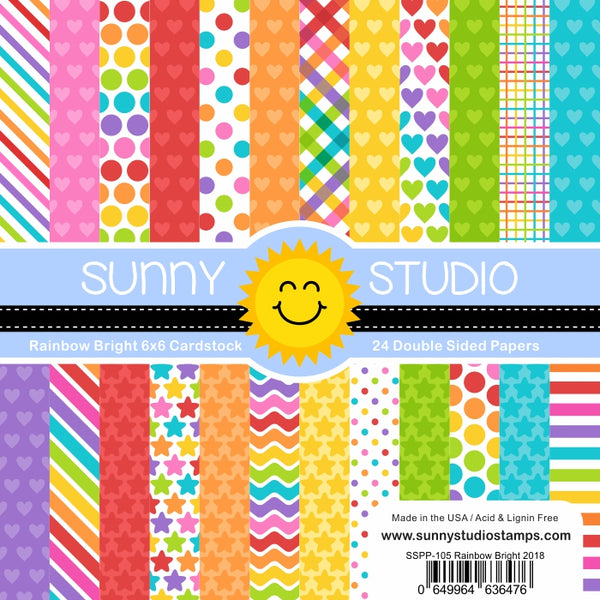
Rainbow Bright 6x6 Paper
Shop at:
Sunny Studio
Spring Showers Stamps
Shop at:
Sunny Studio
Spring Showers Dies
Spring Showers Dies
Shop at:
Sunny Studio
Stitched Arch Dies
Stitched Arch Dies
Shop at:
Sunny Studio
Ribbon & Lace Dies
Ribbon & Lace Dies
Shop at:
Sunny Studio
Tsukineko Jumbo Dauber
Shop at:
Sunny Studio

Thursday, August 7, 2025

Summer Sweets Card with Marine

Hello crafty friends, Marine here, I'm super happy to be back with this bright and cheerful birthday card featuring some super cute bubble teas from Summer Sweets. How fun it was to color them all in a rainbow color palette!

Sunny Studio Stamps: Summer Sweets Birthday Card by Marine Simon (featuring Chloe Alphabet Dies, Stitched Rectangle Dies)

I started off by stamping eight bubble teas using an alcohol marker friendly black ink, I cut them all with the matching die, colored everything with my Ohuhu markers, and once the coloring was done, I added highlights and details to the images using a white gel pen. 

For the card base, I cut two panels using papers from the Surprise Party paper pack. The polka dot panel measures 5 x 3,75 inches and I cut it with the largest Stitched Rectangle, I attached it to a 5,5 x 4,25 inches chevron panel using 1mm foam tape, and then to a white card base.

Sunny Studio Stamps: Summer Sweets Birthday Card by Marine Simon (featuring Chloe Alphabet Dies, Stitched Rectangle Dies)

Next I attached four bubble teas on the upper part of my card and four at the bottom, in a rainbow order, using 1mm foam squares, and then I worked on my greeting. I white heat embossed "Happy birthday" from Plane Awesome on black cardstock, cut it into a slim banner and attached that banner right below the orange and yellow bubble teas using 2mm foam squares.

Sunny Studio Stamps: Summer Sweets Birthday Card by Marine Simon (featuring Chloe Alphabet Dies, Stitched Rectangle Dies)

I cut letters out of vellum and out of gold mirror cardstock using the Chloe Alphabet die set to create the punny word "Bes-tea". I attached the gold mirror letters to the vellum ones using liquid glue, shifting the letters to get a vellum border around the gold letters, and then I stuck those letters to my card using 2mm foam squares.

And that's it! I hope that this card has inspired you to use your brightest markers and papers to make extra fun projects! Thanks so much for stopping by, and see you next time.

Sunny Studio Supplies Used:

Chloe Alphabet Dies
Chloe Alphabet Dies
Shop at:
Sunny Studio
Stitched Rectangle Dies
Shop at:
Sunny Studio
Surprise Party 6x6 Paper
Shop at:
Sunny Studio
Plane Awesome Stamps
Shop at:
Sunny Studio
Summer Sweets Stamps
Shop at:
Sunny Studio
Summer Sweets Dies
Summer Sweets Dies
Shop at:
Sunny Studio

Wednesday, August 6, 2025

Mermaid Kisses Card with Tina

Hello crafters, it’s Tina and today we are off to the beach! For this card I combined the sweet Mermaid Kisses stamp and die set with the beautiful Ocean View scene.

Sunny Studio Stamps: Mermaid Kisses Summer Themed Card by Tina Henkens (featuring Ocean View, Frilly Frame Dies)

After creating a teal card base, I stamped the ocean scene onto a white panel which I cut with the outer die of Frilly Frames ChevronThen I started coloring this view with my Copic markers. I wanted to create that foam look of waves crushing the beach, so I added lots of white details with a gel pen.

To finish this scene, I ink blended a summer sun with a stencil from my stash and Distress Oxides Spun Sugar and Squeezed Lemonade. I masked of the horizon line, but not the palm trees since I was using small brushes.

Sunny Studio Stamps: Mermaid Kisses Summer Themed Card by Tina Henkens (featuring Ocean View, Frilly Frame Dies)

Next, I selected a cutie from the Mermaid Kisses stamp set and also some seashells and starfish. From the Ocean View set I picked the rock with seaweed, but decided to cut away the seaweed portion with my scissors. All the coloring was done with Copics in bright tones.

Before assembling the card, I pulled a sentiment from the Mermaid Kisses stamp and used a blue ink from my stash. I love how this large phrase fills in the rightside corner nicely! To complete the design, I added the images with foam tape. As a final embellishment, a few Champagne Clear jewels were glued on each side of the sentiment.

And that finishes this fun beach scene! Thank you for joining me and happy crafting!

Sunny Studio Supplies Used:

Frilly Frames Chevron Die
Shop at:
Sunny Studio
Ocean View Stamps
Ocean View Stamps
Shop at:
Sunny Studio
Ocean View Dies
Ocean View Dies
Shop at:
Sunny Studio
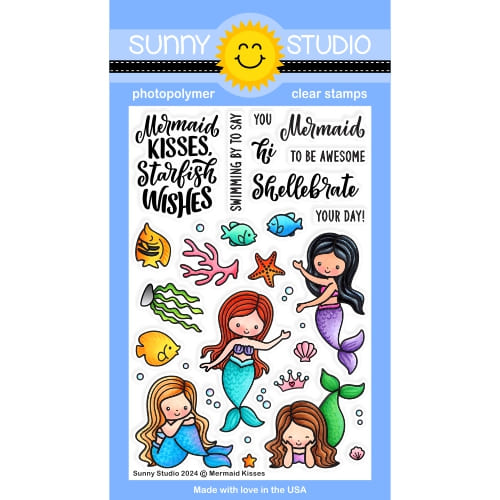
Mermaid Kisses Stamps
Shop at:
Sunny Studio
Mermaid Kisses Dies
Mermaid Kisses Dies
Shop at:
Sunny Studio

Tuesday, August 5, 2025

Tulip Path Background Card with Amanda

Hey, fun & crafty friends, Amanda here! I hope your week is off to a fantastic start!! If you’re here looking for some creative inspiration, you’re at the right place! Today, I’m sharing a sweet little card I made with the cutest little pick up truck filled with love!

Sunny Studio Stamps: Tulip Path Background Card with Amanda Fitterer (featuring Truckloads of Love)

I created this card by masking off the bottom portion of a piece of white A2 cardstock. Then, I stamped the Tulip Path Background Stamp onto the top portion of the card panel. On the bottom portion of the card, I ink blended Catherine Pooler Melon Ice and Martini inks to create grass. Then, I colored in the rest of the card panel with Copic markers. I created the look of grass by flicking green markers up to simulate blades of grass. I did this a lot where the background and foreground blends together.

Once the entire panel was colored in, I stamped the images from the Truckloads of Love Stamps. I also colored these images with Copic markers. Once they were colored, I die cut them with their coordinating die setI put 3D foam squares behind the images and then placed them to my card panel.  

Sunny Studio Stamps: Tulip Path Background Card with Amanda Fitterer (featuring Truckloads of Love)

Next, I stamped my sentiment onto a piece of white cardstock. I stamped the “truckloads” first with Pucker Up ink. Then, I stamped the rest in black. I used a trimmer to trim it into a strip and then used scissors to cut the ends into banners. I placed foam tape behind the sentiment banner and then added it to my card front.

Finally, I glued my card panel to an A2 card base and she’s ready to go! This will make the perfect card for any loved one!

I hope you find some time to get crafty today! Come back tomorrow for more crafty inspiration! 

Sunny Studio Supplies Used:

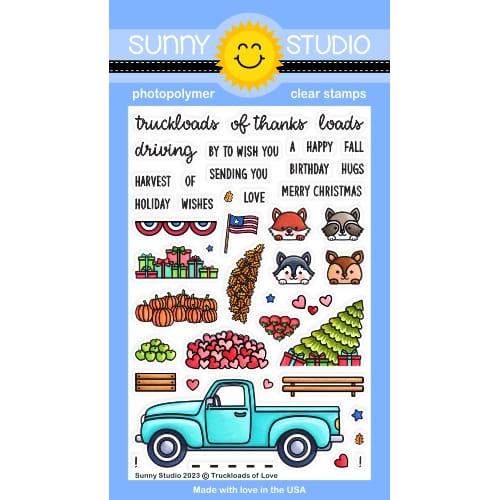
Truckloads of Love Stamps
Shop at:
Sunny Studio
Truckloads of Love Dies
Shop at:
Sunny Studio
Tulip Path Background Stamps
Shop at:
Sunny Studio