Sunday, April 27, 2025

Birthday Mouse Card with Hanh

Hello Crafty Friends! This is Hanh on the Sunny Studio Stamps blog today with a fun birthday card featuring images from the Harvest MiceMerry Mice and Birthday Mouse sets. I love how the mice from these sets play so well together. 

Sunny Studio Stamps: Birthday Mouse Birthday Card by Hanh Nguyen (featuring Harvest Mice, Merry Mice, Stitched Circle Dies, Stitched Rectangle Dies)

I stamped the images from the Harvest Mice Stamps, Merry Mice Stamps and Birthday Mice Stamps sets onto a piece of Neenah Solar White 110 lb cardstock with Memento Tuxedo Black ink and used the coordinating Harvest Mice DiesMerry Mice Dies and Birthday Mouse Dies to die cut them out. I colored them with Copic markers and highlighted them with a white gel pen.

COPIC COLORS:
Mice: E50/51/53/33/35, R000/20
Cheese: Y13/15/19
Balloons: YG00/01/03/17, RV000/10/13/14, Y11/13/15/19
Bicycle: RV13/14, C1, W5/7

Sunny Studio Stamps: Birthday Mouse Birthday Card by Hanh Nguyen (featuring Harvest Mice, Merry Mice, Stitched Circle Dies, Stitched Rectangle Dies)

For the background, I took a piece of white cardstock (4.25" x 5.5") and die cut two windows into it using the third largest circle dies from the Stitched Circle Small Dies and Stitched Circle Large Dies. Using this panel as a guide, I ink blended Spun Sugar and Mowed Lawn Distress Oxide inks onto a piece of Bristol Smooth cardstock in the location of those windows. I used Copic markers (YG01/03) to add dots to the green inking for a bit of interest. I adhered the two panels to each other using foam tape.

For the sentiment, I stamped the words from the Harvest Mice stamps set with Versamark Watermark ink onto a piece of black cardstock and heat embossed with Detail White Embossing Powder. I used one of the sentiment strip dies from the Stitched Rectangle Dies to die cut it out. 

Sunny Studio Stamps: Birthday Mouse Birthday Card by Hanh Nguyen (featuring Harvest Mice, Merry Mice, Stitched Circle Dies, Stitched Rectangle Dies)

I adhered the sentiment and colored images to the front of the card with foam tape for additional dimension and interest. The card front was adhered to an A2 white card base (4.25" x 5.5"). I finished the card with a few Majestic Clear Confetti.

I appreciate you taking the time to stop by and visit today. I hope you liked my card. For more info and ideas, be sure to visit the Sunny Studio Stamps Shop. Please also visit my INSTAGRAM feed for more inspirations.

Have a wonderful and crafty day!

Sunny Studio Supplies Used:

Stitched Rectangle Dies
Shop at:
Sunny Studio
Merry Mice Stamps
Merry Mice Stamps
Shop at:
Sunny Studio
Merry Mice Dies
Merry Mice Dies
Shop at:
Sunny Studio
Harvest Mice Stamps
Harvest Mice Stamps
Shop at:
Sunny Studio
Harvest Mice Dies
Harvest Mice Dies
Shop at:
Sunny Studio
Stitched Circle Small Dies
Shop at:
Sunny Studio
Stitched Circle Large Dies
Shop at:
Sunny Studio
Birthday Mouse Stamps
Shop at:
Sunny Studio
Birthday Mouse Dies
Birthday Mouse Dies
Shop at:
Sunny Studio

Saturday, April 26, 2025

Puddle Jumpers, Froggy Friends, & Spring Showers Cards with Mendi

Hello and welcome! This is Mendi here today, popping in to share some spring cards showcasing our Puddle Jumpers Stamps.

Sunny Studio Frog & Duck Umbrella Cards using Puddle Jumpers, Spring Showers, Froggy Friends & Country Scenes Clear Stamps

For my first card, I used the girl, frog umbrella, and baby ducks from our Puddle Jumpers Stamps, the frogs, lily pads, and cattails from our Froggy Friends Stamps, and the pond border from our Country Scenes Stamps. I love how they all came together! 

To ink up my pond, I stamped and fussy cut a mask (which I store with the stamps and have already used on a handful of cards) to protect the pond's edge and cattails before inking up the bottom half with Mermaid Lagoon, Salty Ocean, and Peacock Feathers Distress ink. I then cut the grassy hill in the background using our Mini Grass Border Dies and inked around the cattails in my pond scene with a Copic Marker so that they would blend into the grassy background. I also used Copic Markers to sketch some water rings around the pond's edge, each cattail, and flicking some blades of grass in the background. Lastly, I stamped a cute punny greeting from the Froggy Friends Stamps.

Sunny Studio Frog & Girl with Umbrella Spring Card using Puddle Jumpers, Froggy Friends & Country Scenes Clear Craft Stamps

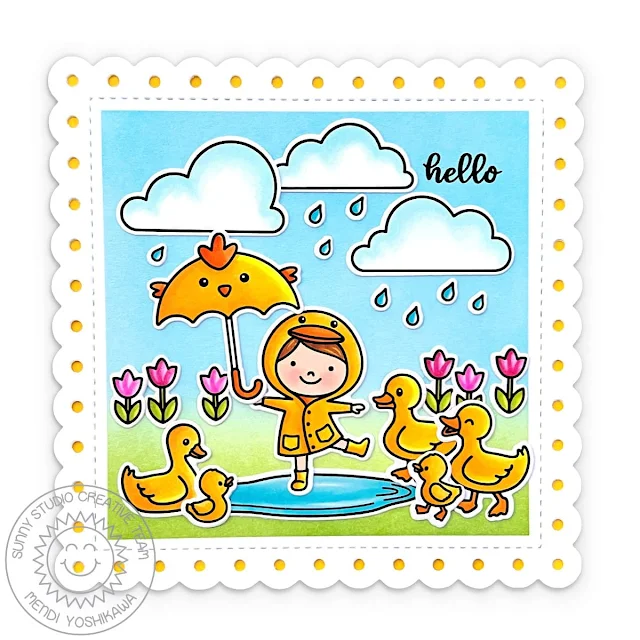
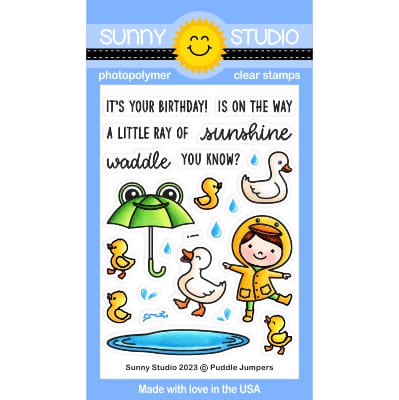
For my second card featuring the Puddle Jumpers Stamps, I paired the girl, puddle, and four ducks from the set with the duck umbrella, clouds, raindrops, and tulips from our Spring Showers Stamps, and the extra duck from our Farm Fresh Stamps. To frame my scene, I adhered our Scalloped Square 2 Small Dies to a 4.25" square card base, making sure to sandwich some yellow cardstock in between to show through the eyelet lace openings. I then masked off the scalloped edges with thin strips of masking material to form a square just inside the stitched square of the die and inked within by blending an ombre with Salty Ocean, Mowed Lawn, and Twisted Citron Distress inks. Lastly, I stamped the small "hello" greeting from our Lovely Lilac Stamps using VersaFine Onyx Black Ink.

Sunny Studio Ducks & Girl with Umbrella Card using Puddle Jumpers, Spring Showers Clear Stamps & Scalloped Square Small Dies

That wraps up my projects for this morning. I hope I've inspired you in your cardmaking and that you spread a little happiness by sending a card to a loved one today. 💛

Don't forget to check out our Froggy Friends Stamps and Spring Showers Stamps in our online shop, which are currently on sale! 

I also encourage you to check out all the card ideas using these sets on each of their product pages. I always make sure to upload tons of ideas for each set following the product image so there are lots of ideas to scroll through there organized by set.

Supplies Used:

Froggy Friends Dies
Froggy Friends Dies
Shop at:
Sunny Studio
Froggy Friends Stamps
Shop at:
Sunny Studio
Versafine Onyx Black Ink
Shop at:
Sunny Studio
Spring Showers Stamps
Shop at:
Sunny Studio
Spring Showers Dies
Spring Showers Dies
Shop at:
Sunny Studio
Farm Fresh Stamps
Farm Fresh Stamps
Shop at:
Sunny Studio
Farm Fresh Dies
Farm Fresh Dies
Shop at:
Sunny Studio
Country Scenes Stamps
Shop at:
Sunny Studio
Country Scenes Dies
Country Scenes Dies
Shop at:
Sunny Studio
Lovely Lilacs Stamps
Shop at:
Sunny Studio
Puddle Jumpers Stamps
Shop at:
Sunny Studio
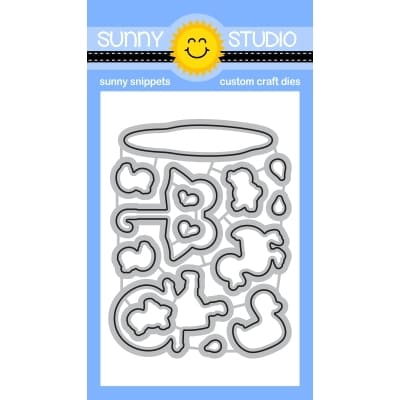
Puddle Jumpers Dies
Puddle Jumpers Dies
Shop at:
Sunny Studio
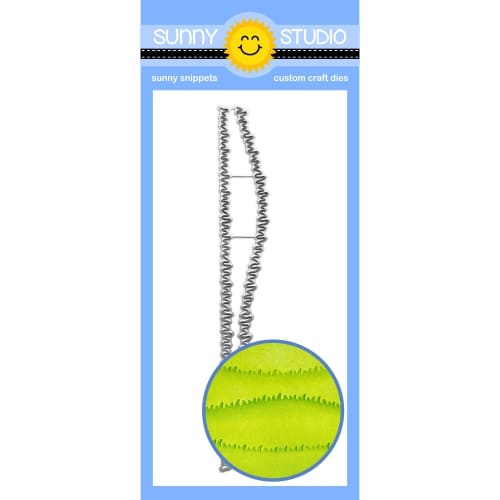
Mini Grass Border Dies
Shop at:
Sunny Studio
Scalloped Square 2 Small Die
Shop at:
Sunny Studio
Spellbinders Masking Sheets
Shop at:
Sunny Studio
Tsukineko Jumbo Dauber
Shop at:
Sunny Studio

Friday, April 25, 2025

Vintage Jar Spring Bouquet Cards with Mendi

Hello and welcome! This is Mendi here today, popping in to share some Spring floral bouquet cards today featuring our Vintage Jar Stamps and Dies!

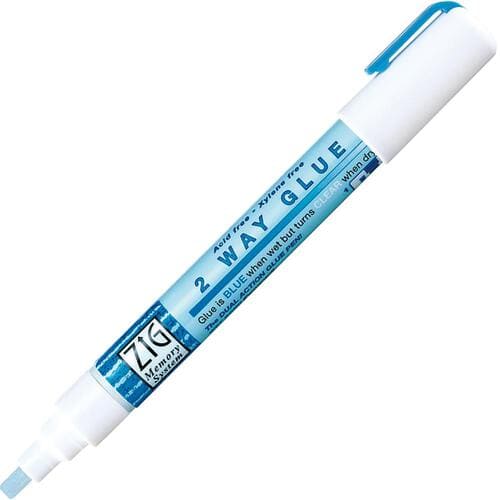
For both of these cards, I started by stamping my first layer onto cardstock and die-cutting the jar with the coordinating dies, and then I stamped the second layer using a slightly darker shade of dye ink onto vellum before sprinkling the image with clear embossing powder and heat setting it. Typically, you can't heat-emboss with dye inks; however, because of the non-porous nature of the vellum and the fact that most dye inks would just smear off without drying, the clear embossing powder helped set the image. It also gave me a wider range of inks in my stash to choose from. I then die-cut the vellum layer and used a Zig Glue Pen to add a thin line of glue on the back of the vellum piece directly behind my heat-embossed lines to hide the adhesive and to give me a pocket to insert my flower stems.

Sunny Studio Floral Card Set by Mendi (using Vintage Jar, Spring Bouquet, Tranquil Tulips Stamps, & Brilliant Banner Dies)

For my first card showcasing the Vintage Jar Stamps, I filled my jar with the daffodils from our Spring Bouquet Stamps and Dies. I created a fresh green gingham backdrop for my card by pairing our Buffalo Plaid Diagonal Die with our Diagonal & Straight Stripes Stencils. I then layered my white scalloped cardstock panel down the center by die-cutting the edges with a border from our Slimline Pennant Dies and added the offset straight stitching with our Slimline Basic Border Dies. As the final touch, I heat-embossed the "Happy Birthday" phrase from our Inside Greetings Birthday Stamps onto a yellow polka-dot print from our Spring Fever Paper pack, which I die-cut using our Brilliant Banner 2 Dies.

Ink colors used for stems & leaves:

Sunny Studio Green Gingham Floral Daffodil Card (using Vintage Jar, Spring Bouquet Stamps, Buffalo Plaid Diagonal, & Brilliant Banner 2 Dies)

For my next card featuring the Vintage Jar Stamps, I created a floral bouquet using our Tranquil Tulips Stamps and Dies. This time I turned to our Background Basics 2 Stamps to stamp the tone-on-tone hot pink diagonal grid print for my card background. To form my white scalloped cardstock strip down the center, I paired the eyelet lace border and the stitched edge from our Ribbon & Lace Border Dies

I stamped the same "Happy Birthday" phrase from our Inside Greetings Birthday Stamps onto a lavender polka-dot print from our Dots & Stripes Pastels Paper pack, which I die-cut using our Brilliant Banner 1 Dies. The polka-dot print felt washed out next to the vibrant purple tulips, so I inked up my patterned paper with some Wilted Violet Distress ink to closely match the colors. I love the idea of inking patterned paper to make it work for your needs and that the print still shows through the light layer of ink!

Ink colors used for hot pink tulips:
Ink colors used for purple tulips:
Ink colors used for stems & leaves:

Sunny Studio Hot Pink Floral Spring Birthday Card (using Vintage Jar, Tranquil Tulips, Background Basics 2 Stamps, & Brilliant Banner 1 Dies)

That wraps up my projects for this morning. I hope I've inspired you in your own cardmaking and that you spread a little happiness by sending out a card to a loved one today.

Don't forget to check out our Vintage Jar Stamps and Tranquil Tulips Stamps in our online shop, which are both currently on sale I also encourage you to check out all the card ideas with these sets on each of their product pages. I always make sure to upload tons of ideas for each set following the product image so there are lots of ideas to scroll through there organized by set. 💗

Supplies Used:

Vintage Jar Dies
Vintage Jar Dies
Shop at:
Sunny Studio
Vintage Jar Stamps
Vintage Jar Stamps
Shop at:
Sunny Studio
Versafine Onyx Black Ink
Shop at:
Sunny Studio
Polka-dot Parade 6x6 Paper
Shop at:
Sunny Studio

Slimline Basic Borders
Shop at:
Sunny Studio
Slimline Pennant Dies
Shop at:
Sunny Studio
Spring Bouquet Stamps
Shop at:
Sunny Studio
Spring Bouquet Dies
Spring Bouquet Dies
Shop at:
Sunny Studio
Tranquil Tulips Stamps
Shop at:
Sunny Studio
Tranquil Tulips Dies
Shop at:
Sunny Studio
Ribbon & Lace Dies
Ribbon & Lace Dies
Shop at:
Sunny Studio
Spring Fever Paper
Spring Fever Paper
Shop at:
Sunny Studio
Brilliant Banner 1 Dies
Shop at:
Sunny Studio
Brilliant Banner 2 Dies
Shop at:
Sunny Studio
Buffalo Plaid Diagonal Die
Shop at:
Sunny Studio
Diagonal & Straight Stripes Stencils
Shop at:
Sunny Studio
Inside Greetings Birthday
Shop at:
Sunny Studio
Background Basics 2 Stamps
Shop at:
Sunny Studio
Hero Arts White Detail
Shop at:
Sunny Studio
VersaMark Watermark Ink
Shop at:
Sunny Studio
Zig Chisel Tip Glue Pen
Shop at:
Sunny Studio