Thursday, March 27, 2025

Balloon Numbers Card with Marine

Hello crafty friends, Marine here, I'm back with a new Sliding Window card, another birthday themed one, featuring the cutest super heroes. I really love to create those interactive cards because they're very easy to assemble, and they're great to use your pattern papers, one thing I wish I'd do more often.

Sunny Studio Stamps: Balloon Numbers Super Duper Birthday Card by Marine Simon (featuring Super Duper, Sliding Window Dies, Cityscape Border Dies, Stitched Rectangle Dies)

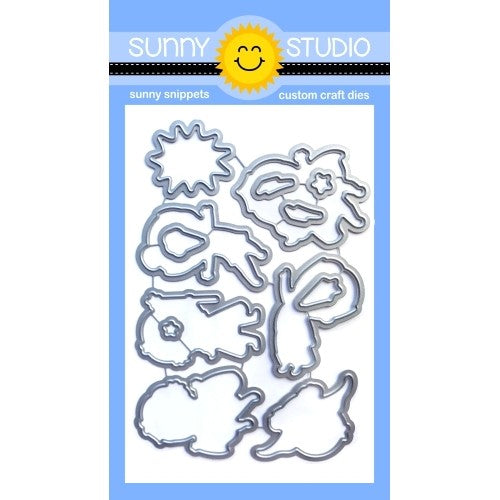
So, I started off by stamping my Super Duper images on 110lb Neenah solar white cardstock using an alcohol marker friendly black ink, I cut them using the coordinating dies, and colored everything using my Ohuhu markers and Graph'it brush markers. I went for a fun green + aqua + blue + yellow color palette that matches the super hero theme quite nicely, and once the coloring was done, I added highlights and details to the images using a white gel pen.

Sunny Studio Stamps: Balloon Numbers Super Duper Birthday Card by Marine Simon (featuring Super Duper, Sliding Window Dies, Cityscape Border Dies, Stitched Rectangle Dies)

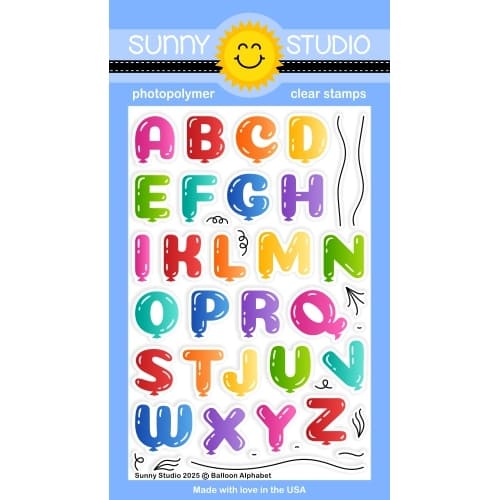
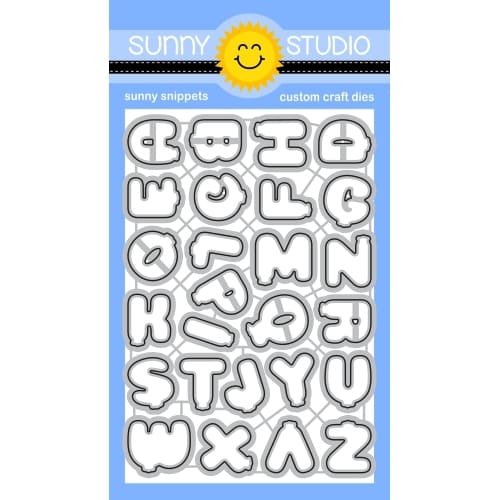
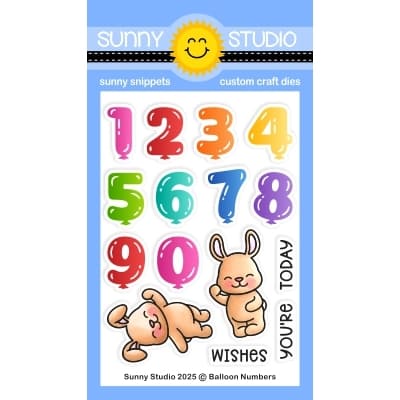
I stamped numbers and letters on 110lb Neenah solar white cardstock using the Balloon Numbers and the Balloon Alphabet. I first stamped a "1" and a "0" using Lawn Fawn freshly cut grass dye ink, and cut those numbers using the coordinating dies. Next I stamped "HB2U" (happy birthday to you) using Lawn Fawn fish tank, freshly cut grass, sunflower and mermaid dye inks, and I wanted those letters to be real letters and not balloons, so before stamping them, I masked the balloon details with washi tape, and after die cutting the letters, I trimmed off the excess of paper below each letter with scissors. I set everything aside and moved on to the Sliding Window card.

Sunny Studio Stamps: Balloon Numbers Super Duper Birthday Card by Marine Simon (featuring Super Duper, Sliding Window Dies, Cityscape Border Dies, Stitched Rectangle Dies)

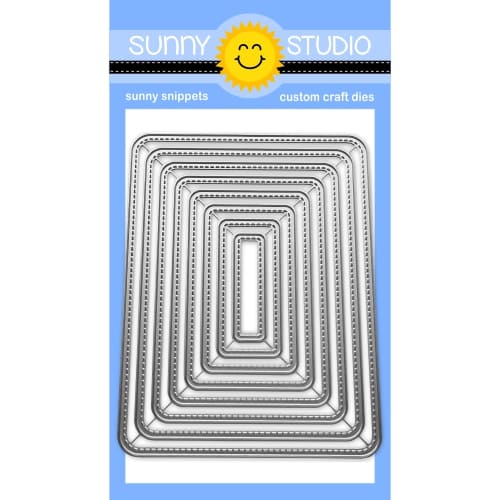
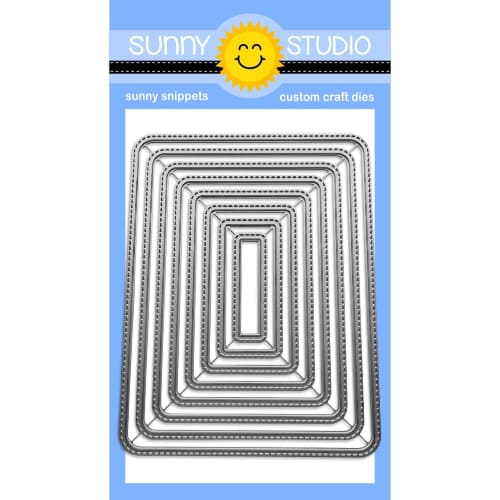
I cut a 5 x 3,75 inches Surprise Party Starry Blue panel using the largest Stitched Rectangle, cut the Sliding Window out of it, as well as the notch at the very top, and also cut a 5 x 3,25 inches Heroic Halftones Yellow panel.

I folded my Sliding Window Starry Blue panel on the score lines, flipped it over, and added double sided tape to the slim bottom tab. I peeled the backing paper off this tab, flipped my Yellow panel over, and attached it at the back of my Sliding Window Starry Blue panel, lining up the bottom edge of the Yellow panel with the edge of the slim tab. And I wanted to frame my sliding starry blue panel nicely, so I cut a 5 x 3,75 inches Heroic Halftones Black panel, cut a Sliding Window out of it, as well as the notch at the top, I trimmed the center of that panel to get a frame, and stuck that frame to my Starry Blue panel using liquid glue.

Sunny Studio Stamps: Balloon Numbers Super Duper Birthday Card by Marine Simon (featuring Super Duper, Sliding Window Dies, Cityscape Border Dies, Stitched Rectangle Dies)

Next I cut a Heroic Halftones Green panel using the largest Stitched Rectangle, I flipped my Sliding Window panel over, and added foam strips along the bottom edge, on the long edges as well, but not along the top edge. I peeled all the backing papers off, and attached my sliding panel to the Green panel. Next I attached my sliding panel to a 5,25 x 4 inches holographic panel, and finally to a 5,5 x 4,25 inches Polka Dot Parade Green panel.

And to complete my interactive panel, I attached the remaining piece of Heroic Halftones Black paper at the top of the Yellow pull tab panel, cut a green eyelet using a Sliding Window die, stuck that eyelet, pierced a hole through it, and added navy blue thread twine with a green bead to be able to pull the interactive panel.

Sunny Studio Stamps: Balloon Numbers Super Duper Birthday Card by Marine Simon (featuring Super Duper, Sliding Window Dies, Cityscape Border Dies, Stitched Rectangle Dies)

Next I decorated the front of my Sliding Window panel. I cut a 3 x 1/4 inch slim strip out of dark gray cardstock and attached it at the very bottom of the interactive panel using 2mm foam squares. I cut three Cityscape borders out of indigo blue cardstock, stuck each border to some lighter blue cardstock, trimmed that lighter blue cardstock all around the buildings, added highlights and details using a white gel pen, cut the borders to fit on the interactive panel, and attached them using foam squares.

Sunny Studio Stamps: Balloon Numbers Super Duper Birthday Card by Marine Simon (featuring Super Duper, Sliding Window Dies, Cityscape Border Dies, Stitched Rectangle Dies)

I cut a speech bubble out of black cardstock using a Comic Strip Speech Bubble die, white heat embossed "Have an incredible birthday" from Super Duper on it, and then attached the images and "HB2U" on the front of the card and on the inside as well using 1mm and 2mm foam squares.

Sunny Studio Stamps: Balloon Numbers Super Duper Birthday Card by Marine Simon (featuring Super Duper, Sliding Window Dies, Cityscape Border Dies, Stitched Rectangle Dies)

Next I stamped two balloon strings from Balloon Alphabet, cut them and attached each of them to an acetate strip using liquid glue. At the end of each string, I attached the "1" and the "0" using 3mm glue dots, I stuck the strings in the girl's hand using liquid glue again, and this way when the Sliding Window card is open, the balloons stay up in the air.

And that's it! I hope that you like this extra fun and super bright interactive card. Thanks so much for stopping by, and see you next week.

Sunny Studio Supplies Used:

Stitched Rectangle Dies
Shop at:
Sunny Studio
Polka-dot Parade 6x6 Paper
Shop at:
Sunny Studio
Surprise Party 6x6 Paper
Shop at:
Sunny Studio
Heroic Halftones 6x6 Paper
Shop at:
Sunny Studio
Super Duper Stamps
Super Duper Stamps
Shop at:
Sunny Studio
Super Duper Dies
Super Duper Dies
Shop at:
Sunny Studio
Cityscape Border Dies
Shop at:
Sunny Studio
Comic Strip Speech Bubble Dies
Shop at:
Sunny Studio
Balloon Alphabet Stamps
Shop at:
Sunny Studio
Balloon Alphabet Dies
Shop at:
Sunny Studio
Balloon Numbers Stamps
Shop at:
Sunny Studio
Balloon Numbers Dies
Shop at:
Sunny Studio
Sliding Window Dies
Sliding Window Dies
Shop at:
Sunny Studio

Wednesday, March 26, 2025

Doggone Birthday Card with Tina

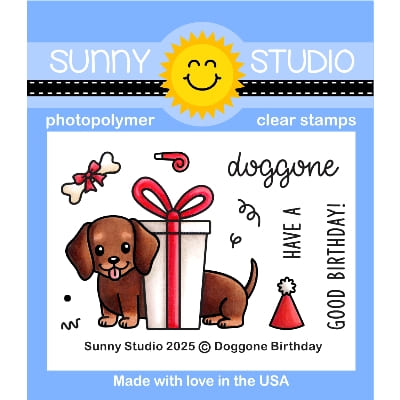
Hi crafty friends, Tina here and today’s card features the very sweat Doggone Birthday stamp and die set. It’s a smaller set yet has all the elements you need to create festive projects!

Sunny Studio Stamps: Doggone Birthday Card by Tina Henkens (featuring Balloon Alphabet Dies, Limitless Labels Dies, Frilly Frame Dies)

I really wanted to show off this cute little party dog by creating several layers, so after I prepared my white card base, I browsed through my paper stash to find a fun combo. To start, I die cut a panel from a bright green striped paper (Dots & Stripes Jewel Tones) with the outer die from Frilly Frames Chevron.

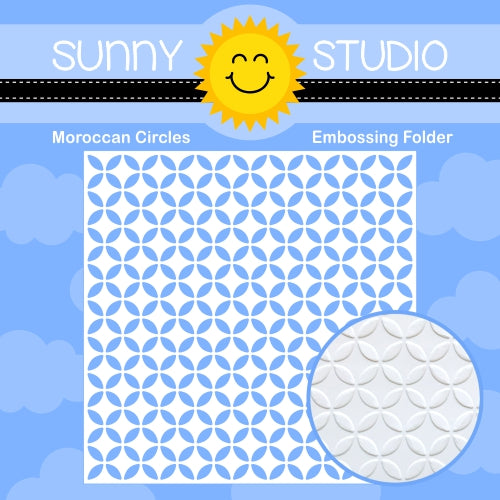
For extra layering I used two sizes of the Limitless Labels 1 dies, cutting the largest from a grey sheet (Subtle Grey Tones) and the smaller from white card stock. To give this latter piece added interest I ran it through my die cutting machine with the Moroccan Circles embossing folder. Both the grey paper as the embossing brings so much extra detail to this simple card design!

After gluing all these panels to the white card base, I stamped and die cut my images. As I mentioned before, this set can be matched with lots of other sets but also works great on its own as I show in this project. I love the little party hat and the bones with bows! So cute!
All the coloring was done with my Copic markers.

Sunny Studio Stamps: Doggone Birthday Card by Tina Henkens (featuring Balloon Alphabet Dies, Limitless Labels Dies, Frilly Frame Dies)

My sentiment consists of two parts. First portion is a stamped ‘Happy Birthday’ (Punny Fruit Greetings). I couldn’t stamp onto the embossed panel, so I cut another smaller piece with the Limitless Labels 1 dies from white card stock and stamped onto this paper in Versafine Onyx Black ink. Next, I glued this to the bottom part of the embossed panel.

I spelled the word ‘YAY’ in two colors with letters of the Balloon Alphabet stamp and die set. After securing some green thread to the back of the letters, I mounted them to the white panel with foam tape. I made sure to hold the ends of the thread in place with a piece of tape, adhering them to the card base where I could hide them by putting the adorable doggie in place. Lastly, I added the two bones as presents and a few Iridescent Jewels

Thank you for visiting the blog and happy crafting!

Sunny Studio Supplies Used:

Dots & Stripes Jewel Tones 6x6 Paper
Shop at:
Sunny Studio
Frilly Frames Chevron Die
Shop at:
Sunny Studio
Moroccan Circles Embossing
Shop at:
Sunny Studio
Subtle Grey Tones Paper
Shop at:
Sunny Studio
Limitless Labels 1 Dies
Shop at:
Sunny Studio
Balloon Alphabet Stamps
Shop at:
Sunny Studio
Balloon Alphabet Dies
Shop at:
Sunny Studio
Doggone Birthday Stamps
Shop at:
Sunny Studio
Doggone Birthday Dies
Shop at:
Sunny Studio
Punny Fruit Greetings
Shop at:
Sunny Studio

Tuesday, March 25, 2025

Rounded Rectangle Window Die Focused Card & Tag with Amanda

Welcome back to the Sunny Studio Stamps Blog! Amanda here, and I’m glad you’re here with me today! I’m sharing this adorable duo I created using the Rounded Rectangle Window Dies! Keep reading to see how I created this card and coordinating tag!

Sunny Studio Stamps: Rounded Rectangle Window Die Focused Card and Tag by Amanda Fitterer (featuring Foxy Friends, Background Basics 2, Rounded Rectangle Mat Dies, Majestic Meadow)

First, we’ll start with the card! I trimmed a piece of white cardstock to 4”x5.25” and then taped the 4th largest rectangle in the center of the panel. I ran it through my die cutting machine.  

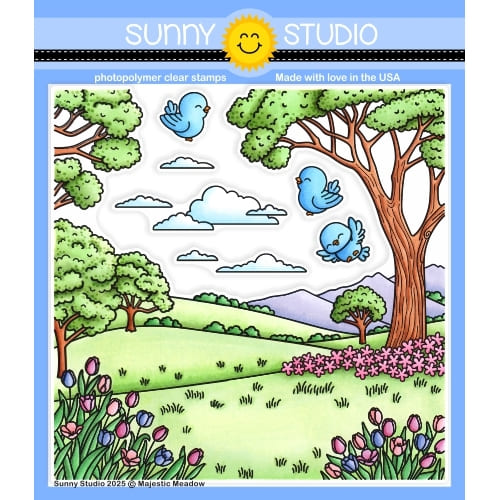
On a separate white cardstock panel, I stamped the background image from the Majestic Meadow Stamp. Then, I trimmed the stamped panel to fit in the opening of the window, including an extra 1/4” border. I was careful to leave the left side of the stamped image for my tag! Then, I stamped my sentiment.

I colored the background with Copic markers. Here are the colors I used:
Flowers: RV55, RV66, RV69
Grass: YG0000, YG00, YG01
Trees & Bushes: E43, E44, E47, E49, YG06, G07, G14

Sunny Studio Stamps: Rounded Rectangle Window Die Focused Card and Tag by Amanda Fitterer (featuring Foxy Friends, Background Basics 2, Rounded Rectangle Mat Dies, Majestic Meadow)

I glued this panel to an A2 card base in the center. On my window panel, I used double sided tape to attach a piece of acetate trimmed to 1/4” larger than the window. Then, I put foam tape strips all around the acetate to create a shaker pocket. I added extra foam tape strips on the border of the panel so it was the same depth all the way around.  

I placed a mixture of sequins in the center of my card base. Then, I carefully lined up my window panel and attached it to the card base, ensuring that the sequins stayed inside the shaker pocket.

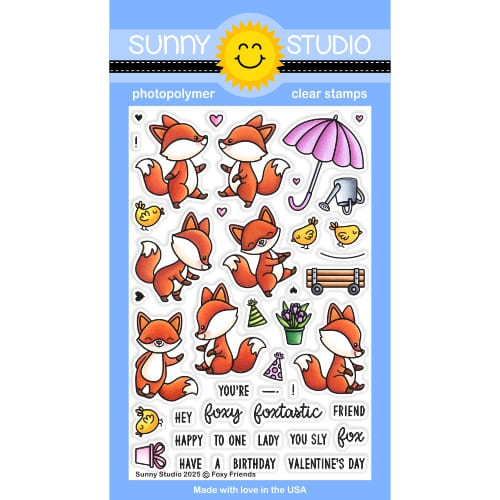
Next, I stamped 2 foxes and and 2 birds from the Foxy Friends Stamps. I colored these with Copic markers, too.

I used these markers:
Birds: RV10,  RV52, RV55, Rv66, RV69, YR21, YR24
Foxes: YR20, YR21, YR24, YR27, E50, E53, R00, R20, R32, W8

Then, I cut the images out using the coordinating dies. I put 3D foam squares behind each of the images. I adhered the 2 birds and 1 fox to the card. I glued a few sequins from the my sequin mix to the front of the card as well.

Sunny Studio Stamps: Rounded Rectangle Window Die Focused Card and Tag by Amanda Fitterer (featuring Foxy Friends, Background Basics 2, Rounded Rectangle Mat Dies, Majestic Meadow)

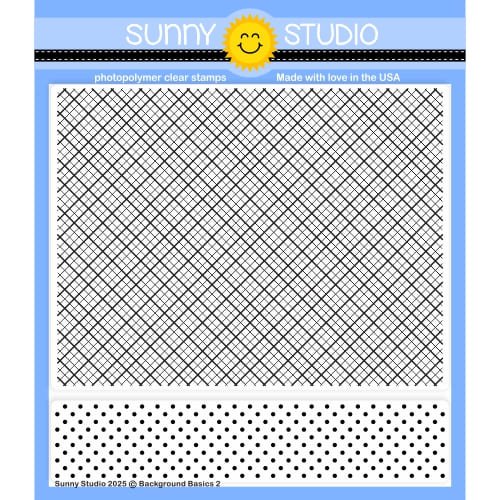
For the tag, I cut the 4th largest Rounded Rectangle Mat Dies. I stamped the Background Basics 2 stamp with Catherine Pooler’s Pucker Up Ink onto this rectangle. I also die cut the 5th largest Rounded Rectangle Mat Dies. Then, I taped the 3rd smallest Rounded Rectangle Window Dies to the center of rectangle and put it through the die cutting machine to create a frame for my shaker.

On the leftover piece from the Majestic Meadow Stamp, I taped the same 3rd smallest Rounded Rectangle Window Die and ran it through my die cutting machine to get my background piece. I colored this background with the same Copic markers.

I punched a hole and added an eyelet with my Crop-a-dile Big Bite to my largest rectangle. To create the shaker, I folowed the same steps as I did for the card. I added some baker’s twine to finish the tag off!

The Rounded Rectangle Mat Dies and Rounded Rectangle Window Dies work so well together! I can’t wait to gift this card and tag to a FOXTASTIC friend! Thanks so much for coming by the blog today! Come back tomorrow for more inspo! 

Sunny Studio Supplies Used:

Background Basics 2 Stamps
Shop at:
Sunny Studio
Majestic Meadow Stamps
Shop at:
Sunny Studio
Majestic Meadow Dies
Shop at:
Sunny Studio
Foxy Friends Stamps
Foxy Friends Stamps
Shop at:
Sunny Studio
Foxy Friends Dies
Foxy Friends Dies
Shop at:
Sunny Studio
Rounded Rectangle Mat Dies
Shop at:
Sunny Studio
Rounded Rectangle Window Dies
Shop at:
Sunny Studio

Monday, March 24, 2025

Tulip Path Background Card with Leanne

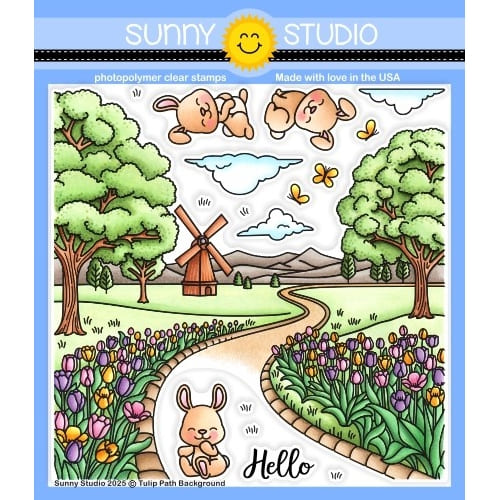
Hello everyone! Leanne here to share a bright and cheerful spring card. I used the bunnies, butterflies, and cloud images from the Tulip Path Background stamp set plus a mix of other Sunny Studio supplies to create my own tulip garden scene.

Sunny Studio Stamps: Tulip Path Background Spring Themed Card by Leanne West (featuring Picket Fence Border Dies, Rounded Rectangle Mat Dies)

Here is what you'll need besides the Tulip Path Background stamp set to recreate this A2 sized card:

Classic Gingham Paper (for the orange gingham mat)

Rounded Rectangle Mat dies (to give the scene mat it's faux stitching and rounded corners)

Picket Fence Border dies (for the fence and grass border)

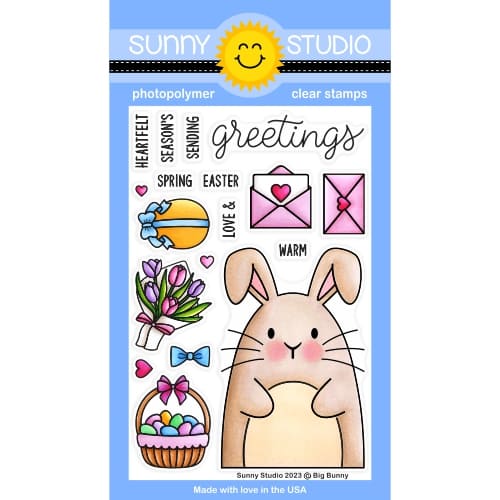
Big Bunny stamp set (for the greeting)

Sunny Studio Stamps: Tulip Path Background Spring Themed Card by Leanne West (featuring Picket Fence Border Dies, Rounded Rectangle Mat Dies)

Copics used to color the images are listed below: 
bunnies (E41, E42, E43, R00, R20)  pink tulips (RV13, RV14, RV17)  orange tulips (YR12, YR14, YR18)  tulip leaves (YG11, YG13, YG17)  butterflies (Y11, Y15)  shading on clouds (B000, B00)

This scene came together easily with this fun combo of supplies. I love how the fence adds the perfect backdrop for the tulips and bunnies who are enjoying a warm spring day. 

Sunny Studio Supplies Used:

Picket Fence Border Dies
Shop at:
Sunny Studio
Classic Gingham 6x6 Paper
Shop at:
Sunny Studio
Big Bunny Stamps
Big Bunny Stamps
Shop at:
Sunny Studio
Big Bunny Dies
Big Bunny Dies
Shop at:
Sunny Studio
Tulip Path Background Stamps
Shop at:
Sunny Studio
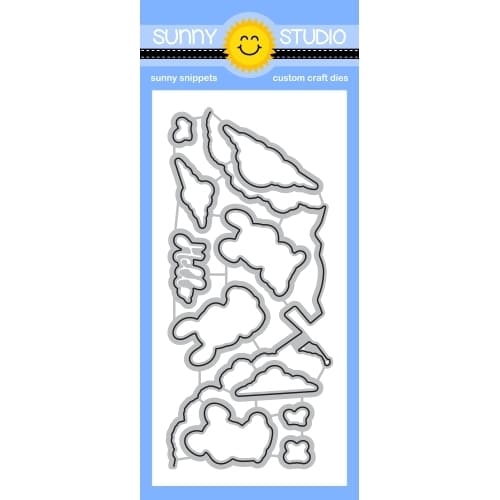
Tulip Path Background Dies
Shop at:
Sunny Studio
Rounded Rectangle Mat Dies
Shop at:
Sunny Studio

Sunday, March 23, 2025

Foxy Friends Card with Hanh

Hello Crafty Friends! This is Hanh on the Sunny Studio Stamps blog today with a slimline card to share with you showcasing these Foxy Friends. I love that this set is packed with so many sweet images.

Sunny Studio Stamps: Foxy Friends Friendship Card by Hanh Nguyen (featuring Slimline Scalloped Frame Dies, Tulip Path Background)

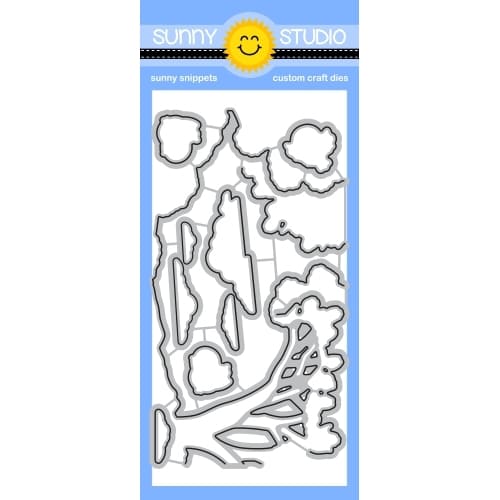
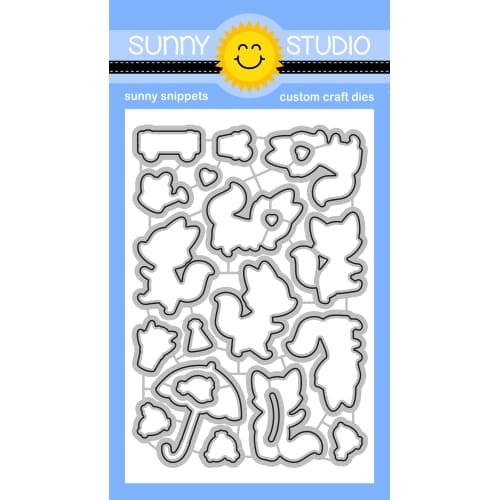
I stamped the fox, bird and flower pot images from the Foxy Friends Stamps set and the clouds and butterflies from the Tulip Path Background Stamps onto a piece of Neenah Solar White 110 lb cardstock with Memento Tuxedo Black ink and used the coordinating Foxy Friends Dies and Tulip Path Background Dies to diecut them out. I colored them with Copic markers and highlighted them with a white gel pen.

COPIC COLORS:
Foxes: YR21/24/27 E35/37, W00/1/3, R00/30
Birds: B000/00/02, Y38
Butterflies: RV10/13/14
Flower Pot: RV10/13/14, YG03/17, W00/1/3
Clouds: C00/1

Sunny Studio Stamps: Foxy Friends Friendship Card by Hanh Nguyen (featuring Slimline Scalloped Frame Dies, Tulip Path Background)

For the background, I ink blended Kitsch Flamingo, Spun Sugar, Scattered Straw and Mowed Lawn Distress Oxide inks onto a piece of Bristol Smooth cardstock. The panel was trimmed with the stitched die from the Slimline Scalloped Frame Dies. Using the same die set, I diecut a scalloped panel and the word Hello 4 times out of white cardstock. I layered and adhered the four Hello diecuts to each other with liquid adhesive. I adhered the two slimline panels to each other.

Sunny Studio Stamps: Foxy Friends Friendship Card by Hanh Nguyen (featuring Slimline Scalloped Frame Dies, Tulip Path Background)

Finally, I decorated the card front with the colored images using a combo of liquid adhesive and foam tape for a bit of dimension and interest.

I appreciate you taking the time to stop by and visit today. I hope you liked my card. For more info, ideas and to check out the entire Spring Release, be sure to visit the Sunny Studio Stamps Shop. Please also visit my INSTAGRAM feed for more inspirations.

Have a wonderful and crafty day!

Sunny Studio Supplies Used:

Slimline Scalloped Frame
Shop at:
Sunny Studio
Tulip Path Background Stamps
Shop at:
Sunny Studio
Tulip Path Background Dies
Shop at:
Sunny Studio
Foxy Friends Stamps
Foxy Friends Stamps
Shop at:
Sunny Studio
Foxy Friends Dies
Foxy Friends Dies
Shop at:
Sunny Studio