Tuesday, March 18, 2025

Background Basics 2 Card with Amanda

Hello there, crafters, Amanda here! I hope your week is off to a great start! Today, I am sharing a cute little kitty card I created for a special birthday!

Sunny Studio Stamps: Background Basics 2 Focused Birthday Card by Amanda Fitterer (featuring Party Pets, Sprawling Surfaces, Fancy Frame Rectangle Dies, Moroccan Circles Embossing Folder)

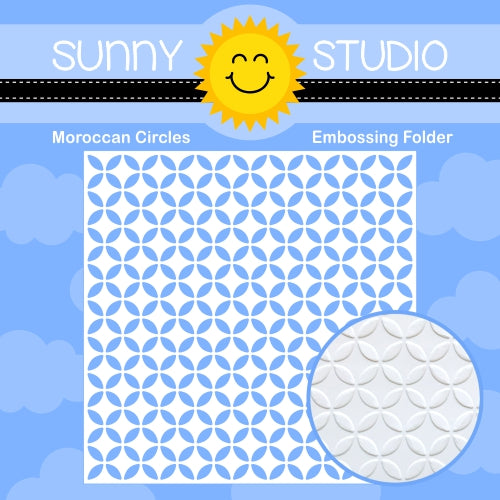
This card has quite a few layers, so let me explain how I created each one! First, I used the Fancy Frames Rectangle Dies and cut both of the larger frames. I only used the outside layer of each cutout and saved the inside frames for another card. Next, I ran a piece of mint paper through my die-cutting machine with the Morrocan Circles Embossing Folder

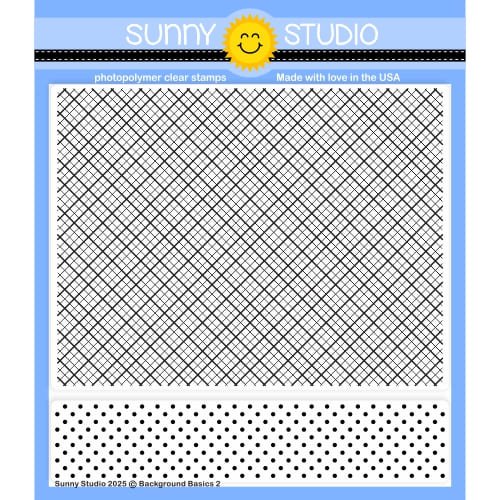
Then, I trimmed a piece of white cardstock to 2.75” x 4” for my background panel. On this panel, I masked off the bottom portion with some tape. I ink blended Catherine Pooler's Hot Tub ink on the entire area. Then, I stamped the Background Basics 2 Stamps with Catherine Pooler’s Sea Glass ink.

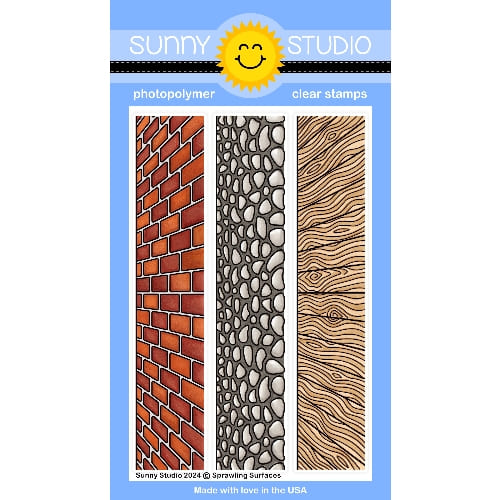
I masked off the top portion of the panel and then stamped the wood floor image from the Sprawing Surfaces Stamps. I colored the floor with E21, E23, and E25 Copic markers.

Now, with all those layers complete, we can assemble the card! I glued the mint panel to an A2 card base. Then, I added the outside frame, adhering it with thin foam tape. Then, I glued the background panel to the center of the card. And finally, I used more thin foam tape to adhere the inner frame to the card.

Sunny Studio Stamps: Background Basics 2 Focused Birthday Card by Amanda Fitterer (featuring Party Pets, Sprawling Surfaces, Fancy Frame Rectangle Dies, Moroccan Circles Embossing Folder)

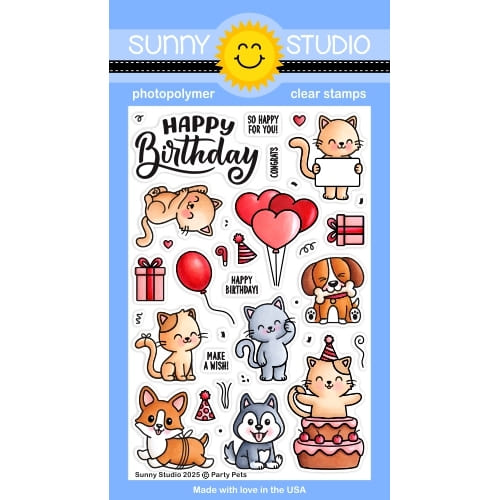
Now, we can move on to the main event: the kitties! I stamped the cats, accessories, and sentiment from the Party Pets Stamps with black ink. Then, I colored them in with Copic markers.

Here are the marker colors I used:
Cats: W8, YR24, YR27, N0, N1, N8, N9, R22, R30
Green Areas: YG000, YG00, YG01, YG03, YG05
Blue/Green Areas: BG 11, BG13, BG32
Pink Areas: RV10, RV21, RV23, RV25, R00, R20, R22


I die cut the images and sentiment out with the 
coordinating die set. I added them to the card using foam squares. To add a little bit of detail, I added 3 Iridescent Clear Jewels.

The card is finished!  I love how the layers make this card unique and eye-catching! Thanks for stopping by the Sunny Studio Stamps blog today! Come back tomorrow for more inspiration! 

Sunny Studio Supplies Used:

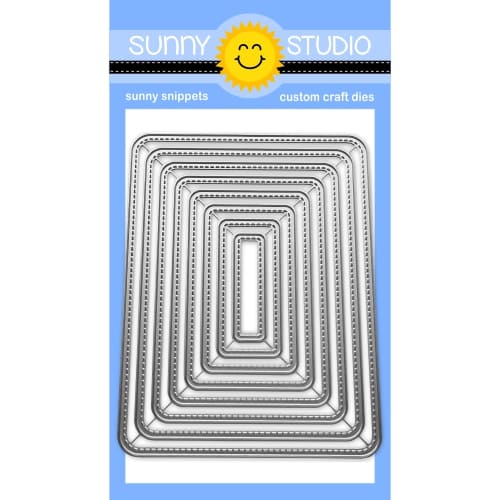
Fancy Frames- Rectangles
Shop at:
Sunny Studio
Moroccan Circles Embossing
Shop at:
Sunny Studio
Sprawling Surfaces Stamps
Shop at:
Sunny Studio
Background Basics 2 Stamps
Shop at:
Sunny Studio
Party Pets Stamps
Party Pets Stamps
Shop at:
Sunny Studio
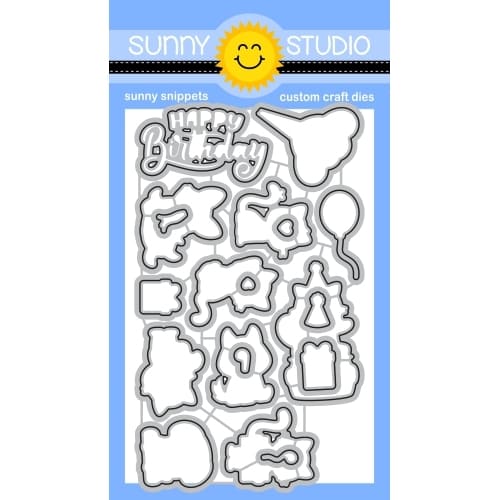
Party Pets Dies
Party Pets Dies
Shop at:
Sunny Studio

Monday, March 17, 2025

Party Pets Card with Leanne

Hello Everyone! Leanne here and I have another birthday card to share this week. It's a simple one featuring cute images from the Party Pets stamp set.

Sunny Studio Stamps: Party Pets Birthday Card by Leanne West (featuring Background Basics 2, Rounded Rectangle Mat Dies)

All images plus the greeting and the background confetti are included in the Party Pets stamp set. I used Copic makers to color the balloons, dog, and present (colors used are listed at the end of this post). I stamped the confetti onto a Rounded Rectangle Mat, then adhered my colored images and greeting with foam squares. 

Copics used: pink- R00, R20, R21; blue- B21, B23, B26; brown- E41, E42, E71, E74; for shading on white areas- W1, YR30

Sunny Studio Stamps: Party Pets Birthday Card by Leanne West (featuring Background Basics 2, Rounded Rectangle Mat Dies)

I layered my completed Rounded Rectangle panel overtop an A2 kraft card stock panel. l used white pigment ink and the diagonal grid from the Background Basics 2 stamp set to add the grid pattern to this panel. And that's it! This card is ready to be sent to spread some birthday cheer. 

Sunny Studio Supplies Used:

Background Basics 2 Stamps
Shop at:
Sunny Studio
Party Pets Stamps
Party Pets Stamps
Shop at:
Sunny Studio
Party Pets Dies
Party Pets Dies
Shop at:
Sunny Studio
Rounded Rectangle Mat Dies
Shop at:
Sunny Studio

Sunday, March 16, 2025

Inside Greetings Belated Birthday Card with Hanh

Hello Crafty Friends! This is Hanh on the Sunny Studio Stamps blog today with a Sliding Window belated birthday card to share with you showcasing the Inside Greetings Belated Birthday Stamps. This is an awesome stamp set with a variety of fun and funny sentiments that are just perfect for belated birthday cards. I chose a fun interactive card design for the recipient today to make up for the lateness of the late birthday wishes.

Sunny Studio Stamps: Inside Greetings Belated Birthday Card by Hanh Nguyen (featuring Big Bold Greetings, Panda Party, Sliding Window Dies)

Have you ever made a sliding window card? They are super fun and quite easy to make. They are not nearly as complex and intimidating as they look. And the Sliding Window Dies takes all of the guess work out of making this card. In the event that you have never made one of these cards or used this die, there is an excellent tutorial video as well as written directions on the Sunny Studio website that can be found HERE.

For this card design, I used a piece of pattern paper (4 1/4" x 5 1/2") from the Polka Dot Parade Paper Pack, a piece of pattern paper (3 1/4" x 4 7/8") from the Surprise Party Paper Pack and two pieces of Neenah Solar White 110lb cardstock (4 1/4" x 5.5" and 3" x 4"). 

I centered the main Sliding Window Dies onto the larger pattern paper and placed the little half circle die on the upper edge of the paper. I ran this through my diecutting machine. Not only did the dies cut out the window flap and notch on the top but it also created score lines for the folding lines. I folded along these lines to help the window open and close. 

Sunny Studio Stamps: Inside Greetings Belated Birthday Card by Hanh Nguyen (featuring Big Bold Greetings, Panda Party, Sliding Window Dies)

Before going onto the next step of the card assembly, I placed the sliding window panel on top of my larger piece of white cardstock and used it as a guide to stamp the inside images and sentiments. Using Memento Tuxedo Black ink, I stamped the pandas, hats and cupcakes from the Panda Party Stamps and the presents from the Foxy Friends Stamps sets onto the larger white cardstock (inside panel) as well as on a separate piece for coloring and diecutting for the card front. I also stamped the sentiment from the Inside Greetings Belated Birthday onto the inside panel with a combo of black and red ink. 

I used the coordinating Panda Party Dies and Foxy Friends Dies to diecut the images for the front panel. I colored the images with Copic markers and highlighted with a white gel pen. 

COPIC COLORS: 
Pandas: C00/0/1/3/5/7, R30
Red: R24/29/39
Orange: Y38 YR04
Green: YG01/03/17
Light Blue: B00/02/04
Dark Blue: B21/24/28
Cupcake Frosting: E41

Sunny Studio Stamps: Inside Greetings Belated Birthday Card by Hanh Nguyen (featuring Big Bold Greetings, Panda Party, Sliding Window Dies)

I returned to the card assembly by attaching the smaller piece of patterned paper to the bottom edge of the window flap with double sided tape. I added double sided tape to the sides and bottom of the backside of the larger patterned paper and adhered it to the front of the inside panel that I had colored. I tested to make sure the window opened and closed. 

For the sentiment, I stamped the Happy Birthday from the Big Bold Greetings Stamps with red ink and diecut it out with the Big Bold Greetings Dies. Then, I stamped the "belated" from the Inside Greetings Belated Birthday Stamps set with Versamark Watermark ink onto a piece of black cardstock and heat embossed with Detail White Embossing Powder. I trimmed it out with a paper trimmer. 

I adhered my colored images to the smaller piece of white cardstock with liquid adhesive. I attached the sentiments with foam tape for a bit of dimension. I adhered the small white panel to the front of the window flap making sure to only adhere it to the bottom half of the flap.

Sunny Studio Stamps: Inside Greetings Belated Birthday Card by Hanh Nguyen (featuring Big Bold Greetings, Panda Party, Sliding Window Dies)

Next, I adhered the little half circle notch that I diecut from the front panel to the smaller piece of patterned paper to hide the inside pattern as well as reinforce the sliding panel. Then I punched a hole in this sliding panel and attached a piece of twine to help the recipient pull out the panel. Finally, I adhered the entire panel to an A2 white cardbase (4 1/4" x 5 1/2").

I appreciate you taking the time to stop by and visit today. I hope you liked my card. For more info, ideas and to check out the entire Spring Release, be sure to visit the Sunny Studio Stamps Shop. Please also visit my INSTAGRAM feed for more inspirations.

Have a wonderful and crafty day!

Sunny Studio Supplies Used: 

Polka-dot Parade 6x6 Paper
Shop at:
Sunny Studio
Surprise Party 6x6 Paper
Shop at:
Sunny Studio
Big Bold Greetings Stamps
Shop at:
Sunny Studio
Big Bold Greetings Dies
Shop at:
Sunny Studio
Panda Party Stamps
Panda Party Stamps
Shop at:
Sunny Studio
Panda Party Dies
Panda Party Dies
Shop at:
Sunny Studio
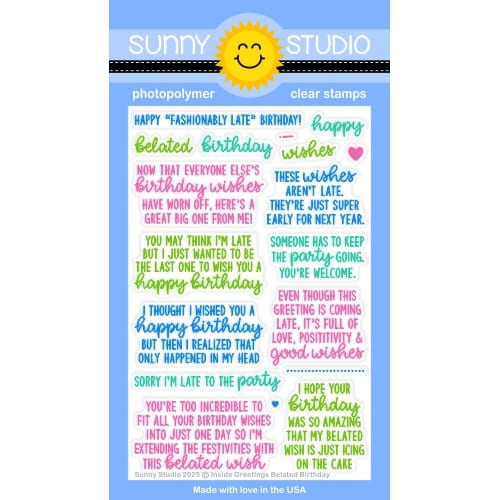
Inside Greetings Belated Birthday
Shop at:
Sunny Studio
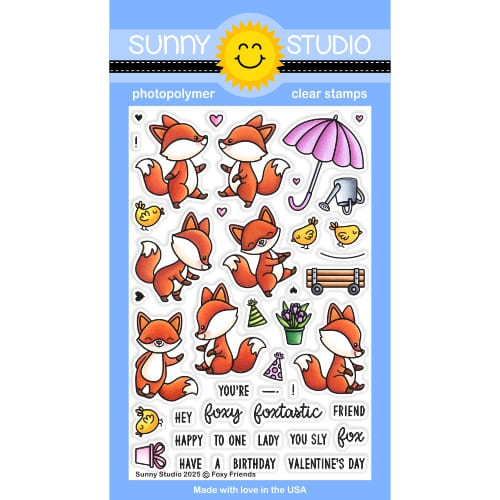
Foxy Friends Stamps
Foxy Friends Stamps
Shop at:
Sunny Studio
Foxy Friends Dies
Foxy Friends Dies
Shop at:
Sunny Studio
Sliding Window Dies
Sliding Window Dies
Shop at:
Sunny Studio

Saturday, March 15, 2025

Guest Designer Spotlight: Birthday Cards with Rachel Alvarado

Sunny Studio Stamps: Party Pets, Cat Antics, and Foxy Friends Birthday Cards by Rachel Alvarado (featuring Slimline Scalloped Frame Dies, Rounded Rectangle Mat Dies, Inside Greetings)

Hello everyone! It's Rachel here with two one-layered birthday cards featuring some fun products from the latest release as well as some previously released ones that you may already own in your crafty stash.

Sunny Studio Stamps: Party Pets, Cat Antics, and Foxy Friends Birthday Cards by Rachel Alvarado (featuring Slimline Scalloped Frame Dies)

My first card is a slimline card that features the Party PetsFoxy FriendsCat Antics, and Panda Party stamp sets. I also used the gorgeous Slimline Scalloped Frame Dies for my card base.

One-layered cards are some of my favorites. I always make sure to stamp a template card first on a piece of scrap paper without any masking so I can make sure that my images go exactly where I want them. I then use this rough draft as my layout along with my stamping tool when I create my actual card. I stamp the most front images first (i.e. party hats) and then mask each piece with masking paper and repeat the process as I go until I finish with the back layer (or images that will be behind others). 

Sunny Studio Stamps: Party Pets, Cat Antics, and Foxy Friends Birthday Cards by Rachel Alvarado (featuring Slimline Scalloped Frame Dies)

Once my entire images were stamped and masked, I then added some ink blending for my background. You can color your backgrounds with markers, but I find that usually takes a longer time (for me) than ink blending. For my card above, I used a mix of Salvaged Patina, Kitsch Flamingo, and Wild Honey Distress Oxide Inks. Once finished, I added some white ink spatters for added interest, removed my masking pieces, and then colored my images with Copic Markers. I finished my card by stamping my sentiments and adding balloon lines with a fine-line black marker and ruler.

Sunny Studio Stamps: Party Pets Birthday Card by Rachel Alvarado (featuring, Rounded Rectangle Mat Dies, Inside Greetings)

My second card was made using a similar process as I did with the first one. For this card, I only used the Party Pets Stamp Set for my images. For my background, I blended a mix of Picked Raspberry and Wild Honey Distress Oxide Ink. I once again used Copic Markers to color my images. I then die cut my card front and base layer with the Rounded Rectangle Mat Dies. Lastly, I stamped my sentiment from the Inside Greetings Belated Birthday Stamp Set.

I hope you enjoyed my cards today! Thanks so much for stopping by!

Sunny Studio Supplies Used:

Slimline Scalloped Frame
Shop at:
Sunny Studio
Panda Party Stamps
Panda Party Stamps
Shop at:
Sunny Studio
Panda Party Dies
Panda Party Dies
Shop at:
Sunny Studio
Inside Greetings Belated Birthday
Shop at:
Sunny Studio
Foxy Friends Stamps
Foxy Friends Stamps
Shop at:
Sunny Studio
Foxy Friends Dies
Foxy Friends Dies
Shop at:
Sunny Studio
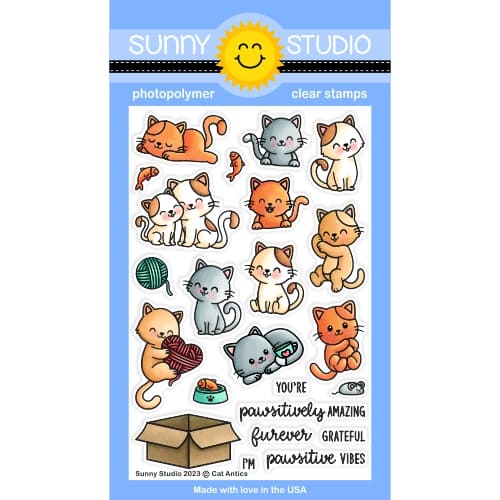
Cat Antics Stamps
Cat Antics Stamps
Shop at:
Sunny Studio
Cat Antics Dies
Cat Antics Dies
Shop at:
Sunny Studio
Party Pets Stamps
Party Pets Stamps
Shop at:
Sunny Studio
Party Pets Dies
Party Pets Dies
Shop at:
Sunny Studio
Rounded Rectangle Mat Dies
Shop at:
Sunny Studio

Friday, March 14, 2025

Cat Antics Card with Nicky

Hello there, this is Nicky with you today on the Sunny Studio Stamps blog and I have a new card for you that features the Cat Antics stamp set which is purrfect for all you cat lovers out there. Please read on for the details.

Sunny Studio Stamps: Cat Antics Everyday Card by Nicky Meeks (featuring Background Basics 2, Comic Strip Everyday Dies)

To create this card I started by die cutting some pink cardstock using the Comic Strip Everyday Die and then I snipped out the vertical  joins within the windows, leaving me with 3 mini scenes to fill which are the perfect size for this and many other Sunny stamp sets!

I used the Background Basics 2 stamp together with Cotton Candy ink by The Stamp Market to stamp the patterned background on an A2 panel of white cardstock. I then backed the pink frame with dimensional foam tape and attached it to the patterned background which in turn I glued to my card base.

Sunny Studio Stamps: Cat Antics Everyday Card by Nicky Meeks (featuring Background Basics 2, Comic Strip Everyday Dies)

Using Tuxedo Black in by Memento, I stamped all of the images from Cat Antics. I die cut the images using the coordinating die and then I coloured the images with the following Copic markers:

Silver Cats - C3, C1, C0
Ginger Cats - E33, E11, R00
Beige Cats - E31, E41, W3, W1, W0
Blushes - R22, R20, R00
Mint - G00, G000, C3, C1, C00

Sunny Studio Stamps: Cat Antics Everyday Card by Nicky Meeks (featuring Background Basics 2, Comic Strip Everyday Dies)

I arranged and backed the images with dimensional foam tape and adhered them to the background.

To complete the card, a few points were highlighted with a white gel pen.  I also stamped the sentiment from a choice included in the stamp set and attached these strips with foam tape and the final embellishment was the addition of dots of Nuvo Vintage Drops in 'Peppermint Candy'.

I very much appreciate you coming by to read about this card, I hope you have enjoyed it and I will see you back here next Friday with something brand new. Happy cardmaking!

Sunny Studio Supplies Used:
 

Comic Strip Everyday Dies
Shop at:
Sunny Studio
Background Basics 2 Stamps
Shop at:
Sunny Studio
Cat Antics Stamps
Cat Antics Stamps
Shop at:
Sunny Studio
Cat Antics Dies
Cat Antics Dies
Shop at:
Sunny Studio