Thursday, February 6, 2025

Tulip Path Background Card with Marine

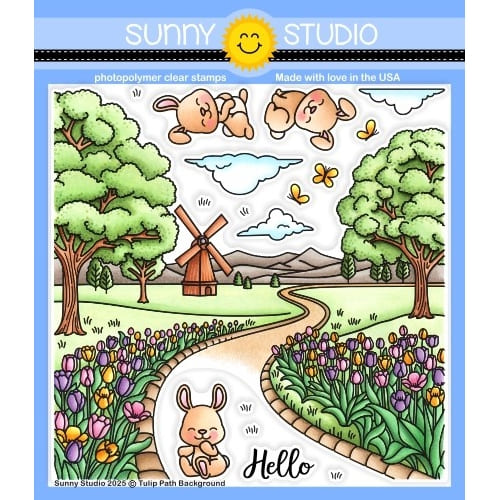
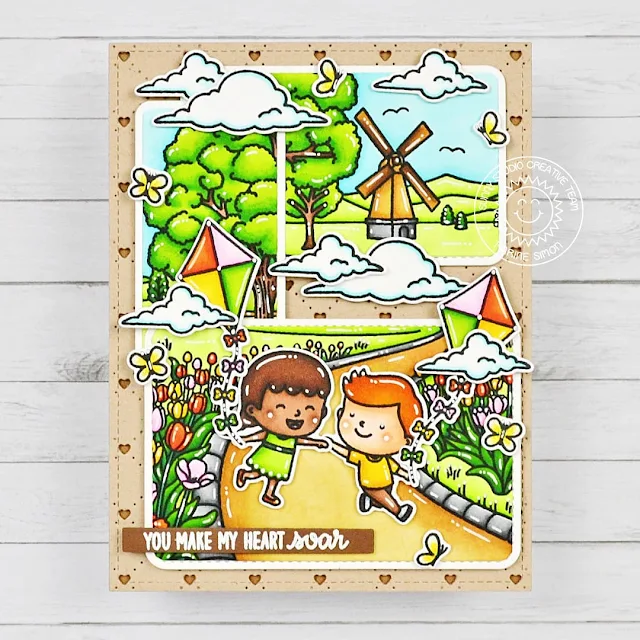
Hello crafty friends, Marine here, I'm back with this lovely Valentine card showcasing the gorgeous Tulip Path Background stamp set that I mixed with two characters from Spring Showers to create a sweet scene at the park.

Sunny Studio Stamps: Tulip Path Background Focused Spring Themed Card by Marine Simon (featuring Spring Showers, Quilted Hearts Dies, Rounded Rectangle Window Dies, Rounded Rectangle Mat Dies)

I started off by creating a fairly simple background and cut a 5,5 x 4,25 inches Quilted Hearts Portrait panel out of kraft cardstock that I attached to a brown panel using 1mm foam squares, and then to a white card base using liquid glue.

Sunny Studio Stamps: Tulip Path Background Focused Spring Themed Card by Marine Simon (featuring Spring Showers, Quilted Hearts Dies, Rounded Rectangle Window Dies, Rounded Rectangle Mat Dies)

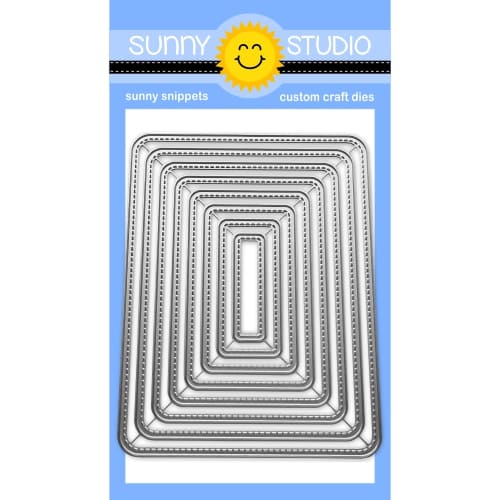
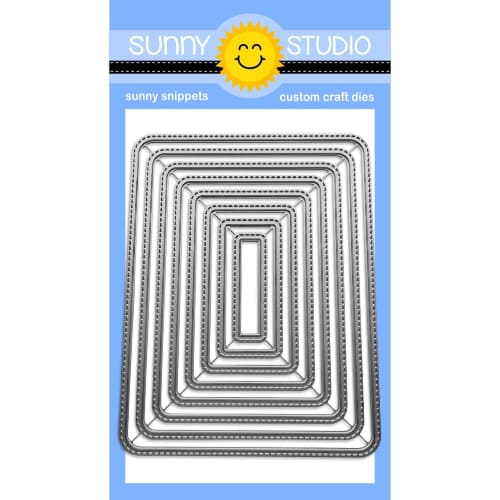
Next I stamped the Tulip Path Background twice on 110lb Neenah solar white cardstock using an alcohol marker friendly black ink. From the first panel, I cut a snippet featuring the tulips and the path using the fifth smallest Rounded Rectangle Window die, and from the second panel, I cut two snippets featuring the mill and the trees using the third and fourth smallest Rounded Rectangle Window dies. I colored those three little scenes using my Ohuhu markers, matted them on slightly larger white panels I cut using the third, fourth and fifth smallest Rounded Rectangle Mat dies, and then attached the three panels on the card base using 1mm and 2mm foam squares.

Sunny Studio Stamps: Tulip Path Background Focused Spring Themed Card by Marine Simon (featuring Spring Showers, Quilted Hearts Dies, Rounded Rectangle Window Dies, Rounded Rectangle Mat Dies)

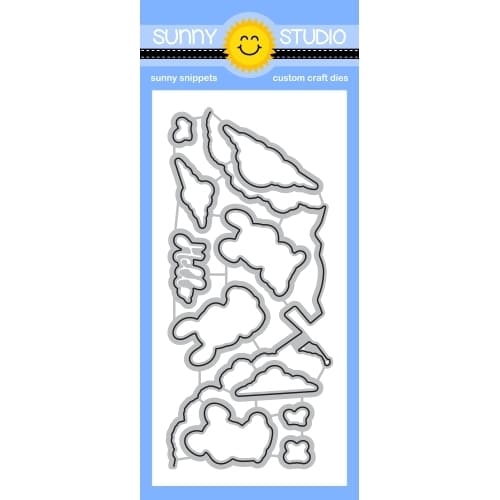
I stamped additional images: clouds and butterflies from Tulip Path Background, and characters and kites from Spring Showers. I cut them using the matching dies, colored everything using my Ohuhu markers again, and stuck those images to the card using foam squares. I white heat embossed "You make my heart soar" from Balloon Rides on dark brown cardstock and cut it into a slim banner that I attached at the bottom left corner of my card. I stamped two bird silhouettes on the mill snippet using a stamp from Spring Scenes, applied white blizzard nuvo drops to the butterflies wings to make them sparkle, and finished the card with highlights and details on the images using a white gel pen.

And that's it! I hope that you like this super sweet card! I really like how it turned out, just as if it was a cork board with pinned photos on it. Thanks for stopping by, and see you next week!

Sunny Studio Supplies Used:

Spring Scenes Stamps
Shop at:
Sunny Studio
Spring Showers Stamps
Shop at:
Sunny Studio
Spring Showers Dies
Spring Showers Dies
Shop at:
Sunny Studio
Balloon Rides Stamps
Shop at:
Sunny Studio
Quilted Hearts Portrait
Shop at:
Sunny Studio
Tulip Path Background Stamps
Shop at:
Sunny Studio
Tulip Path Background Dies
Shop at:
Sunny Studio
Rounded Rectangle Mat Dies
Shop at:
Sunny Studio
Rounded Rectangle Window Dies
Shop at:
Sunny Studio

Wednesday, February 5, 2025

Foxy Friends Card with Tina

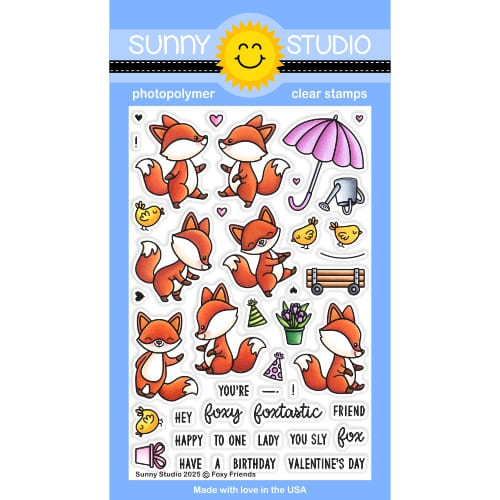
Hello crafters, it’s Tina and today I am sharing a Valentine’s card with a couple of adorable cuties from Foxy Friends stamp and die set. There are a bunch of sweet images in this set which made it hard to select just two! I will definitely make more projects with the other critters!

Sunny Studio Stamps: Foxy Friends Valentine's Day Card by Tina Henkens (featuring Bursting Hearts Dies, Fancy Frame Dies, Scalloped Circle Mat Dies)

After creating a white card base, I cut a scalloped border from a white panel with the outer die from Fancy Frames Rectangle dies.

You can never have enough hearts on a ‘love themed’ card and that is where the Bursting Hearts die comes in handy! I used this die in a previous project where I wanted to add white hearts to my design, so I still had the background panel set aside. I always love when you get different uses from one product! To make all the heart shapes really pop I glued a red striped panel (Striped Silly pad) to the back of the white background.

Next, I glued this piece to the card base and added the white border. For my focal point, I die cut a white circle which was just a bit larger than the second of the Scalloped Circle Mats 3. Additionally, I created a vellum circle with the later die.

Sunny Studio Stamps: Foxy Friends Valentine's Day Card by Tina Henkens (featuring Bursting Hearts Dies, Fancy Frame Dies, Scalloped Circle Mat Dies)

Using some ‘glue sheets for vellum’, I was able to add the vellum to the white circle without visible traces of glue. Next, I mounted the circles to the heart panel with foam tape.

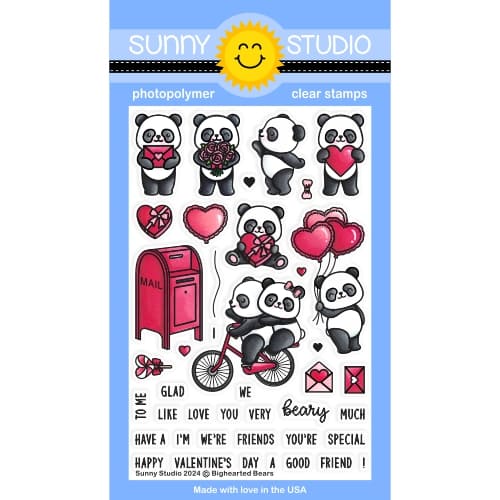
I selected a cute pair of foxes, an umbrella (Foxy Friends stamp and die set), a letter   (Bighearted Bears) and a tiny bow (Heart Bouquet Stamps). For my color scheme, I went with brown, teal and red Copic markers. Of course, I had to add white details with a gel pen! My sentiment was pulled from the Foxy Friends stamp and I used a red ink from my stash.

To complete the design, I placed the images and sentiment banner in position. As a final embellishment, two red jewels (Bright Jewel mix) were glued on each side of the sentiment.

Thank you for joining me and happy crafting!

Sunny Studio Supplies Used:

Striped Silly 6x6 Paper
Shop at:
Sunny Studio
Scalloped Circle Mat 3 Dies
Shop at:
Sunny Studio
Bursting Heart Die
Bursting Heart Die
Shop at:
Sunny Studio
Heart Bouquet Stamps
Shop at:
Sunny Studio
Heart Bouquet Dies
Heart Bouquet Dies
Shop at:
Sunny Studio
Bighearted Bears Stamps
Shop at:
Sunny Studio
Bighearted Bears Dies
Shop at:
Sunny Studio
Foxy Friends Stamps
Foxy Friends Stamps
Shop at:
Sunny Studio
Foxy Friends Dies
Foxy Friends Dies
Shop at:
Sunny Studio
Fancy Frames- Rectangles
Shop at:
Sunny Studio

Tuesday, February 4, 2025

Balloon Alpahbet Focused Card with Amanda

Hello crafty friends, Amanda here. Welcome back to the Sunny Studio Stamps Blog! I made one FOXY card to share with you today!

Sunny Studio Stamps: Balloon Alphabet Focused Birthday Card by Amanda Fitterer (featuring Foxy Friends, Rounded Rectangle Mat Dies, Background Basics 2)

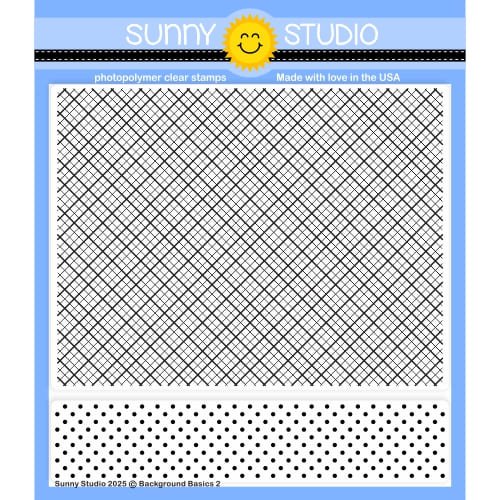
Let’s start with how I created the layers!  I’ve used an A2 white card base (5.5”x8.5” scored at 4.25”). The next layer is a sheet of the Gingham Pastels Paper trimmed to 4.25”x5.5”. The brown cardstock is just a scrap I had laying around that I trimmed to 2” x 4.25”. Then, I took a scrap piece of pink paper and trimmed it to 1.25” x 4.25”. The polka dots come from the new Background Basics 2 Stamps, which I stamped with Catherine Pooler Clay Mask Ink.

The white rounded rectangle layer was created using the 3rd largest die from the Rounded Rectangle Mat Dies. On this panel, I ink blended Catherine Pooler’s Clay Mask in the center and splattered some pink and white paint on it. I propped this layer up using foam tape.

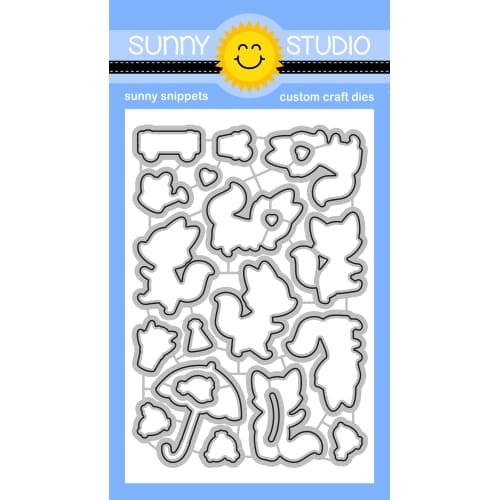
Next, let’s move onto the adorable foxes and balloons! The foxes, birds, accessories and sentiment are stamped from the Foxy Friends Stamps and colored with Copic markers. Here are the Copic markers I used to color them in!

Foxes: Orange Areas:  YR000, YR20, YR21, YR24, YR27
Light Areas: E50, E30, E31 Nose: W8
All pink areas: R000, 20, R22, R43
Birds: E30, E31, E33, E35

Sunny Studio Stamps: Balloon Alphabet Focused Birthday Card by Amanda Fitterer (featuring Foxy Friends, Rounded Rectangle Mat Dies, Background Basics 2)

I cut out all stamped images (except the sentiment) using the Foxy Friends Dies. For the sentiment, I trimmed it with a paper trimmer and then used scissors to create the banner edges. I put 3D foam squares behind all my images in preparation for assembling the card.

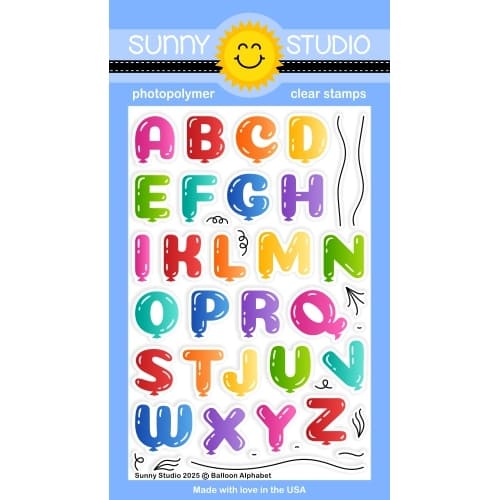
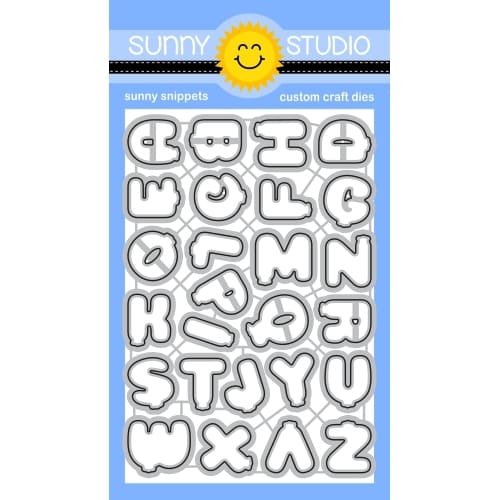
For the balloons, I used the new Balloon Alphabet Stamps. I stamped them with Catherine Pooler Cotton Candy Ink and then used a tiny blending brush to ink them again with Clay Mask - only on the outer edges of each balloon. I cut them out using the Balloon Alphabet Dies.

I placed all the balloons on a foam pad and used a needle to poke 2 holes around the bottom of each one. Then, I stitched some white thread through each balloon and wrapped it around my middle fox’s hand. I placed foam squares behind each balloon and placed them on the card. Then, I placed all of my other images on the card. I trimmed the excess thread from each balloon and my fox’s hand.

What a fun card to make! I love those Balloon Alphabet Stamps, don’t you?! There’s also Balloon Numbers available! Thanks so much for coming by the blog today and I’ll see you back here soon! 

Sunny Studio Supplies Used:

Gingham Pastels 6x6 Paper
Shop at:
Sunny Studio
Background Basics 2 Stamps
Shop at:
Sunny Studio
Balloon Alphabet Stamps
Shop at:
Sunny Studio
Balloon Alphabet Dies
Shop at:
Sunny Studio
Foxy Friends Stamps
Foxy Friends Stamps
Shop at:
Sunny Studio
Foxy Friends Dies
Foxy Friends Dies
Shop at:
Sunny Studio
Rounded Rectangle Mat Dies
Shop at:
Sunny Studio

Monday, February 3, 2025

Majestic Meadow Card with Leanne

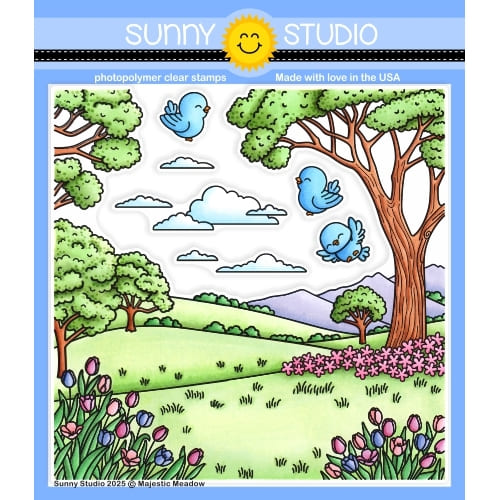
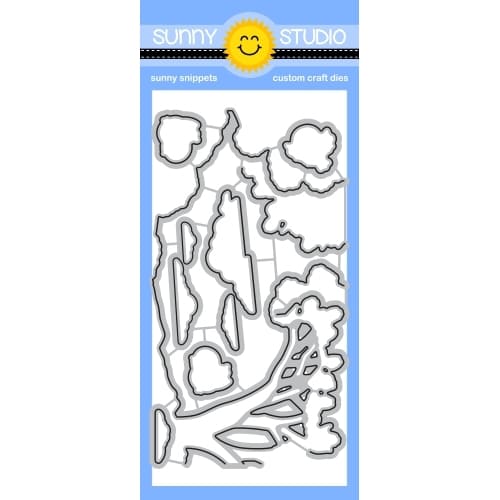
Hi there! Leanne here today. I'm sharing a colorful spring scene card. This scene came together nicely with some images from the new Majestic Meadow stamp set. This stamp set creates an entire scene which you can use as is or use the coordinating Majestic Meadow dies to cut out specific parts of the scene which what I have done. 

Sunny Studio Stamps: Majestic Meadow Spring Themed Card by Leanne West (featuring Bunnyville, Mini Grass Border DIes, Chloe Alphabet Dies)

I have used the tulips, the big tree, and the bird images from the set to create an A2 sized scene. First I ink blended a blue sky onto my card base. Next I Copic colored the images I wanted to use. I also used a bunny and butterfly images from the Bunnyville stamp set. I used the coordinating dies to cut out my colored images. 

Copic colors used: RV10, RV04, YR02, YR14, YG11, YG17, Y11, Y15, R00, R20, B21, B23, E41, E43, W01, W04, E51

Sunny Studio Stamps: Majestic Meadow Spring Themed Card by Leanne West (featuring Bunnyville, Mini Grass Border DIes, Chloe Alphabet Dies)

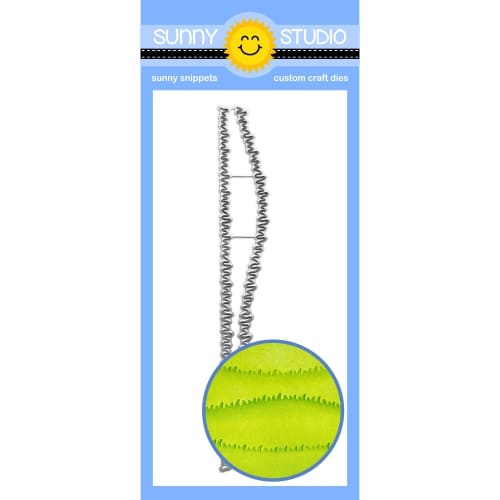
I added a die cut Mini Grass Border to the bottom edge of the card front. Then I tucked the tulips under the grass. I added the tree to the right corner and trimmed off the extra. Next I adhered the bunny, birds, and butterflies to the scene with thin foam squares. Lastly I added the greeting in the open sky space. I used the Chloe Alphabet dies for the "hello"

Sunny Studio Supplies Used: 

Chloe Alphabet Dies
Chloe Alphabet Dies
Shop at:
Sunny Studio
Bunnyville Stamps
Bunnyville Stamps
Shop at:
Sunny Studio
Bunnyville Dies
Bunnyville Dies
Shop at:
Sunny Studio
Little Birdie Stamps
Shop at:
Sunny Studio
Mini Grass Border Dies
Shop at:
Sunny Studio
Majestic Meadow Stamps
Shop at:
Sunny Studio
Majestic Meadow Dies
Shop at:
Sunny Studio

Sunday, February 2, 2025

Guest Designer Spotlight: Cards with Sara Zoppi

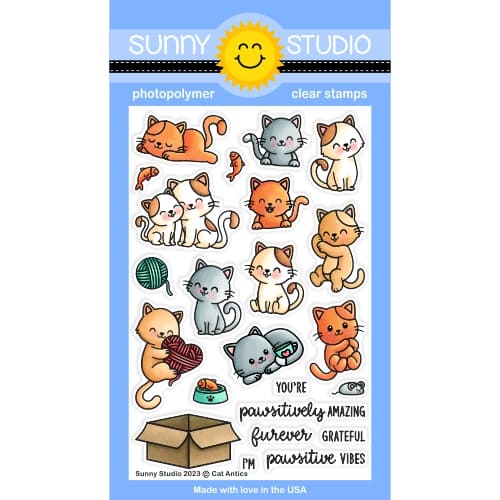
Hi crafty friends, Sara Zoppi here! Today I am thrilled to be here, guesting again for Sunny Studio Stamps! And today I have two inspiration to show you, featuring the recent released Cat Antics stamp and the Balloon Alphabet stampSo, let's dive into the first one!

Sunny Studio Stamps: Cat Antics & Balloon Alphabet Cards by Sara Zoppi

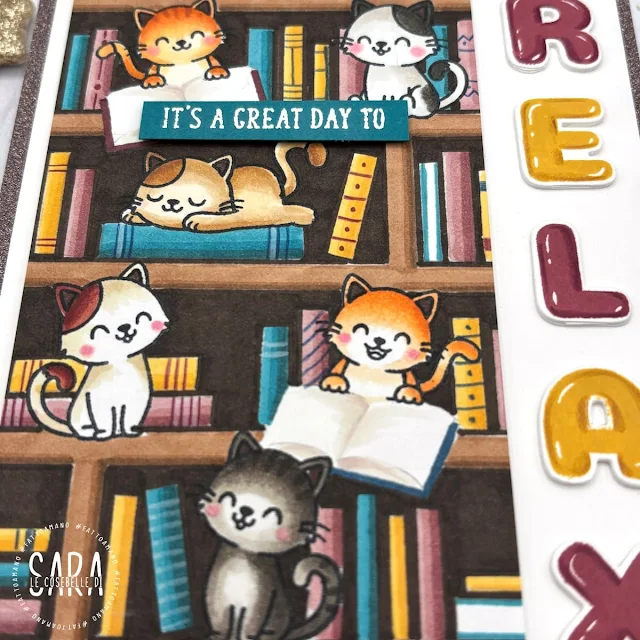
You all know I love coloring and creating, but you probably don't know I am a cat lover (I live with two furry friends, Mostri and Batman). So, when I got the preview of the release, I knew I would have created something with them. For my first card, I was inspired by my two cats, who always climb the shelves and furniture in my apartment. So, I tried to arrange as many as I could, and I stamped them on a piece of Neenah Solar White cardstock. I hand-drew all the shelves and books behind me: don't be afraid, it is much easier than it looks ... they are only horizontal and vertical lines. 

Sunny Studio Stamps: Cat Antics & Balloon Alphabet Cards by Sara Zoppi

I then colored everything with lighter shadows than I usually do with the Copics listed below:
• Orange cats: YR27 – E97 – YR12 – YR31
• White and black and striped black cats: W9 – W7 – W5 – W4 – W3 – W1
• Light brown cat: E35 – E55 – E31 – E30
• White and red cat: E18 – E17 – E08 – E81
• Bookshelves: E23 – E25 – E49 (back)
• Yellow combo: Y35 – Y32
• Red combo: R56 – E04
• Teal combo: BG75 – BG18 – BG57

Sunny Studio Stamps: Cat Antics & Balloon Alphabet Cards by Sara Zoppi
 
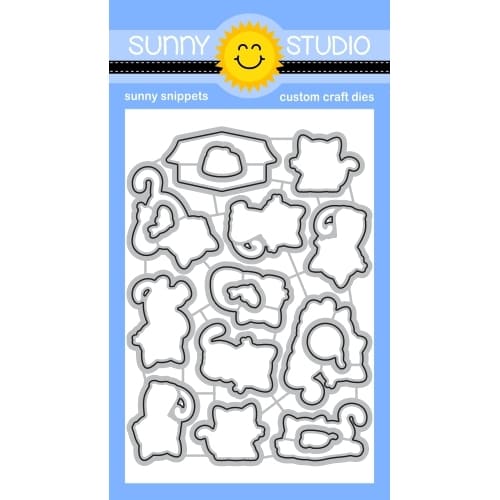
I then trimmed the scene to 3"x4,75", and I moved into the sentiment. I used the Balloon Alphabet stamp, but I was careful to stamp the letters without inking the small bottom part of the balloon, using coordinating desaturated red and yellow inks. In this way, the letters don't look like balloons. I also added a few shadows around the borders with darker Polychromos pencils, and I die-cut all of them with coordinating dies. I die-cut two white pieces to align behind in order to get some depth.

To complete the card, I white heat-embossed the phrase (which comes from the previously released Bold Ballons) on a piece of teal cardstock and I attached everything on an A2 white panel. As a finishing touch, I matted the whole panel with sparkling brown cardstock. And here's a finishing look!

Sunny Studio Stamps: Cat Antics & Balloon Alphabet Cards by Sara Zoppi

For my second inspiration, I went for a cleaner and simple look, using the same combo of stamps.

When designing CAS cards, which are a bit out of my comfort zone, the most challenging thing is choosing a color palette I like. I spent a lot time on it, but I really love how it looks now. I chose a pastel combo with peachy orange, light yellow, blue eggshell, and pink. I hand drew four rectangles of 1"x2,75", and I colored with Copics YR65 – YR31 – BG72 – RV52.

Sunny Studio Stamps: Cat Antics & Balloon Alphabet Cards by Sara Zoppi

I stamped four cats from the stamp set, and added a few touches of colors listed below, and then die cut with coordinating dies:
• First and third cat: YR27 – E97 – E40 – RV14 – R20 – W9
• Second and fourth cat: E18 – E17 – E40 – RV14 – R20 – W9

I then stamped the four letters with coordinated ink pads I have in my stash and I added a few shadows with Polychromos as I did in my first card.

I arranged the letters and the cats on my A2 panel, I stamped the black sentiment below and then I hand drew the balloon strings and some white and black dots.

Sunny Studio Stamps: Cat Antics & Balloon Alphabet Cards by Sara Zoppi

To complete the card, I used some Glossy Accent on balloons and I trimmed the panel to 3,75"x5,5", in order to matt the scene with a black and white patterned paper. And here's the finished look!

Thanks for stopping by! I really hope you will like my projects and you will be inspired to create something!

Sunny Studio Supplies Used:

Bold Balloons Stamps
Shop at:
Sunny Studio
Balloon Alphabet Stamps
Shop at:
Sunny Studio
Balloon Alphabet Dies
Shop at:
Sunny Studio
Cat Antics Stamps
Cat Antics Stamps
Shop at:
Sunny Studio
Cat Antics Dies
Cat Antics Dies
Shop at:
Sunny Studio