Friday, January 24, 2025

Doggone Birthday Card with Nicky

Hello friends, this is Nicky back with you today on the Sunny Studio Stamps blog and I am sharing a birthday card that I made featuring the new Doggone Birthday mini stamp set from the Spring release. Read on for all the details.

Sunny Studio Stamps: Doggone Birthday Card by Nicky Meeks (featuring Fancy Frame Dies, Dapper Diamonds Embossing Folder, Happy Howl-O-Ween)

I kicked things off with an A2 panel of white cardstock which I ink blended with Distress Oxide Inks to form a pastel focus in the top right and lower left corners. I then used the Dapper Diamonds Embossing Folder and ran it through my Big Shot to create the interesting background design. I took a second panel of white cardstock and die cut the Fancy Frames Rectangle Die. I glued the smaller frame directly to the background panel and the larger (outer) frame was applied with foam tape. From the negative inner cut I trimmed a piece of 'ground' for my characters to sit on. I ink blended it and glued in place.

Sunny Studio Stamps: Doggone Birthday Card by Nicky Meeks (featuring Fancy Frame Dies, Dapper Diamonds Embossing Folder, Happy Howl-O-Ween)

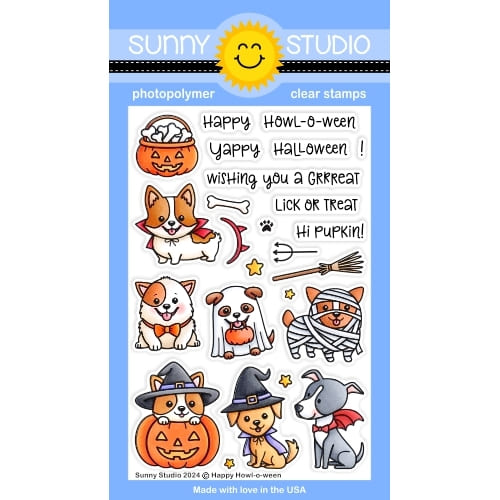
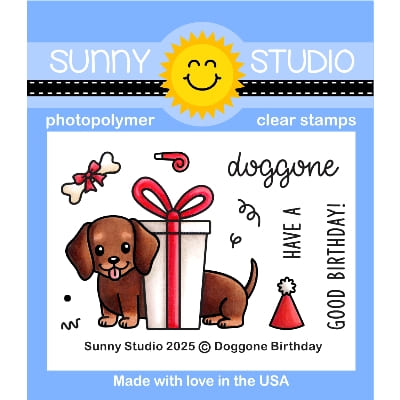
I stamped the images from Doggone Birthday and I took the bow tie wearing pup from Happy Howl-o-Ween and stamped him. I coloured, highlighted and die cut the images with the Doggone Birthday dies and Happy Howl-O-Ween dies. Here are the Copic colours used:

Purple - V05, V01, RV00
Yellow - Y21, Y00, Y000
Green - YG41, G40, G20
Dog (left) - E35, E33, W6, W4
Dog (right) - w4, W2, W0
Bones - E43, E41

Sunny Studio Stamps: Doggone Birthday Card by Nicky Meeks (featuring Fancy Frame Dies, Dapper Diamonds Embossing Folder, Happy Howl-O-Ween)

The die cut images were applied to the scene. I added a little shadow under the pups and a polka dot design to the large gift. I stamped the sentiment and applied the strips with foam tape and then I glittered my little heart out by adding sparkle to all of the ribbons. A few embellishments completed the scene.

Thanks for reading my blog post today, I'll be back next Friday with something brand new!

Sunny Studio Supplies Used:

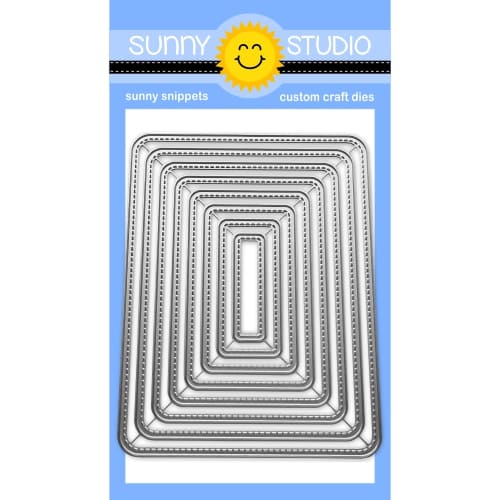
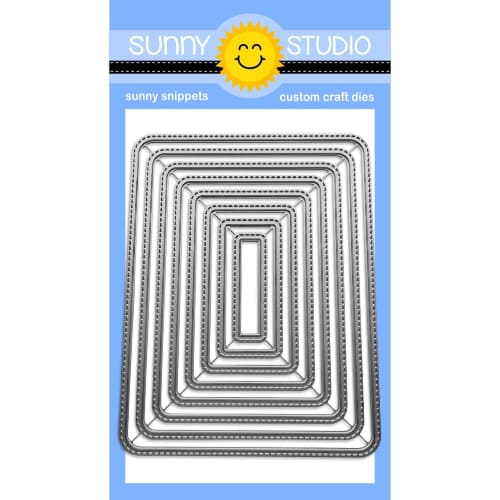
Fancy Frames- Rectangles
Shop at:
Sunny Studio
Dapper Diamonds Embossing
Shop at:
Sunny Studio
Happy Howl-o-ween Stamps
Shop at:
Sunny Studio
Happy Howl-o-ween Dies
Shop at:
Sunny Studio
Doggone Birthday Stamps
Shop at:
Sunny Studio
Doggone Birthday Dies
Shop at:
Sunny Studio

Thursday, January 23, 2025

Rounded Rectangle Window Die Focused Card with Marine

Hello crafty friends, Marine here, I'm back with this lovely Valentine winter shaker card showcasing the Rounded Rectangle Windows die set. If you're a fan of shaker cards like me, you will love the different sizes of dies and all the possibilities to create multiple styles of shakers! I personally look forward to using this die set again on other projects! I'm using one of my favorite stamp sets from the Fall & Winter 2024 release, Snowmen In Sweaters, and since Valentine's Day happens during the winter season, I thought it would be fun to mix those two themes and create a super cute and fun card.

Sunny Studio Stamps: Rounded Rectangle Window Die Focused Snowmen in Sweaters Winter Card by Marine Simon (featuring Rounded Rectangle Dies, Scenic Route)

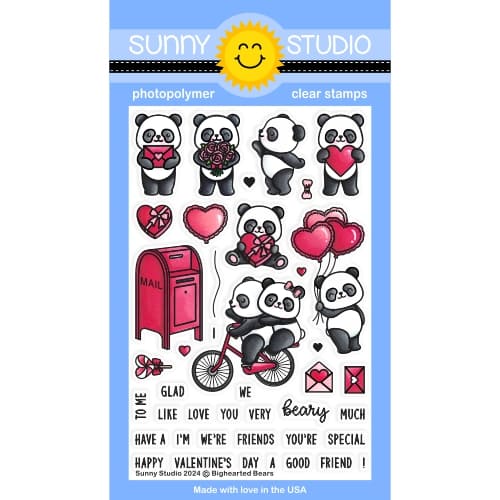
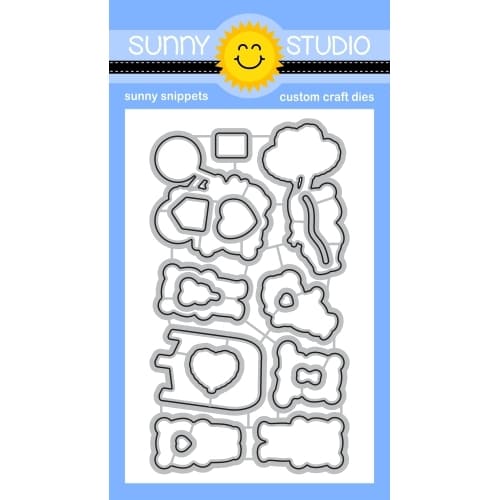
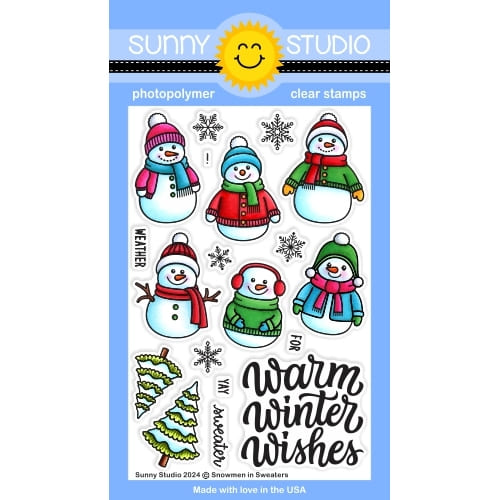
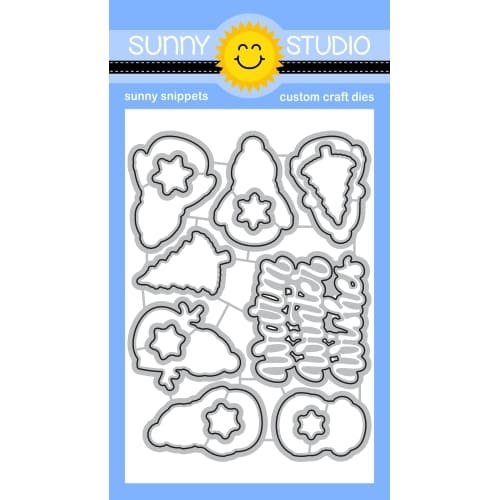
I started off by stamping the images on 110lb Neenah solar white cardstock using an alcohol marker friendly black ink. As always I cut them all using the matching dies, and colored everything using my Ohuhu markers. Here is a detailed list of the stamp sets I used: • Snowmen In Sweaters - snowmen, trees, snowflakes • Scenic Route - houses, lights • Bighearted Bears - envelopes.

I cut two large Rounded Rectangle Mat panels out of Strathmore bristol smooth cardstock and created the same landscape on both panels: a snowy border using tumbled glass and peacock feathers oxide inks, and the sky using spun sugar, worn lipstick and festive berries oxide inks.

Sunny Studio Stamps: Rounded Rectangle Window Die Focused Snowmen in Sweaters Winter Card by Marine Simon (featuring Rounded Rectangle Dies, Scenic Route)

Once they both were dry, I set one panel aside for later, and cut three Rounded Rectangle Windows out of the second panel using the third smallest die from the set, and stamped my "Love you snow much" greeting from Bighearted Bears and Feeling Frosty right below the windows. At the back of my window panel, I attached a piece of acetate using liquid glue, and added foam strips on the four edges of the panel and all around the windows as well. I poured crystal stones and red heart confetti inside each window, attached the houses on the first panel using liquid glue, and stuck that panel to the foam strips to totally close my shaker panel.

Sunny Studio Stamps: Rounded Rectangle Window Die Focused Snowmen in Sweaters Winter Card by Marine Simon (featuring Rounded Rectangle Dies, Scenic Route)

I attached my Rounded Rectangle Mat shaker panel to a 5,5 x 4,25 inches white card base, and stuck the images using 1mm and 2mm foam squares. I added a dot of glossy accents to each light, white blizzard nuvo drops to the snow on the trees, and finally highlights and details to the images using a white gel pen. 

And that's it! Thanks so much for stopping by, and see you next week!

Sunny Studio Supplies Used:

Feeling Frosty Stamps
Shop at:
Sunny Studio
Scenic Route Stamps
Scenic Route Stamps
Shop at:
Sunny Studio
Scenic Route Dies
Scenic Route Dies
Shop at:
Sunny Studio
Bighearted Bears Stamps
Shop at:
Sunny Studio
Bighearted Bears Dies
Shop at:
Sunny Studio
Snowmen in Sweaters Stamps
Shop at:
Sunny Studio
Snowmen in Sweaters Dies
Shop at:
Sunny Studio
Rounded Rectangle Mat Dies
Shop at:
Sunny Studio
Rounded Rectangle Window Dies
Shop at:
Sunny Studio

Wednesday, January 22, 2025

Tulip Path Background Card with Tina

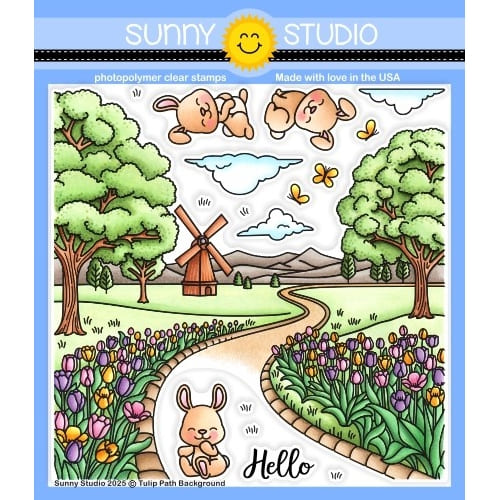
Hello crafters, it’s Tina and today I am making a fun Easter card with the gorgeous Tulip Path Background stamp! It was so relaxing coloring this pretty scene with my Copic markers, adding shading and details with color pencils and a white gel pen. You can use this stamp in so many ways, like doing an off set with parts of the image. Today I opted to use the full landscape and add some cute critters!

Sunny Studio Stamps: Tulip Path Background Easter Card by Tina Henkens (featuring Scalloped Square Dies, Chickie Baby)

After the coloring, I used the matching die to cut out the top part of the scene along the trees and mountain range. Next, I took my scissors and did some fussy cutting right along the stamp lines to get rid of the white border the die leaves you with. It was very easy to follow these edge lines. To make it seem flawless I took my Memento Tuxedo black marker to go over the edges. This eliminates any white areas showing.

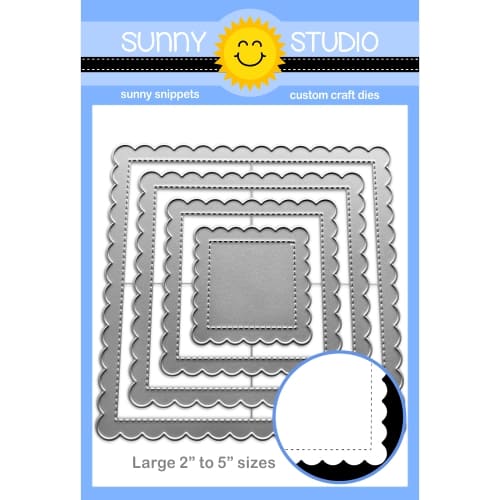
To preserve as much as possible from this pretty scene, I used the biggest of the Scalloped Square 1 Large dies. I made sure to position the die in such a way that my sentiment could be the center of the card. I cut another white panel with this die and inked up the top part with Worn Lipstick Distress Oxide and a cloud stencil from my stash.

Sunny Studio Stamps: Tulip Path Background Easter Card by Tina Henkens (featuring Scalloped Square Dies, Chickie Baby)

Cutting the two pieces with the same square, made it easy to glue them together to one seamless piece. Then it was time to stamp my Easter sentiment (Bunnyville) onto the card with Versafine Onyx Black ink.

Next, I stamped and colored three adorable chicks (Chickie Baby), some eggs (Chubby Bunny) and an Easter basket (Big Bunny Stamps). All these elements were added to the scene with foam tape. Finally, I glued the scalloped piece to a square white card base.

I hope you will enjoy this beautiful background stamp as much as I did! Thank you for joining me and happy crafting!

Sunny Studio Supplies Used:

Chubby Bunny Stamps
Chubby Bunny Stamps
Shop at:
Sunny Studio
Chubby Bunny Dies
Chubby Bunny Dies
Shop at:
Sunny Studio
Chickie Baby Stamps
Chickie Baby Stamps
Shop at:
Sunny Studio
Chickie Baby Dies
Chickie Baby Dies
Shop at:
Sunny Studio
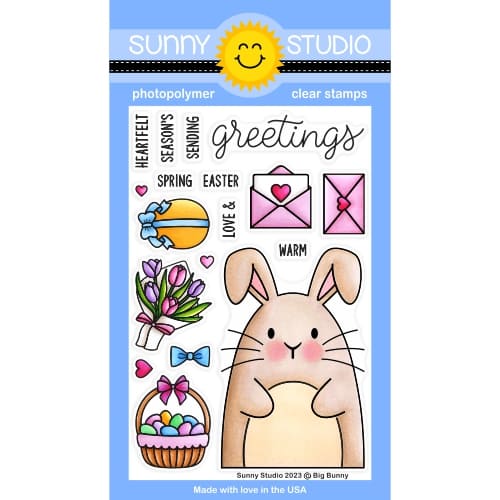
Big Bunny Stamps
Big Bunny Stamps
Shop at:
Sunny Studio
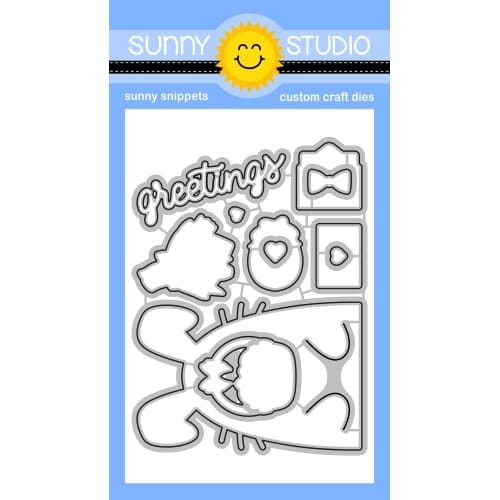
Big Bunny Dies
Big Bunny Dies
Shop at:
Sunny Studio
Scalloped Square 1 Large Die
Shop at:
Sunny Studio
Tulip Path Background Stamps
Shop at:
Sunny Studio
Tulip Path Background Dies
Shop at:
Sunny Studio
Bunnyville Stamps
Bunnyville Stamps
Shop at:
Sunny Studio

Tuesday, January 21, 2025

Foxy Friends Card with Amanda

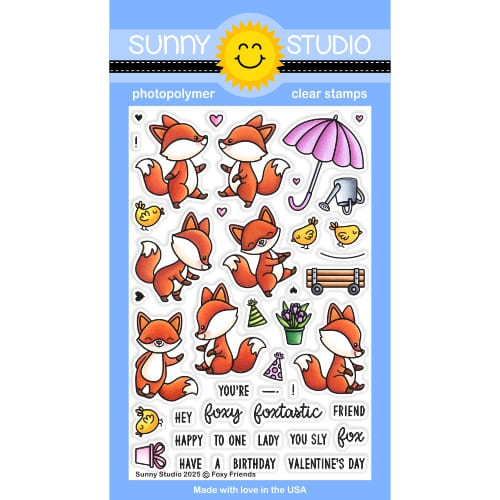
Hey there, crafty friends, Amanda here! I’m so glad you stopped by the Sunny Studio Stamps blog today! Have you been going crazy over this New Release like I have been!? The cuteness is out of this world! Today, I get to share this adorable Foxy Friends A2 card I made using some of the new goodies!

Sunny Studio Stamps: Foxy Friends Card by Amanda Fitterer (featuring Tulip Path Background, Rounded Rectangle Mat Dies)

The first step to creating this card is to cut out the new Rounded Rectangle Mat Dies! I love that it comes with so many size choices! I chose the largest die and cut two of them with white cardstock. 

Do you love coloring as much as I do? The Tulip Path Background Stamps are SO much fun to color! This background has so much depth to it and I love the clouds that come with it!  I stamped the background on one of my rounded rectangles. Then, I colored it with Copic markers (see below for Copic markers used). Then, I die cut the background out using the Tulip Path Background Dies!  

Next, I ink blended my other rounded rectangle with Catherine Pooler’s Oh Boy! blue ink. Then, I glued my 2 rectangles together to create my background panel. I stamped some clouds and glued them to my background as well.

Sunny Studio Stamps: Foxy Friends Card by Amanda Fitterer (featuring Tulip Path Background, Rounded Rectangle Mat Dies)

Next, I stamped my images from the Foxy Friends Stamps. I colored them with Copic markers, and then I die cut them out with the coordinating Foxy Friends Dies. My images are all propped up with 3D foam squares to add more dimension to the project. I glued my rounded rectangle panel to an A2 sized card base.

Here are the Copic markers I used for this card:

Butterflies: B0000, B01, B02
Wagon: R32, R35, R39, N5, N7, N9, N10, Y23, Y26, Y28
Watering Can: C0, C1, C2, C3, C4, C5, C6
Foxes: E50, E51, E53, YR0000, YR20, YR21, YR24, YR27, E08, R22, R30

Background Scene: 
Road: W2, W4, W5, W6, W7
Windmill: T1, T3, T4, T6, R32, R35, R39
Flowers: RV06, RV09, RV10, G03, G09, G28
Grass: YG0000, YG00, YG01, YG03, YG25, YG67
Mountains/Clouds: C0, C2, C4
Trees: G21, G24, G28, G29, E444, E47, E49, G14, G16


That’s all from me today, guys! I hope you enjoyed this cute little foxy scene!  See you next time! 

Sunny Studio Supplies Used:

Tulip Path Background Stamps
Shop at:
Sunny Studio
Tulip Path Background Dies
Shop at:
Sunny Studio
Foxy Friends Stamps
Foxy Friends Stamps
Shop at:
Sunny Studio
Foxy Friends Dies
Foxy Friends Dies
Shop at:
Sunny Studio
Rounded Rectangle Mat Dies
Shop at:
Sunny Studio

Monday, January 20, 2025

Balloon Alphabet Die Focused Card with Leanne

Hi there! Leanne here today. This post is a little different from my usual card share posts. I wanted to talk about my stamping process when it comes to alphabet stamps. For today's post, I'm focusing on the new Balloon Alphabet stamps and coordinating dies but the processing I'm sharing will work for any alphabet stamps. 

Sunny Studio Stamps: Balloon Alphabet Focused Birthday Card by Leanne West (featuring Party Pets, Frilly Frame Dies)

Above is a simple card I made featuring some of these fun balloon letters. All Sunny Studio products used to create this card are listed below:

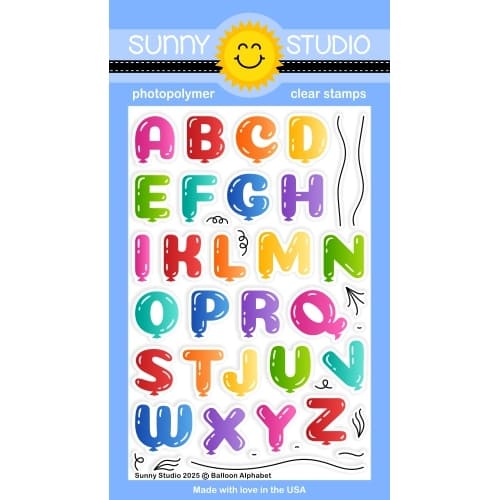
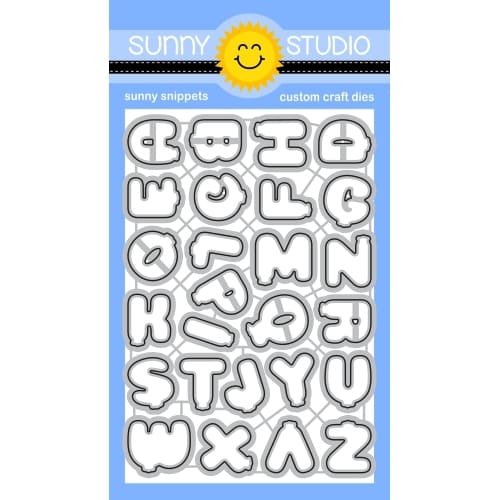
Balloon Alphabet stamp set & coordinating dies - for balloon letters & strings 

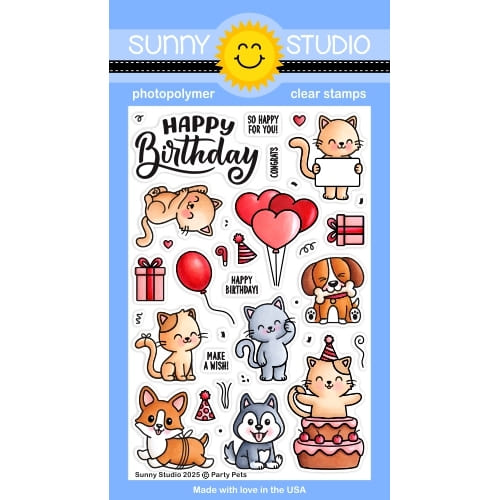
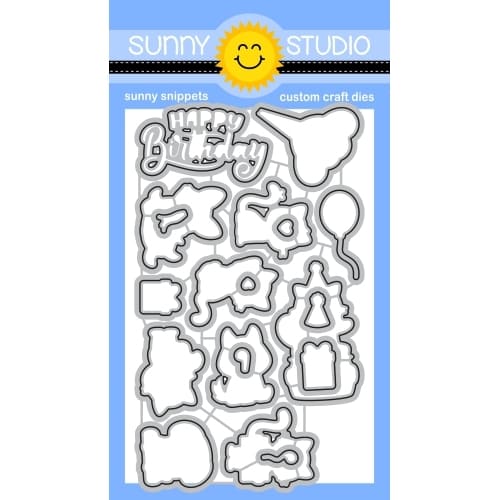
Party Pets stamp set & coordinating dies - for dog image

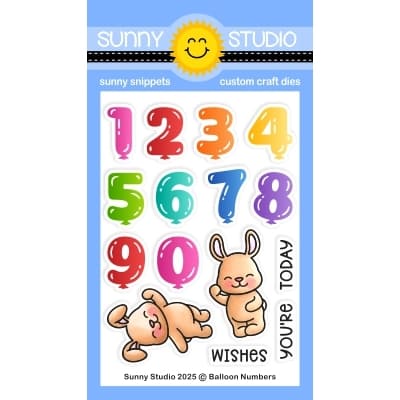
Balloon Number stamp set - for the wishes word stamp

Frilly Frames Hexagon die - for the scalloped edge frame

When I get a new alphabet stamp set and the coordinating dies, I like to stamp and die cut all the letters in many different colors so I have them ready to use. Keep reading for my take on the fastest and most efficient way to do this. 

Sunny Studio Stamps: Balloon Alphabet Focused Birthday Card by Leanne West

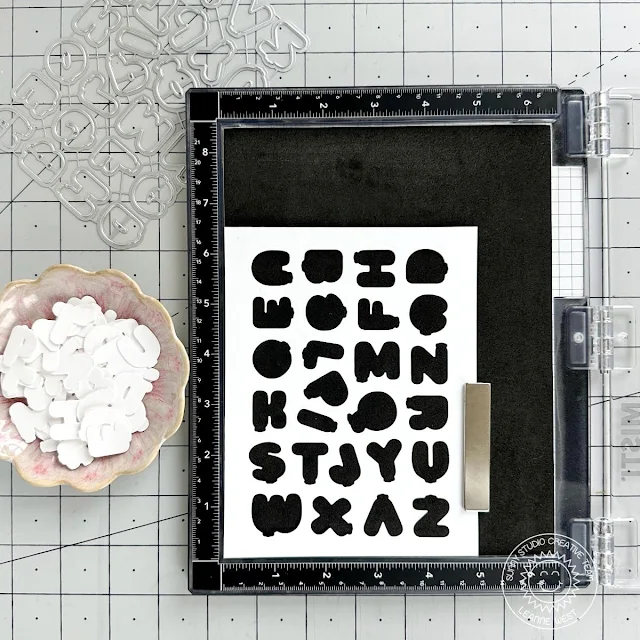
I like to keep the coordinating dies set together (like how it comes from the manufacturer). Then I will die cut a bunch of blanks from white card stock. I save one of the panels I have die cut the letters from to use in my Misti as a template. I position each individual letter stamp in it's spot on the template. I close the Misti door to pick up all the stamps and leave the template in place. Next I fill each spot with a blank die cut letter. I can then ink up the whole alphabet at once to stamp the images on the blanks. I will do this many times in different ink colors. 

Sunny Studio Stamps: Balloon Alphabet Focused Birthday Card by Leanne West

In a reasonable amount of time, the result is loads of colorful die cut letters ready to use on paper crafting projects. Just think of all the customized birthday cards you can make with these. I have a feeling you will be seeing these letters show up on more of my future card shares in the coming weeks, wink, wink! 

Sunny Studio Supplies Used:

Frilly Frames Hexagon Dies
Shop at:
Sunny Studio
Balloon Alphabet Stamps
Shop at:
Sunny Studio
Balloon Alphabet Dies
Shop at:
Sunny Studio
Balloon Numbers Stamps
Shop at:
Sunny Studio
Party Pets Stamps
Party Pets Stamps
Shop at:
Sunny Studio
Party Pets Dies
Party Pets Dies
Shop at:
Sunny Studio