Friday, May 24, 2024

Designer's Choice: Strawberry Patch Card with Nicky

Happy Friday everyone! This is Nicky with you today on the Sunny Studio Stamps blog and I've got a lovely fruity card to share with you today featuring our Strawberry Patch Dies, so please read on for all the details.

Sunny Studio Stamps: Strawberry Patch & Build-A-Bowl Birthday Card by Nicky Meeks (featuring Stitched Rectangle Dies, Punny Fruit Greetings)

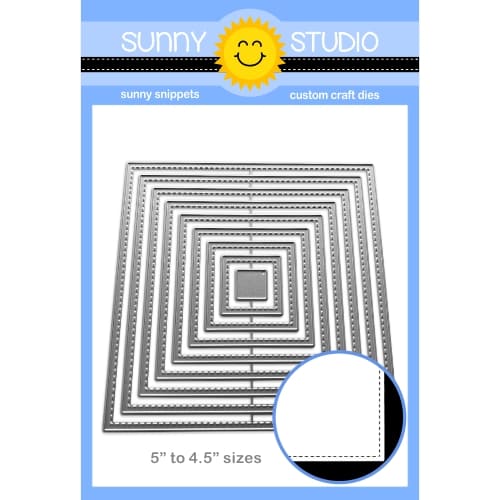
To kick things off I created a panel using the Stitched Rectangle Die and I ink blended a focal point using 'Blush' ink by The Stamp Market. I glued this to a fractionally larger panel of green cardstock, backed this with white craft foam and glued it to an A2 white panel of cardstock then to the card base. I like to build them sturdy!

Sunny Studio Stamps: Strawberry Patch & Build-A-Bowl Birthday Card by Nicky Meeks (featuring Stitched Rectangle Dies, Punny Fruit Greetings)

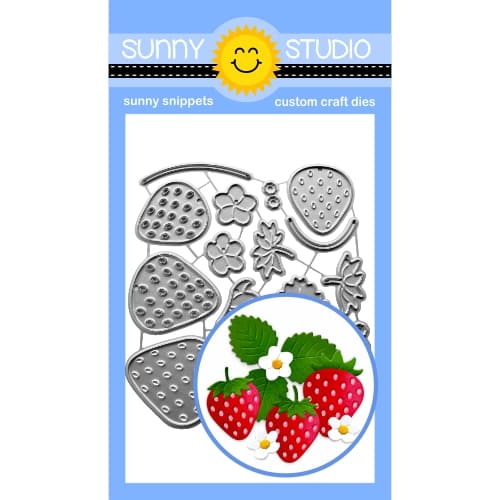
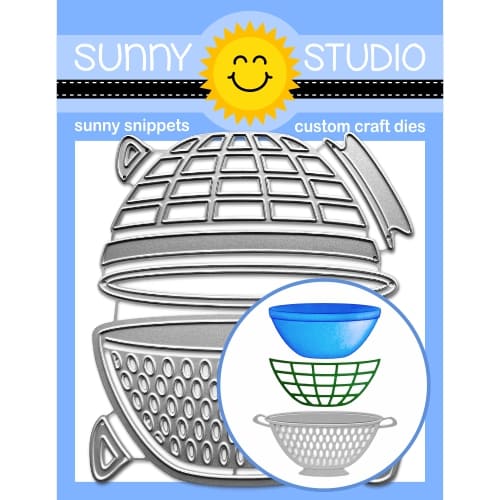
I created a bowl from silver cardstock using the Build-A-Bowl Dies. I also created a number of strawberries, greenery and blooms using the Strawberry Patch Dies. Once die cut, I ink blended the greenery using Gumdrop by The Stamp Market and and for the strawberries I used and little bit of Gumdrop then their Raspberry and Lipstick Red Inks. I carefully glued the strawberries behind the 'bowl' and added greenery and flowers then adhered the filled bowl to the card's background.

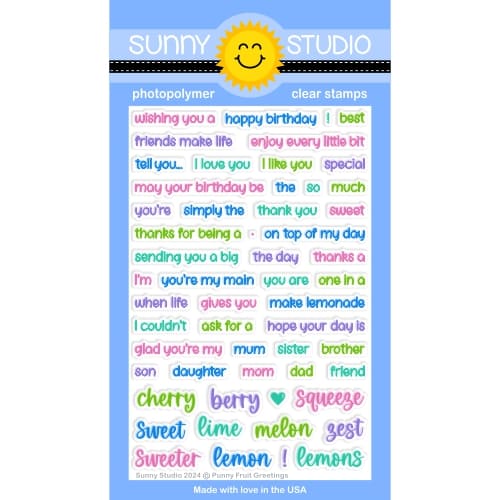
I die cut the 'hello' three times from the Slimline Scalloped Frame Die set. I glued two together and with the third I used the ink listed above and ink blended the word and then off-set it like a shadow behind the white ones. For the finishing touches, I added the 'happy birthday' sentiment, from our Punny Fruit Greetings, and then some Nuvo Jewel Drops in 'Rosewater' for accents.

Thank you for coming to read the blog today and I'll see you again next Friday with something new.

Sunny Studio Supplies Used: 

Stitched Rectangle Dies
Shop at:
Sunny Studio
Slimline Scalloped Frame
Shop at:
Sunny Studio
Punny Fruit Greetings
Shop at:
Sunny Studio
Strawberry Patch Dies
Shop at:
Sunny Studio
Build-A-Bowl Dies
Build-A-Bowl Dies
Shop at:
Sunny Studio

Thursday, May 23, 2024

Designer's Choice: Mermaid Kisses Card with Marine

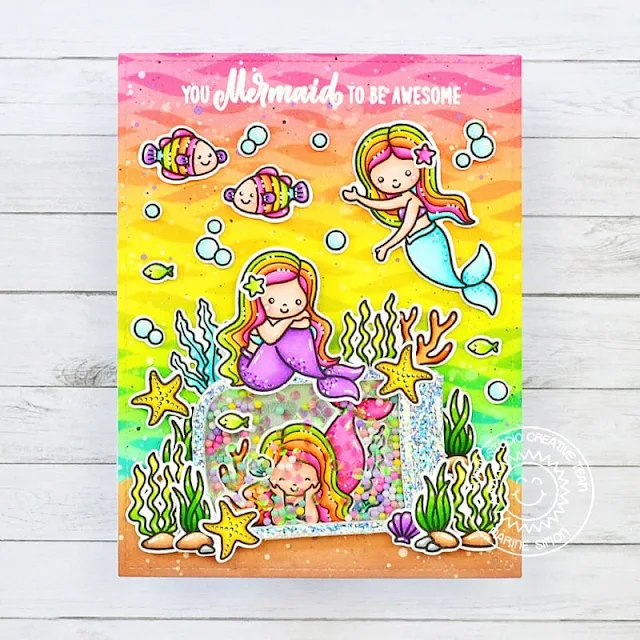
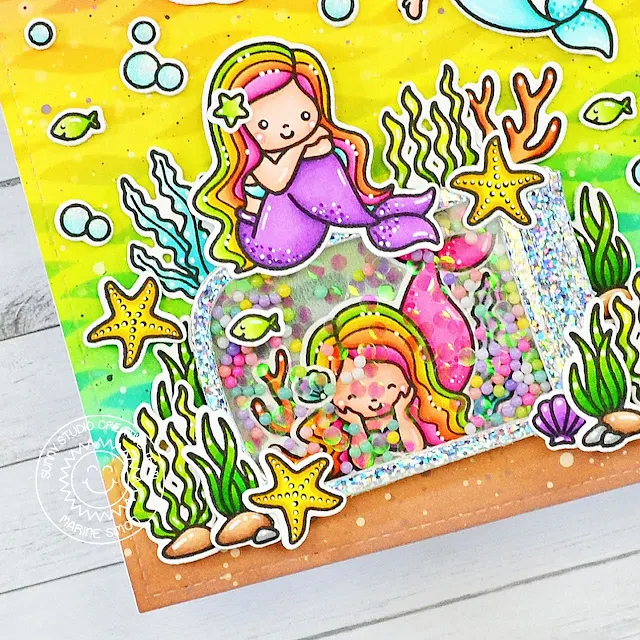
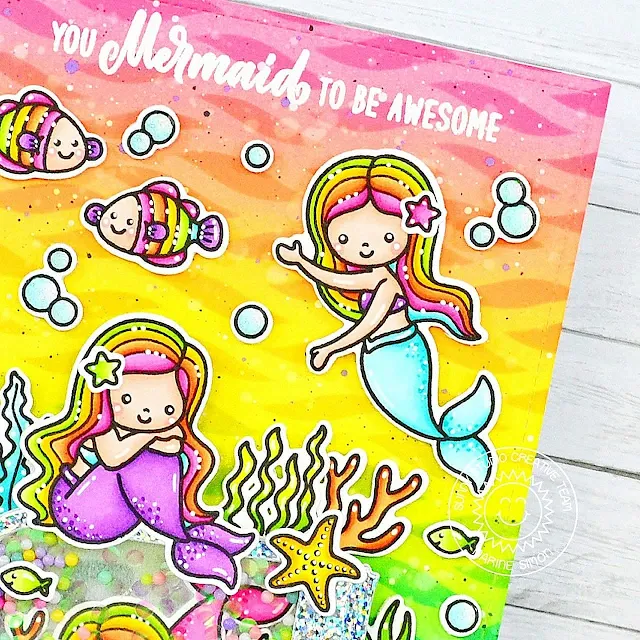
Hello crafty friends, Marine here. I'm so happy to be back on the blog with this bright underwater card featuring the amazing Summer Jar Mug that I paired with the gorgeous mermaids from Mermaid Kisses. When I first saw those mermaids, I knew I'd be rainbow coloring them at some point, so here we are!

Sunny Studio Stamps: Mermaid Kisses Shaker Card by Marine Simon (featuring Magical Mermaids, Best Fishes, Summer Jar Mug Dies)

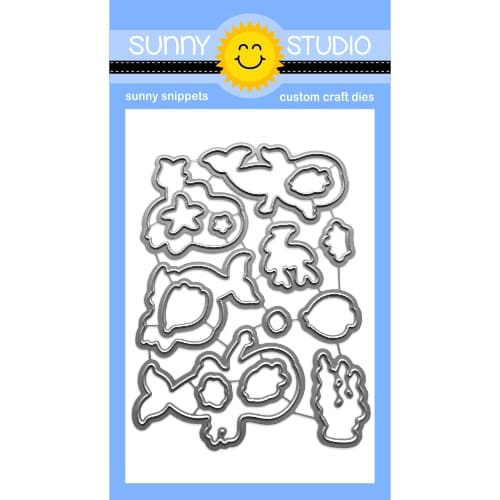
I stamped my images on 80lb Neenah solar white cardstock using an alcohol marker friendly black ink, cut them using the matching dies, and colored everything using my Spectrum Noir Illustrator markers and my Graph'it brush markers using my favorite rainbow combo: pink, orange, yellow, lime, aqua and purple.

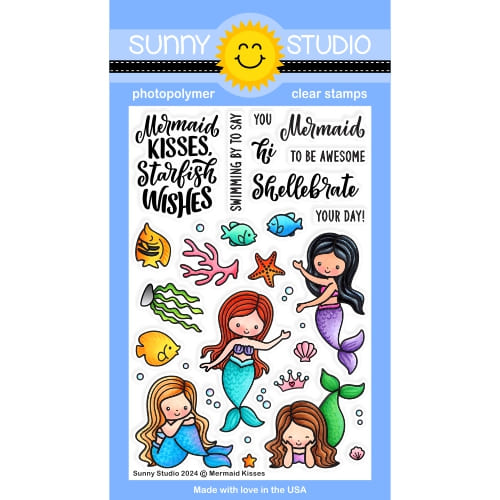
 Here is a detailed list of the stamp sets I used:  Mermaid Kisses: mermaids, seaweeds, starfish, stars and shells  Magical Mermaids: bubbles, seaweeds, small fish  Best Fishes: clown fish, seaweeds

Sunny Studio Stamps: Mermaid Kisses Shaker Card by Marine Simon (featuring Magical Mermaids, Best Fishes, Summer Jar Mug Dies)

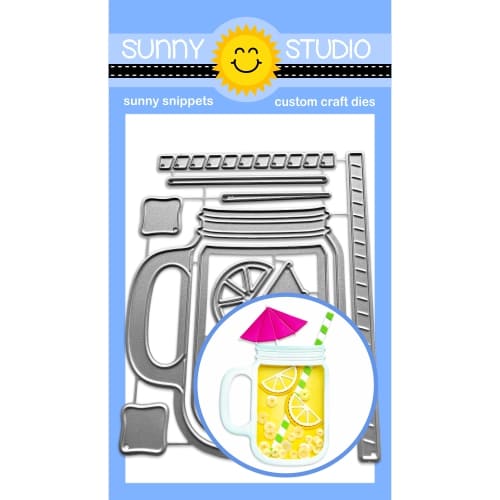
Next I created a Summer Jar Mug shaker, and here are the different steps to build it:

1. Cut a jar frame out of holographic cardstock, cut a whole jar out of acetate, and stick the holographic frame on the acetate jar using liquid glue

2. Cut more jar frames, and attach them on the acetate. The number of extra frames depends on the thickness of the shaker accessories. For my seed beads and confetti, I cut and attached five extra jar frames

3. Cut a whole jar out of pearlescent vellum, and stick a mermaid as well as a couple of seaweeds on the vellum using liquid glue

4. Pour shaker accessories on the acetate

5. Attach the pearlescent vellum jar to the jar frame to totally close the shaker

For my background, I went for an underwater rainbow background to match the mermaids and fish. I cut a 5,5 x 4,25 inches Strathmore bristol smooth panel, and started off by creating a sand border at the bottom using a hillside stencil from my stash along with antique linen and vintage photo oxide inks. I mixed some vintage photo oxide ink with water and used a small brush to make splatters on the sand border, and then I colored the upper part of my panel using, from top to bottom, kitsch flamingo, dried marigold, squeezed lemonade, twisted citron and salvaged patina oxide inks.

Sunny Studio Stamps: Mermaid Kisses Shaker Card by Marine Simon (featuring Magical Mermaids, Best Fishes, Summer Jar Mug Dies)

Next I used a wavy stencil from my stash along with, from top to bottom, picked raspberry, carved pumpkin, mustard seed, mowed lawn and peacock feathers oxide inks to make my rainbow background more interesting. I mixed some wilted violet oxide ink with water, and then some black soot oxide ink, and used a small brush to make more splatters on my panel. And then I did the same with copic opaque white ink to add more brightness.

Once my panel was dry, I white heat embossed my "You mermaid to be awesome" greeting from Mermaid Kisses, and attached everything (images and shaker jar) using 1mm and 2mm foam squares. I added white blizzard nuvo drops on the bubbles to make them sparkle, and finished my card by adding highlights and details to the images using a white gel pen. And that's it! 

I absolutely love how this card turned out, love the mermaids' hair and the cute fish too. I hope that you like it. Thanks so much for stopping by, and see you next time!

Sunny Studio Supplies Used:

Magical Mermaid Dies
Shop at:
Sunny Studio
Magical Mermaid Stamps
Shop at:
Sunny Studio
Best Fishes Stamps
Best Fishes Stamps
Shop at:
Sunny Studio
Best Fishes Dies
Best Fishes Dies
Shop at:
Sunny Studio
Mermaid Kisses Stamps
Shop at:
Sunny Studio
Mermaid Kisses Dies
Mermaid Kisses Dies
Shop at:
Sunny Studio
Summer Jar Mug Dies
Summer Jar Mug Dies
Shop at:
Sunny Studio

Wednesday, May 22, 2024

Designer's Choice: Special Day Card with Tina

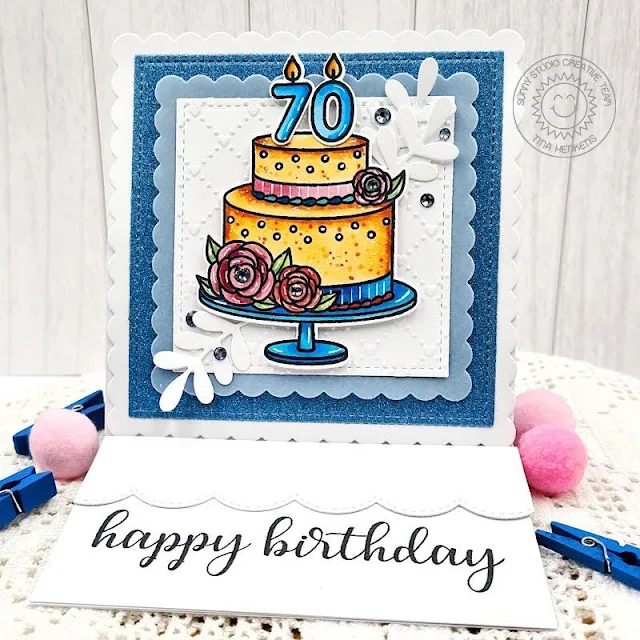
Hi crafty friends, Tina here and for this designer’s choice I created a special ‘easel’ birthday card mixing several sets.

Sunny Studio Stamps: Special Day Birthday Card by Tina Henkens (featuring Scalloped Square Dies, Stitched Square Dies, Everyday Greetings, Ribbon & Lace Border Dies, Winter Greenery)

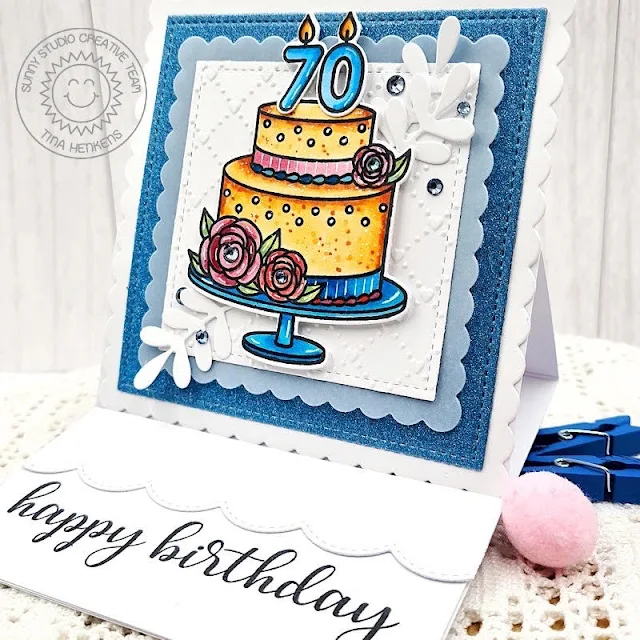
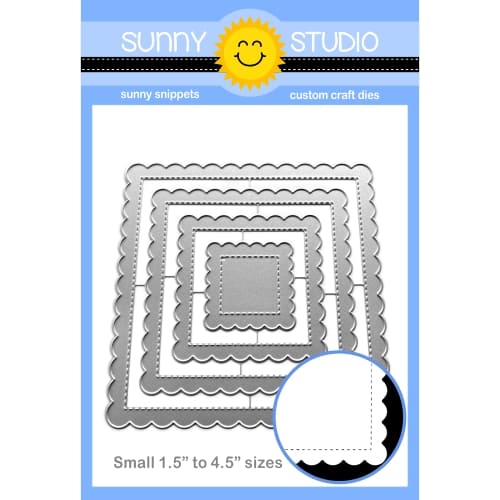
Starting off with a white square card base and adding several layers using the fun Scalloped Square 1 Dies Small (in white card stock and vellum) and Stitched Square Dies (in teal glitter paper and white card stock). The smallest white square is also dry embossed with the Quilted Hearts Folder.  

I glued all the layers together and before adhering them to the card base, I scored the front of this base horizontally in half. That way, I can add the squares only to the bottom part of the base to create the ‘easel mechanism’.

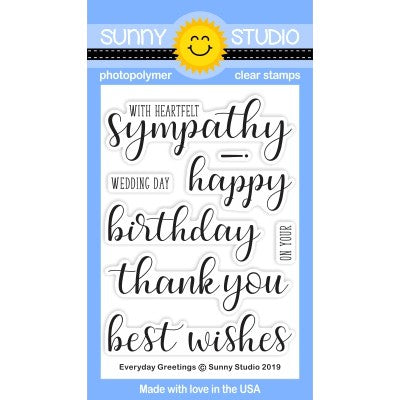
On the inside of the base I adhered a ‘stopper’ consisting of a rectangle of white card stock on which I stamped the ‘Happy Birthday’ from Everyday Greetings with Versafine Onyx Black ink and a scalloped white banner strip made by using one of the Ribbon & Lace BordersWhen you ‘fold’ the front of the card base, the stopper will make sure your easel card is standing up perfectly.

Sunny Studio Stamps: Special Day Birthday Card by Tina Henkens (featuring Scalloped Square Dies, Stitched Square Dies, Everyday Greetings, Ribbon & Lace Border Dies, Winter Greenery)

A special birthday deserves a wonderful and festive cake! I selected a two-tiered one decorated with beautiful flowers (Special Day) and colored the image with my Copics in teal, pink and yellow tones. The blue ’70 candles’ make this cake even more amazing! I love how you can provide that extra accent with the numbers.

The cake was mounted to the embossed panel with foam tape for dimension. As extra decoration, I added white leaves from the Winter Greenery Die set and a few Crystal Clear Jewels scattered around the focal point.

I hope you like this card design and give it a try! Thank you for visiting the blog and happy crafting!

Sunny Studio Supplies Used:

Quilted Hearts Embossing
Shop at:
Sunny Studio
Everyday Greetings Stamps
Shop at:
Sunny Studio
Winter Greenery DIes
Shop at:
Sunny Studio
Ribbon & Lace Dies
Ribbon & Lace Dies
Shop at:
Sunny Studio
Special Day Stamps
Special Day Stamps
Shop at:
Sunny Studio
Special Day Dies
Special Day Dies
Shop at:
Sunny Studio
Stitched Square Dies
Shop at:
Sunny Studio
Scalloped Square 1 Small Die
Shop at:
Sunny Studio

Tuesday, May 21, 2024

Designer's Choice: Cherry Blossoms Card with Isha

Hello everyone, Isha here today with a floral watercolor card as my designer's choice feature. I decided to use a mix of new and old products.

Sunny Studio Stamps: Cherry Blossoms Birthday Card by Isha Gupta (featuring Frilly Frame Dies, Stitched Square Dies, Scalloped Square Dies, Punny Fruit Greetings, Strawberry Patch Dies)

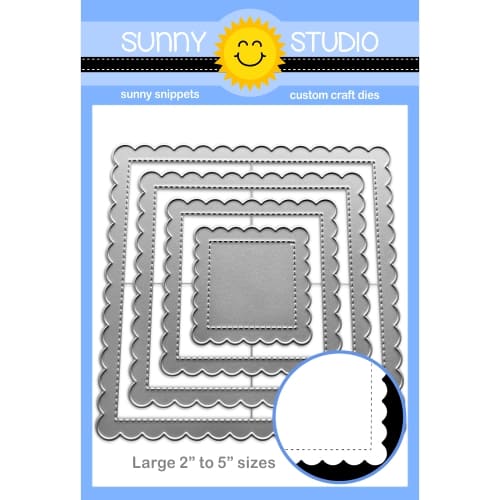
To start, I die-cut the scalloped squares using the Scalloped Square 1 Large dies. I then die-cut the inside of the smaller square using the Stitched Square dies. I then die-cut the Frilly Frames Quatrefoil and adhered it behind the scallop frame.

Sponge salty ocean ink to the center of the larger scallop square. Adhere the smaller lattice pattern to it using foam tape. Adhere this to a cream card base.

Sunny Studio Stamps: Cherry Blossoms Birthday Card by Isha Gupta (featuring Frilly Frame Dies, Stitched Square Dies, Scalloped Square Dies, Punny Fruit Greetings, Strawberry Patch Dies)

Stamp the florals from the Cherry Blossoms stamp using versamark ink, sprinkle white embossing powder and heat set. Die-cut the florals and leaves using the coordinating dies. Die-cut some strawberries from the Strawberry Patch dies. Add color using watercolors and let dry. Assemble the cluster and adhere to the card. 

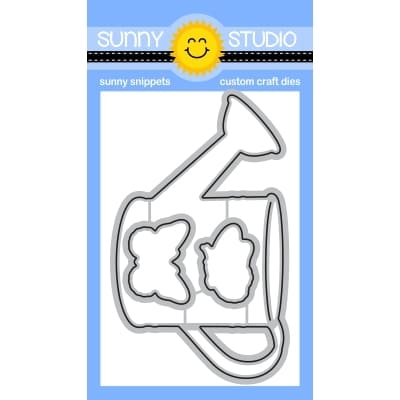
Next, stamp the butterfly from the Watering Can stamp set, die-cut using the dies. Add some glitter to it. Stamp the sentiment from the Punny Fruit Greetings. Adhere the sentiment and the butterfly to the card. 

Thank you for dropping by and have a nice day!

Sunny Studio Supplies Used:

Frilly Frames Quatrefoil
Shop at:
Sunny Studio
Cherry Blossoms Stamps
Shop at:
Sunny Studio
Cherry Blossoms Dies
Shop at:
Sunny Studio
Watering Can Stamps
Watering Can Stamps
Shop at:
Sunny Studio
Watering Can Dies
Watering Can Dies
Shop at:
Sunny Studio
Punny Fruit Greetings
Shop at:
Sunny Studio
Strawberry Patch Dies
Shop at:
Sunny Studio
Stitched Square Dies
Shop at:
Sunny Studio
Scalloped Square 1 Large Die
Shop at:
Sunny Studio

Monday, May 20, 2024

Designer's Choice: Mermaid Kisses Card with Leanne

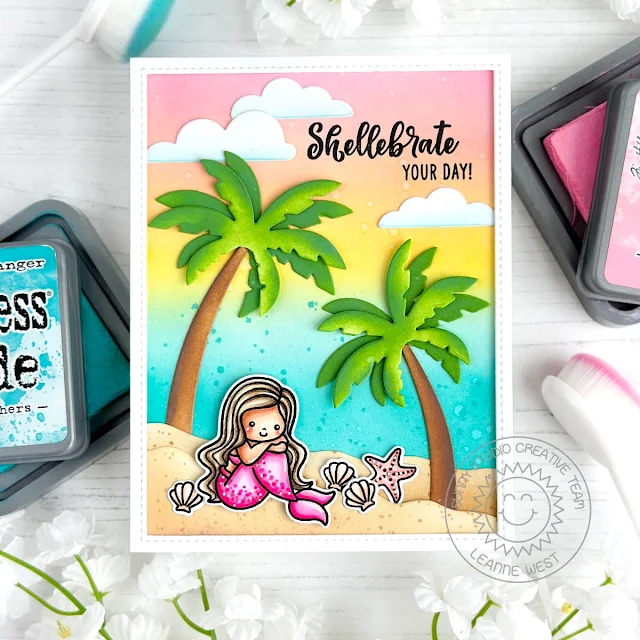
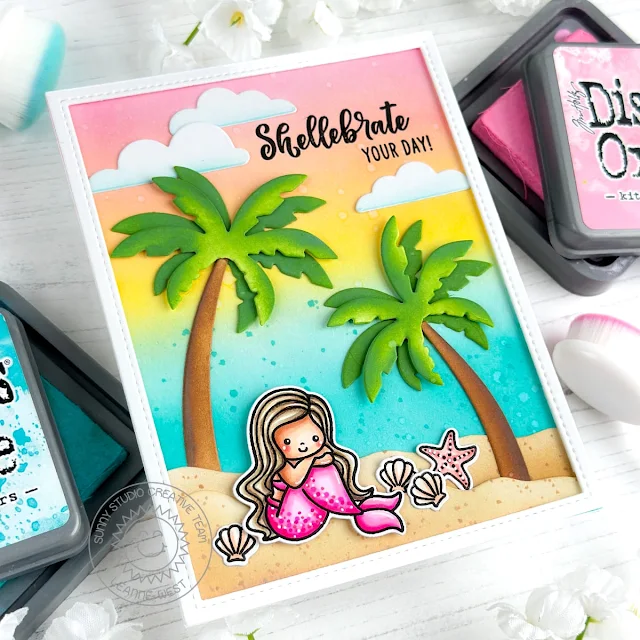
Hi there! Leanne here today. I'm sharing all the details of how this tropical birthday card came together. I've used the Tropical Trees Backdrop dies to create an idyllic beach scene for my little mermaid. 

Sunny Studio Stamps: Mermaid Kisses Beach Themed Card by Leanne West (featuring Tropical Trees Backdrop Dies)

I started this card with an ink-blended background. I used the following Distress Oxide inks to create the dreamy sunset sky and ocean: Kitsch Flamingo, Saltwater Taffy, Fossilized Amber, Salvaged Patina, and Peacock Feathers. 

Next, I die-cut the frame, palm trees, beach area, and clouds from white card stock. I then used blending brushes and Distress Oxide inks to color: Vintage Photo for tree trunks, Mowed Lawn for palm leaves, and Antique Linen + Tea Dye for Sand.  Note I did double up on the palms for the tree tops to make them look fuller. 

Sunny Studio Stamps: Mermaid Kisses Beach Themed Card by Leanne West (featuring Tropical Trees Backdrop Dies)

I Copic colored a mermaid and some shells from the Mermaid Kisses stamp set. I then used the coordinating dies to cut them out. 

Copic colors used - mermaid tail: RV02, RV06, RV09, skin color: E00, E11, E13, hair color: E42, E74, E81, shells + starfish: YR01, YR30, R20, R21

I adhered everything in place onto the A2-sized inked background panel. The white frame and mermaid are popped up with foam tape. I also used foam tape to adhere the layers of palms together. This gives a little separation between the two layers and adds to the fullness.  Lastly, I stamped the greeting which is included in the Mermaid Kisses set

Sunny Studio Supplies Used:

Tropical Trees Backdrop
Shop at:
Sunny Studio
Mermaid Kisses Stamps
Shop at:
Sunny Studio
Mermaid Kisses Dies
Mermaid Kisses Dies
Shop at:
Sunny Studio