Hello and welcome to the first day of our Sneak Peek Week! Each morning in the coming week I will be showcasing projects using our newest Holiday collection which will be available to purchase on August 25th.
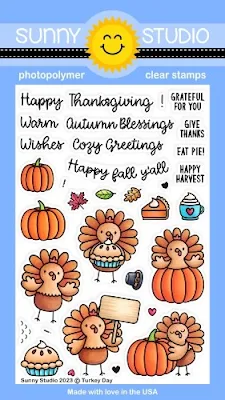
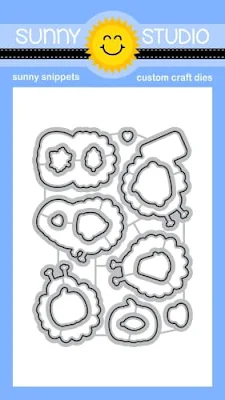
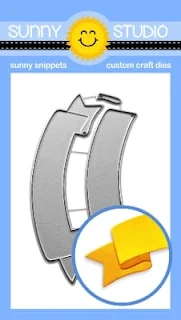
Today I am sharing card ideas using our adorable new Turkey Day Stamps & Dies, and the Brilliant Banner 1 Dies and Brilliant Banner 2 Dies.
Card No. 1: Up first is a card using all five of the cute turkeys & two pumpkins from the Turkey Day Stamps. I think they are such an adorable bunch and arranged the one holding the sign in the middle, like a group ringleader. The set comes with four mini greetings to stamp on his sign so I used the "happy harvest" sentiment here after coloring them with my Copic Markers. I kept the rest of my card very clean & simple in design, adding a stitched edge to my white cardstock panel using our Slimline Basic Border Dies. Finally, I mounted two thin strips of orange cable knit patterned paper to the top and bottom of my card from our Sweater Weather Paper pack. My finished mini slimline card measures 6" wide x 3-1/2" high.

Card No. 2: Up next is a little sunset scene style card using the mountain and trees border from our Country Scenes Stamps with the turkeys, pumpkins, and "Autumn Blessings" greeting from our Turkey Day Stamps. I inked up my background using various distress inks, masking off the bottom of the trees with masking material so I could apply Vintage Photo Distress Ink right up to the edge of my Copic coloring.
Curving Trick: For my greeting, I started by inking up the various pieces of the new Brilliant Banner 2 Dies in progressively darker shades using Distress inks and then used the cardstock background piece leftover after cutting out the pieces to put into my Misti to hold my banner perfectly in place for stamping. I then added a clear piece of acetate, cut down to fit into my Misti, to help me curve my sentiment to match the curve of the banner. The slick surface of the acetate gives the photopolymer stamp something to stick to, to hold its shape so that I can then hurry and pick it up with my Misti lid in a curved shape with very little effort. As a bonus, the two words are connected in this set making it even easier to perfectly match the curve. This little trick opens up your sentiments to a whole new world of options!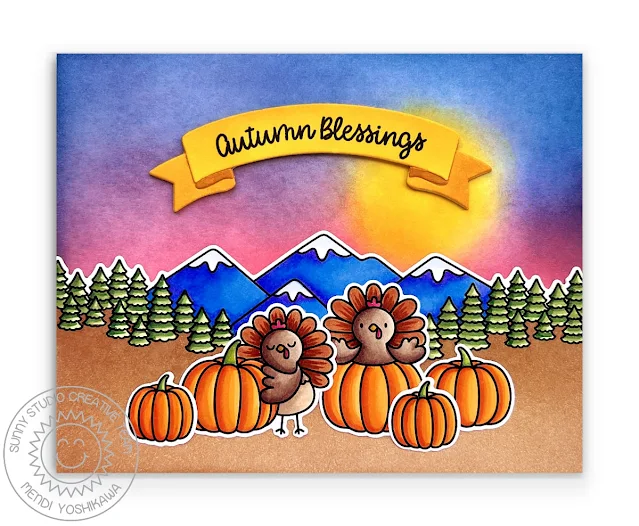
Card No. 3: For this Thanksgiving-themed card, I used our Turkey Day Stamps together with the Comic Strip Speech Bubbles Dies cut from dark brown cardstock to frame my little vignette scenes. For my background I inked up my white cardstock panel, blending Salty Ocean Distress, Seedless Preserves, and Picked Raspberry inks. I then added the pierced diamond texture to the background using our new Dotted Diamond Landscape Die (which I will be sharing more of later in the week). For my greeting in the top right corner, I stamped it using blue ink onto a small Stitched Oval and arranged some of the smaller leaves, pumpkin, pie, and mug from the Turkey Day set around it. The rest of my comic strip frames were filled with the cute little turkeys which I colored with my Copic Markers.
Card No. 4: For another Thanksgiving card, I started by cutting a panel from tone-on-tone brown polka-dot patterned paper from our Critter Country Paper pack to adhere to my card base. I then layered it with a stitched scalloped border cut from kraft cardstock using our Frilly Frames Hexagon Dies, inking the edges using Vintage Photo Distress Ink.
Next, I cut a 5-1/2" x 1-3/8" high strip of blue gingham paper from that same Critter Country Paper pack, adding a stitched edge using our Slimline Basic Border Dies. I then tucked a lacy, scalloped edge below it, cut from white cardstock using our Eyelet Lace Border Dies to look like a tablecloth for my Thanksgiving feast.
To set up my Thanksgiving feast, I combined the stamped images from both our new Turkey Day Stamps and the cornucopia, fruit, and vegetables from our Bountiful Autumn Stamps. Lastly, I finished my little scene my heat embossing the words "Happy Thanksgiving" with White Detail Embossing Powder onto our new Brilliant Banner 1 Dies cut from kraft paper and inked up using more of the Vintage Photo Distress inks in progressively darker shades.
Card No. 5: Up next is a card combining the turkey sitting in the pumpkin, individual pumpkins, and greeting from the new Turkey Day Stamps with the cowboy and cowgirl from our Little Buckaroo Stamps, and the barn and fence from our Barnyard Buddies Stamps.
I started by adhering a kraft panel to my card base which I layered with a white stitched scalloped mat which I cut using our Frilly Frames Stripes Dies. I then used iCraft Removable Pixie Tape to mask off the edges, just inside the stitched edge of my scallop so I could ink up my sky and grass using Tumbled Glass, Twisted Citron, and Mowed Lawn Distress Inks.
When I was done, I repeatedly stamped the little tufts of grass using two stamp images from our Harvest Mice Stamps. Lastly, I added my "Happy Fall Y'all" greeting to my Brilliant Banner 1 Dies which had been inked up using Scattered Straw and Fossilized Amber Distress Inks and stamped then curved sentiment using Versafine Onyx Black Ink.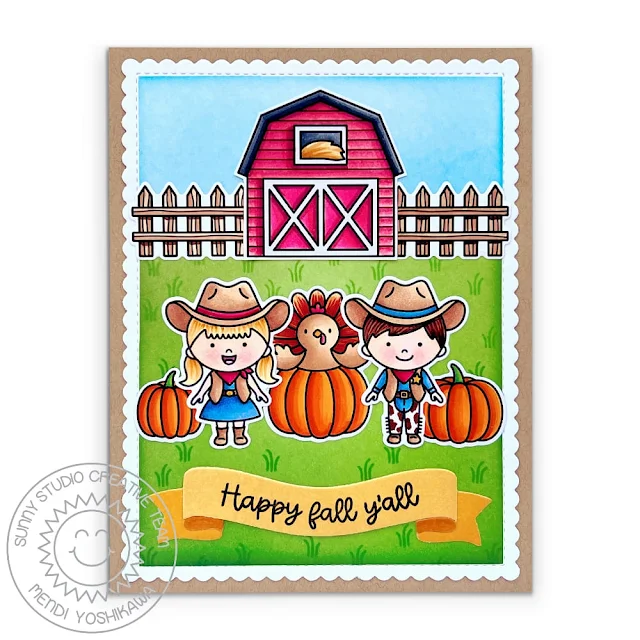
Card No. 6: For my last card of the day I combined the turkey, leaves, and greeting from our Turkey Day Stamps with the scarecrow, hay bale, standing chicken, and one crow from our Farm Fresh Stamps, the sitting chicken & nesting box from our Clucky Chickens Stamps, and another crow from our Happy Harvest Stamps.
For my background, I cut down a panel of tone-on-tone blue polka-dot patterned paper to adhere to my A2-sized card base, using a print from our Critter Country Paper pack. I then cut a lacy scalloped stitched mat using the outer die from our Frilly Frames Polka-dot Dies, filling in the little circle openings with a piece of yellow cardstock that I cut to layer underneath. I inked up the bottom portion of my scalloped panel with a bit of Tea Dye Distress ink to ground my little fall scene before adhering all of my stamped images. Lastly, I inked up our Brilliant Banner 2 Dies with various shades of blue inks in my stash to mimic the blues found in my polka-dot patterned paper and heat embossed the "Cozy Greetings" sentiment using White Detail Embossing Powder.
Our daily contests will run through Monday, August 28th at Midnight PST with winners announced here on Friday, September 1st. :)
Other Supplies Used:
 Memento Tuxedo Black Ink Pad Shop at: Sunny Studio |
 Tsukineko Jumbo Dauber Shop at: Sunny Studio |
 Versafine Onyx Black Ink Shop at: Sunny Studio |
 Barnyard Buddies Dies Shop at: Sunny Studio |
|
 Stitched Oval Dies Shop at: Sunny Studio |
 Frilly Frames Polka-Dot Shop at: Sunny Studio |
 Frilly Frames Stripes Die Shop at: Sunny Studio |
 Comic Strip Speech Bubble Dies Shop at: Sunny Studio | |
 Frilly Frames Hexagon Dies Shop at: Sunny Studio |
 Eyelet Lace Borders Shop at: Sunny Studio |
 Slimline Basic Borders Shop at: Sunny Studio |
 Bountiful Autumn Stamps Shop at: Sunny Studio | |
 Bountiful Autumn Dies Shop at: Sunny Studio |
 Farm Fresh Stamps Shop at: Sunny Studio |
 Farm Fresh Dies Shop at: Sunny Studio |
 Harvest Mice Stamps Shop at: Sunny Studio | |
 Harvest Mice Dies Shop at: Sunny Studio |
 Little Buckaroo Stamps Shop at: Sunny Studio |
 Little Buckaroo Dies Shop at: Sunny Studio |
 Country Scenes Stamps Shop at: Sunny Studio | |
 Country Scenes Dies Shop at: Sunny Studio |
 Sweater Weather Paper Shop at: Sunny Studio |
 Critter Country Paper Shop at: Sunny Studio |
 Clucky Chickens Stamps Shop at: Sunny Studio | |
 Clucky Chickens Dies Shop at: Sunny Studio |
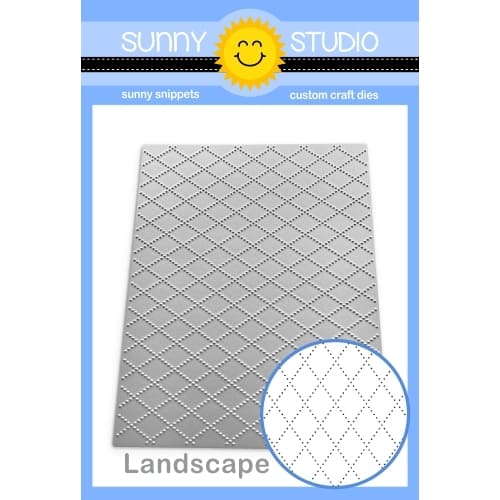 Dotted Diamond Landscape Shop at: Sunny Studio |
 Hero Arts White Detail Shop at: Sunny Studio |
 VersaMark Watermark Ink Shop at: Sunny Studio | |
 Barnyard Buddies Stamps Shop at: Sunny Studio |

