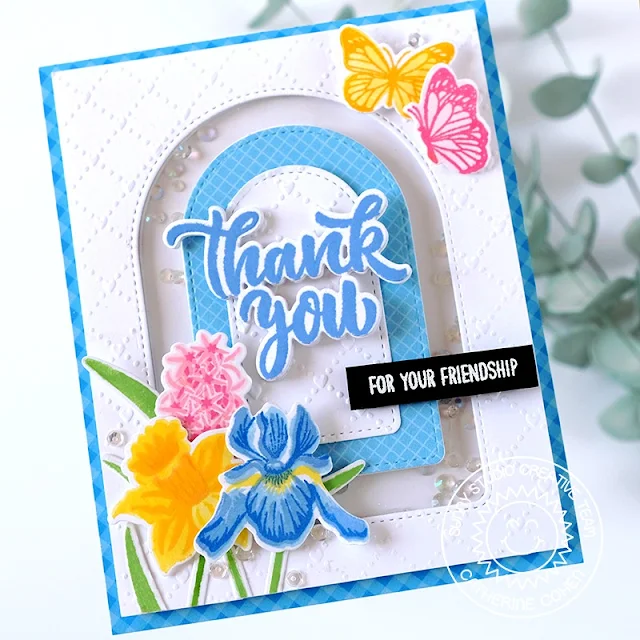
Hello Crafty Friends! Catherine here, and today I am sharing a friendship shaker card created with the pretty Spring Bouquet Stamps and Stitched Arch Dies.
To start, I embossed A2 white cardstock with Quilted Hearts Embossing Folder. To make the opening, I die cut the embossed panel with the largest arch in Stitched Arch Dies. I then die cut a small arch using the leftover large arch. I then die cut a medium size arch with paper from Gingham Pastels Paper. I adhered the small white arch onto the medium arch and set it aside.
To make the shaker, I flipped my embossed panel over and adhered A2 acetate onto the back. Next, I die cut the large arch using a double-sided foam sheet. I then die cut the medium sized arch with double sided foam sheet. I removed the backing on the foam sheet and adhered the foam arches onto the back of the panel. I nested the medium arch inside the large arch and taped it together with craft tape. I placed the arches onto A2 white cardstock, and added some Iridescent Clear Jewels inside the space between the two arches. I removed the arches and placed the embossed panel onto the background. I adhered the medium and small arches onto the center.
Using white cardstock, I die cut the flowers from Spring Bouquet and the butterflies from Watering Can with the coordinating dies. I placed the negative die cut cardstock onto my Misti stamping tool, placed the images back inside the negative space, and inked the images with the following Altenew Inks:
Pinks: Frosty Pink,
Cotton Candy, Coral Berry
Yellows: Citrus Burst, Fresh Lemon, Sunkissed
Blues: Iceberg, Ultramarine, Sapphire
Green: Firefly, Grass Field
I adhered the images onto the card front. I added a “Thank You” sentiment from Big Bold Greetings inked with Altenew Persian Blue Dye Ink. I added a White Heat Embossed sentiment from Words of Gratitude and a few sequins from Majestic Fusion Sequins. I wanted to balance the blue arch in the center of the card so I added a border using Gingham Pastels Paper.
Thank you so much for joining me today! Have a wonderful week!
-----------------------------------------------
Hello Crafty friends, Marie here! Today I’m back on the blog and excited to
share my latest card creation featuring the beautiful hyacinth flower from the
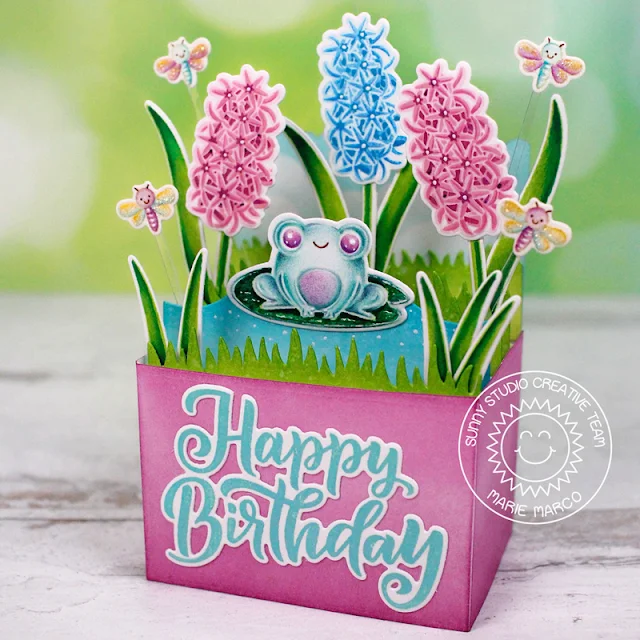
lovely layering Spring Bouquet Stamps alongside the adorable Feeling Froggy Stamp. I love hyacinths and I love frogs and the two combined just makes me
smile!
This springtime birthday box card was crafted using Lawn Fawn’s Scalloped Box Card Pop-Up die. I die cut all the box card components from Bristol smooth cardstock paper for the smoothest ink blending experience. I ink blended the outside of the box in Seedless Preserves distress Ink, and used a cloud stencil to ink blend the back panel with Salvaged Patina Distress Oxide ink. For the grass panels, I used a combination of Twisted Citron and Mowed Lawn Distress Ink and for the water panel, I used Salvaged Patina with Mermaid Lagoon Distress Oxide.
After assembling my box card and cutting off the front and side flaps, I stamped out the hyacinth flowers onto 110 lb. Neenah Solar White Cardstock. When stamping each layer of the flower, I used a sponge dabber to lightly add ink to my stamp instead of directly applying the stamp into the ink pad. I do this technique so that each stamped layer is even and not too saturated. I also give each layer time to dry before stamping the next layer. For my blue hyacinth, I used a combination of Tumbled Glass Distress Oxide, followed by Salty Ocean Distress Oxide, and Mermaid Lagoon Distress Oxide. For the purple hyacinths, I used Spun Sugar Distress ink, Cotton Candy Dye Ink from MftStamps, and finally Seedless Preserves Distress Oxide. I stamped out all the leaves and stems with Twisted Citron Distress ink, and shaded them used Copics In Forest Green (G17), Emerald Green (G05) and Yellow Green (YG03).
Next, I stamped the adorable frog onto Bristol Smooth Cardstock with InkOn3 Fadeout ink, and colored him with PolyChromos Color Pencils, and copics for the lilly pad ( G17, G05, and BG09). For the tiny dragonfly images, I stamped them onto watercolor paper using Antique Linen Distress Ink and colored them with watercolor pencils. To make their dainty little wings pop, I added some Stickles Glitter Glue in the shade Diamond. I then cut out all my flowers and stems with the corresponding Spring Bouquet Dies. I used the Feeling Froggy Dies to cut all the little dragon flies and froggy. I then adhered all my images to my scene with a combination of double sided tape adhesive and Bearly Art Precision Craft Glue. To make all the little dragonflies look like they're flying, I cut super thin strips of thick acetate and attached them to the tip.
Finally, I stamped out a Happy Birthday sentiment with my favorite Big Bold Greetings Stamps. I used the color Salvaged Patina Distress Oxide to stamp my sentiment and cut it out using the corresponding Big Bold Greetings Dies. I absolutely love how this box card came together!! It's absolutely perfect for a spring or summer Birthday, and luckily for me, I have many Summer birthdays ahead! Thank you for joining me today, friends !!! Until next time, stay crafty and happy cardmaking!!!
Sunny Studio Supplies Used:
 Words of Gratitude Stamps Shop at: Sunny Studio |
 Gingham Pastels 6x6 Paper Shop at: Sunny Studio |
 Quilted Hearts Embossing Shop at: Sunny Studio |
 Stitched Arch Dies Shop at: Sunny Studio |
 Feeling Froggy Stamps Shop at: Sunny Studio |
 Feeling Froggy Dies Shop at: Sunny Studio |
 Watering Can Stamps Shop at: Sunny Studio |
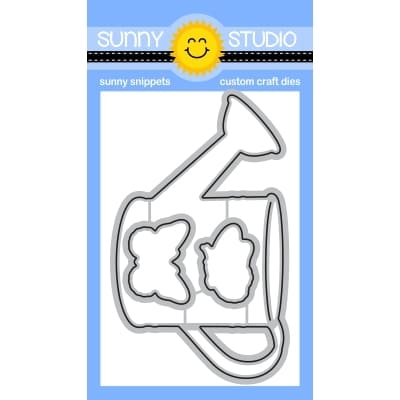 Watering Can Dies Shop at: Sunny Studio |
 Big Bold Greetings Stamps Shop at: Sunny Studio | |
 Big Bold Greetings Dies Shop at: Sunny Studio |
 Spring Bouquet Stamps Shop at: Sunny Studio |
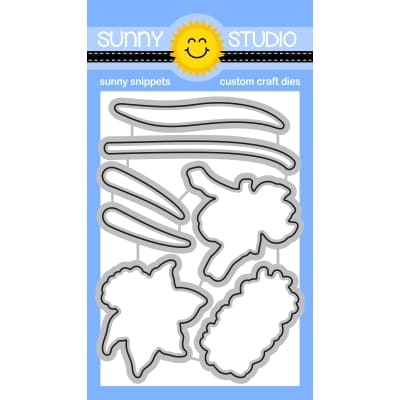 Spring Bouquet Dies Shop at: Sunny Studio |


