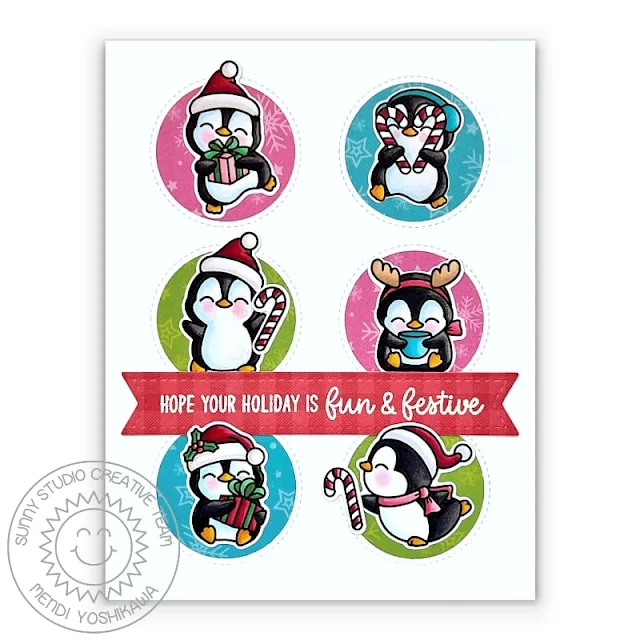
Hello and welcome to day 4 of our Sneak Peek Week! This week I am showcasing cards using our newest Fall & Holiday collections which will be available to purchase tomorrow morning.
Today I am sharing ideas using our new Penguin Party 4x6 Stamps, Snowman Kisses 3x4 Stamps and Snow One Like You 2x3 Stamps. I hope you'll pull up a chair and join me. :)
Card No. 1: For my first card of the day I paired all the penguins holding gifts from our new Penguin Party Stamps with the Christmas tree & standalone present from our new Cozy Christmas Stamps (being shared more tomorrow). For my background I inked my sky using Worn Lipstick distress ink and then used our Forest Trees Stencils Set to ink on the tree lined border in Twisted Citron and Mowed Lawn distress inks. I then layered a snowy slope over the top using our Slimline Nature Border Dies, adding a rosy glow along the top and then stamped a sentiment from that same Cozy Christmas Stamp set. Lastly I added some snow dots to my sky using my Sharpie White Extra Fine Point Paint Pen.
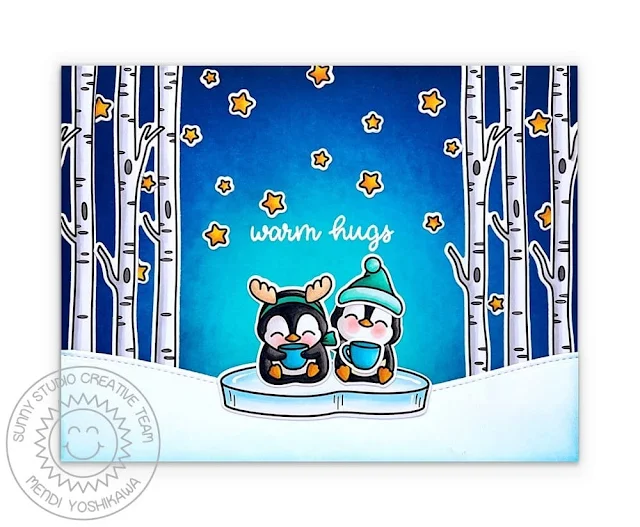
Card No. 3: For this card I pulled our the birch trees and ice block from our Bear Hugs Stamps and paired two of the little penguins and a mug from our our new Penguin Party Stamps. To highlight them I started by inking the center of my card panel with Peacock Feathers and layered on Prize Ribbon and Chipped Sapphire on the outside edges. I then nestled them in the bottom of a snowy hill which I created using our Slimline Nature Border dies, inking the edges with tumbled glass distress ink. Lastly I heat emboss the "warm hugs" greetings from Penguin Party and added stars to the sky from our Too Cute To Spook Stamps and Scaredy Cat Stamps.
Card No. 4: When I was creating the Penguin Party Stamps, I knew I wanted to create an ice skating card with this little guy. For my background I used the house and fir tree lined hill borders from our Scenic Route Stamps with a frozen pond I created by cutting the top edge with our Slimline Nature Border Dies. I was able to use the streaky nature of Copics in large spaces to my advantage as it made it look more like reflective shiny ice to me. I used the solid image from our Layered Basket Stamps to act as a surface to stamp my penguins onto and then re-stamped them onto my "ice" to create a mirror image. Jennifer McGuire has an older tutorial showcasing the mirror stamping technique in a video she shared HERE. Lastly I stamped my punny Christmas greeting from our Penguin Pal Stamps.

I wanted to make my tags as pretty on the back side as they are on the front side so I cut extra tags out of that same paper, reversing the topper and tag prints in order to have enough paper from the one package. I think tags like this are sturdy enough and pretty enough to turn into a holiday ornament afterwards! For my "To / Love" I used words from our Season's Greetings Stamps.

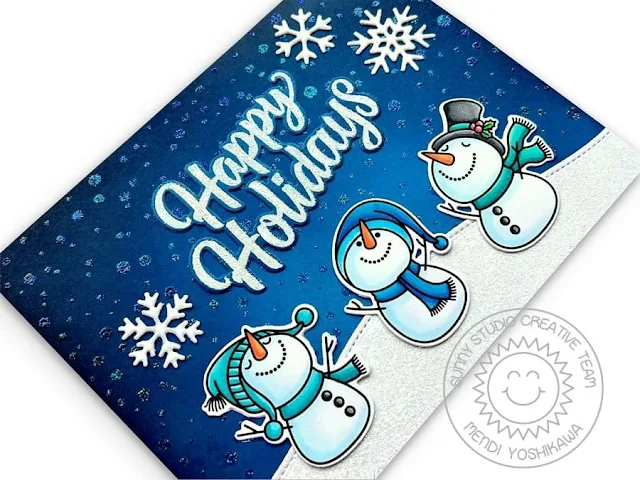
Card No. 7: Switching gears we have a darling new mini 3x4 stamp set called Snowman Kisses featuring 4 new snowmen to compliment our popular Feeling Frosty Stamps. For this card I used three of the four new snowmen to create a winter evening scene. I started by inking a cardstock panel with Prize Ribbon, Chipped Sapphire and Black Soot distress inks. When it was completely dried I covered the surface with the Cottontail Powder Embossing Tool and then repeatedly stamped our Frosty Flurries Stamps in the background (4 times) using VersaMark Ink and heat embossing with Hero Arts Sparkle Embossing Powder.
For my snowmen I colored them using Tombow ABT Pro Markers and die-cut my snowy hillside using our Slimline Nature Border dies. To give it a snowy sparkle, I then pressed my cardstock into my clean VersaMark Ink Pad coating the entire surface and then heat embossed it with more Hero Arts Sparkle Embossing Powder. I did the same with my snowflakes which I cut out using our Snowflake Circle Frame Dies, using tweezers to hold them while I melted the embossing powder. For my sentiment, I wanted the edge around my greeting to blend with my background so I ended up inking up a scrap of cardstock with the same distress inks I used for my background and when it was dry I heat embossed my "happy holidays" greeting from our Holiday Greetings Stamps. I started by first heat embossing the phrase with white embossing powder and then stamping it a second time with versamark ink and coating it with the clear sparkle embossing powder before cutting it out with the coordinating dies.
This angle shows off the sparkle and shine a bit better which I added to the snowy hill, greeting, snowflakes and frosty flurries in the background.
For my snowmen I colored their hats, mittens and scarves in colors to match the background using Tombow ABT Pro Markers (borrowing mittens from our Feeling Frosty Stamps). I then stamped a punny greeting mixing words from our new Snow One Like You Stamps and Fall Friends Stamps (cutting apart the phrase with my scissors). Lastly I added snowflakes which I had die-cut using our Lacy Snowflakes Die and Snowflake Circle Frame Dies, inking them with the same distress inks to match my background and topping them with coordinating jewels.


We will be having daily contests and a big 7th birthday Blog Hop this Friday with more giveaways at every stop on the hop. All contests will run through Friday, September 2nd at Midnight PST with winners announced here on Sunday, September 4th. :)
a Rafflecopter giveaway Here's a closer look at the our new Penguin Party Stamps, Snowman Kisses Stamps and Snow One Like You Stamps used today (which will be available to purchase starting tomorrow morning):
 Stitched Rectangle Dies Shop at: Sunny Studio |
 Bear Hugs Stamps Shop at: Sunny Studio |
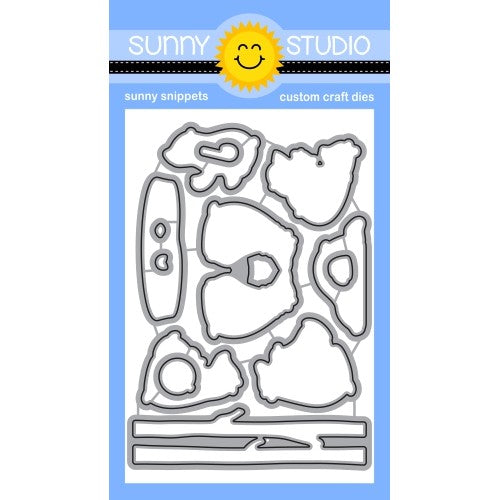 Bear Hugs Dies Shop at: Sunny Studio |
 Fall Friends Stamps Shop at: Sunny Studio |
|
 Lacy Snowflakes Die Shop at: Sunny Studio |
 Tsukineko Jumbo Dauber Shop at: Sunny Studio |
 Versafine Onyx Black Ink Shop at: Sunny Studio |
 Frosty Flurries Stamps Shop at: Sunny Studio | |
 Fancy Frames- Rectangles Shop at: Sunny Studio |
 Window Trio- Circles Die Shop at: Sunny Studio |
 Fall Kiddos Stamps Shop at: Sunny Studio |
 Fall Kiddos Dies Shop at: Sunny Studio | |
 Mini Basic Shape Dies 2 Shop at: Sunny Studio |
 Comic Strip Speech Bubble Dies Shop at: Sunny Studio |
 Season's Greetings Stamps Shop at: Sunny Studio |
 Scenic Route Stamps Shop at: Sunny Studio | |
 Scenic Route Dies Shop at: Sunny Studio |
 Layered Snowflake Frame Shop at: Sunny Studio |
 Snowflake Circle Frame Shop at: Sunny Studio |
 Scalloped Tags-Circle Shop at: Sunny Studio | |
 Slimline Nature Borders Shop at: Sunny Studio |
 Slimline Scalloped Frame Shop at: Sunny Studio |
 Penguin Pals Stamps Shop at: Sunny Studio |
 Penguin Pals Dies Shop at: Sunny Studio | |
 Winter Scenes Stamps Shop at: Sunny Studio |
 Winter Scenes Dies Shop at: Sunny Studio |
 Slimline Pennant Dies Shop at: Sunny Studio |
 Forest Trees Stencils Shop at: Sunny Studio | |
 All Is Bright Paper Shop at: Sunny Studio |
 Cozy Christmas Stamps Shop at: Sunny Studio |
 Cozy Christmas Dies Shop at: Sunny Studio |
 Holiday Greetings Stamps Shop at: Sunny Studio | |
 Holiday Greetings Dies Shop at: Sunny Studio |
 Too Cute To Spook Stamps Shop at: Sunny Studio |
 Too Cute To Spook Dies Shop at: Sunny Studio |
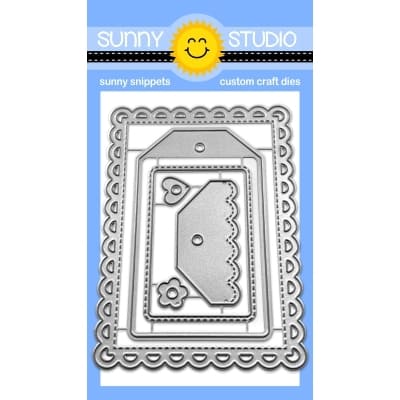 Mini Mat & Tag 3 Dies Shop at: Sunny Studio | |
 Joyful Holiday Paper Shop at: Sunny Studio |
 Rubellite Pink Jewels Shop at: Sunny Studio |
 Orange Topaz Jewels Shop at: Sunny Studio |
 Citrine Jewels Shop at: Sunny Studio | |
 Peridot Green Jewels Shop at: Sunny Studio |
 Aquamarine Jewels Shop at: Sunny Studio |
 Cornflower Blue Jewels Shop at: Sunny Studio |
 Purple Sapphire Jewels Shop at: Sunny Studio | |
 Hero Arts Sparkle Embossing Powder Shop at: Sunny Studio |
 Hero Arts White Detail Shop at: Sunny Studio |
 Iridescent White Confetti Shop at: Sunny Studio |
 VersaMark Watermark Ink Shop at: Sunny Studio | |
 Icing Border DIes Shop at: Sunny Studio |
 Cottontail Embossing Powder Tool Shop at: Sunny Studio |
 Bitty Bunny Blending Brushes Shop at: Sunny Studio |
 Stickles Stardust Glitter Shop at: Sunny Studio |
|
 Passionate Penguins Stamps Shop at: Sunny Studio |
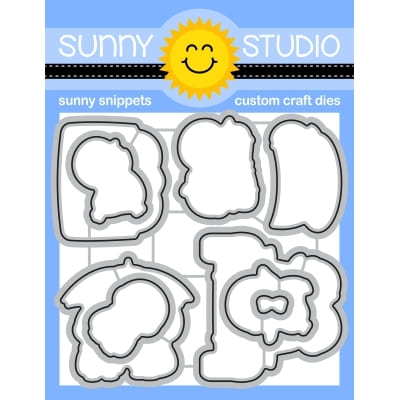 Passionate Penguins Dies Shop at: Sunny Studio |
 Multi Medium Matte Shop at: Sunny Studio |

