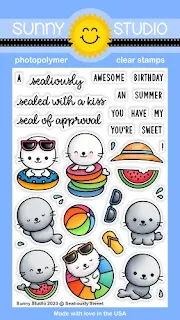
Today's sneak peeks include a new 4x6 Summer critter stamp set called Sealiously Sweet, along with matching dies and a fun new versatile standalone die set. Let's jump right in!
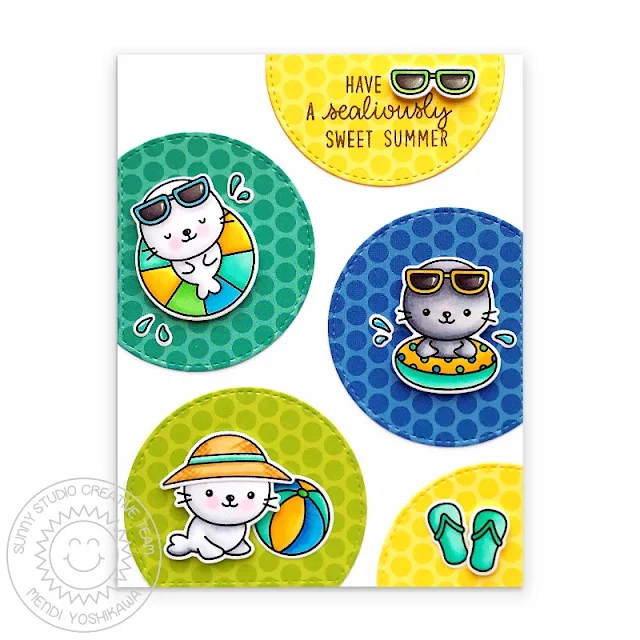
Card No. 1: Up first is a card using 3 or the 7 adorable little seals in our new Sealiously Sweet stamps set. To ground my little guys and create a large polka-dot background, I used our new Stitched Semi-Circle Dies which come with 3 nested semi-circle dies (and a cute little scalloped gift tag) that add a stitch to both sides of the cutline so you can use them like I did here or as a window. I cut my circles from our Polka-dot Parade Paper Packs and popped up my elements with some foam tape.
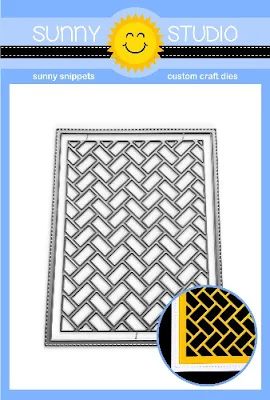
Card No. 2: For this card here, I started by using our new Frilly Frames Herringbone dies that I shared yesterday. This time rather than using them vertically the way they come with one pass through your die-cutting machine, I turned them on their side and ran the die through my machine twice, overlapping my cuts by one row so that they would create a seamless pattern off the edge of my card.
I then positioned the little pieces on a double layer of paper napkins and colored them with my Copics to match the colors of the stamped floaties. This took a bit of time, but I found it really relaxing to do while I watched some TV. To speed things up, I started by covering the entire front of my card base with my tape runner before laying down my herringbone background. Then as I colored each piece, I could pop it right in and press without having to mess with liquid glue or another adhesive. I love the way it turned out! It makes me think of colorful pool tile.
To frame my little guy from the Sealiously Sweet stamps, I used our Fancy Frames Rectangle Dies and inked a little bit of tumbled glass distress ink behind him. Since my background was so involved I wanted to keep the rest of my card really simple and help him pop.
Card No. 3: Up next is a card that started with our Comic Strip Everyday Dies cut from White Cardstock. I inked up my background with varying shades of Colorbox Sky Blue Dye Ink, adding a sandy border with using some kraft cardstock and our Woodland Border Dies. For the little cutout to tuck my flip-flops into the sand, I used a small die from our new Tropical Scenes dies set which I will share more tomorrow.
I finished my card by combining the words "Have a Sealiously Awesome" from the stamp set with the words "Fourth of July" from our Happy Thoughts stamps. I just love how easy this punny greeting can be switched out to match any occasion. Three of the seals from this set don't actually include summer themed items so you can just as easily use them year round and substitute the sentiment to say Happy Birthday or Merry Christmas.
Card No. 4: For this card I used our new Stitched Arch Dies which I will share more of on Thursday. I cut my frame opening from our Striped Silly Paper and used a bit of red gingham paper from our Holiday Cheer Paper pack, adding a row of the little watermelon from the Sealiously Sweet stamps to form a scalloped border.
To ground my little seal eating watermelon, I cut a tag from our Classic Gingham Paper using a tag from our Scalloped Circle Tag dies. A good old fashioned eyelet with a little solid red baker's twine put a nice finishing touch on my clean and simple card.
Card No. 6: My last card of the day features a really fun shadow box design (see below for full instructions). I used our Summer Splash Paper pack to cut my interior waves and decorate the rest of my card. To add interest to my opening, I used our new Stitched Semi-Circle Dies and a curved banner from our Banner Basics stamps which I colored using a no line color technique in which I used distress inks and a bit of Copic marker coloring for the folds. For the word "birthday" that matches the same font in "sealiously", I turned to our Happy Thoughts Stamps.
To recreate a shadow box card like the one I shared here, I have created a little guide with
step-by-step instructions. It's so easy to do and I love that it doesn't require a bunch of fancy tools. I can't wait to share even more ways to use our Stitched Semi-Circle dies later this week. They are quickly becoming a favorite of mine!
That wraps up today's sneak peeks. I'm so happy to have you hang out with me today. I read all your comments and they mean so much! I'd love to give a $40 gift code to one lucky winner using the rafflecopter below. Make sure to keep checking back all this week for more peeks & prizes for up to five chances to win. The contests run through Saturday at Midnight PST with winners announced here on Sunday, April 26th. :)
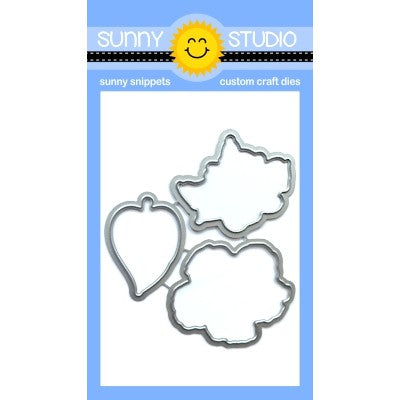
a Rafflecopter giveaway Here's a closer look at the new Sealiously Sweet stamps & coordinating dies, as well as the new Stitched Semi-Circle Dies used today (available for purchase on Friday, April 24th).
Other Supplies Used:
 Woo Hoo Dies Shop at: Sunny Studio |
 Woo Hoo Stamps Shop at: Sunny Studio |
 Ric Rac Border Dies Shop at: Sunny Studio |
 Fancy Frames- Rectangles Shop at: Sunny Studio |
|
 Striped Silly 6x6 Paper Shop at: Sunny Studio |
 Polka-dot Parade 6x6 Paper Shop at: Sunny Studio |
 Comic Strip Everyday Dies Shop at: Sunny Studio |
 Happy Thoughts Stamps Shop at: Sunny Studio | |
 Woodland Borders Dies Shop at: Sunny Studio |
 Holiday Cheer 6x6 Paper Shop at: Sunny Studio |
 Summer Splash 6x6 Paper Shop at: Sunny Studio |
 Scalloped Tags-Circle Shop at: Sunny Studio | |
 Banner Basics Stamps Shop at: Sunny Studio |
 Banner Basics Dies Shop at: Sunny Studio |
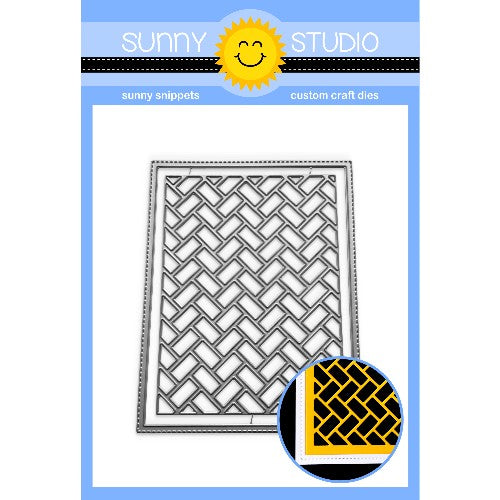 Frilly Frames Herringbone Shop at: Sunny Studio |
 Stitched Arch Dies Shop at: Sunny Studio | |

Classic Gingham 6x6 Paper
Shop at:
|

