We are so excited to be partnering up with the Therm-o-web team this week. Both teams will be sharing projects all week long, combining products from both Therm-o-web and Sunny Studio Stamps, so we hope you'll stop by and visit their blog as well!
Hello there and happy Wednesday!! Franci here with you and today I'm so super happy to show you a special project I made with Sunny Studio and Therm-O-Web products. I love when brands collaborate in fun events and I get to combine lots of stuff I love into one happy project and this is the case!!
Hello there and happy Wednesday!! Franci here with you and today I'm so super happy to show you a special project I made with Sunny Studio and Therm-O-Web products. I love when brands collaborate in fun events and I get to combine lots of stuff I love into one happy project and this is the case!!
I picked up my
fave Therm-O-Web and Sunny Studio products and had lots of fun!!
First of all I
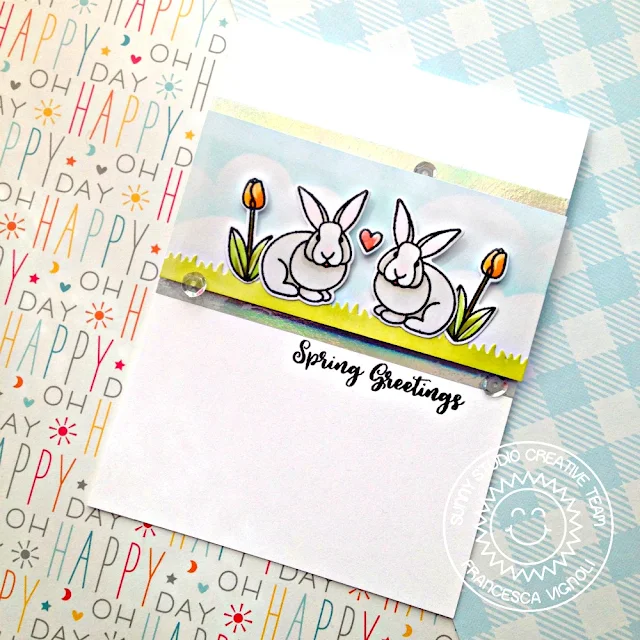
created my card out of simple white cardstock and I cut out a strip of the
same cardstock to build my scene on. I also cut out a tiny coordinated strip to create the grass, I colored it with some Distress oxide inks and I cut it
out using a little grass border die included in the Comic Strip Everyday dies.
I stamped, colored (with copics) and die cut all the images and I've said this a billion times already, but this Spring Greetings mini set is my fave for the season! These bunnies are both so elegant and cute I wanna fit them in every project (I can't wait to make a Christmas card with them ;)).
I kept my dies in place while running through my Big Shot with some Purple tape and it's amazing! Then I inked up my stripe of white cardstock with some blue Distress ink to create the sky and glued all my images down.
I added some Iridescence foil details on to my card base using double adhesive tape and adhered my little scene with the 3D foam strips. It's such a simple design but in real life all those foil details make it so wonderful!
Finally I stamped my sentiment and added some sparkling clear sequins. Hope you like my card and thank you so much for stopping by today :)
-----------------------------------------------------
Hi crafty friends! It's Mona
here,
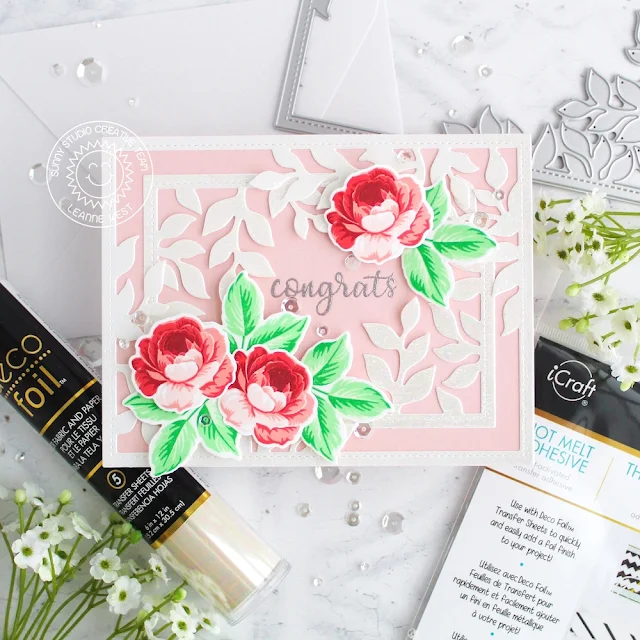
and I am featuring the Breakfast Puns stamp set with some Therm-O-Web products
and I have another card making tutorial for you.
But before the tutorial let's see which products I used for
this project. By the way ... you need this Iridescent foil asap!
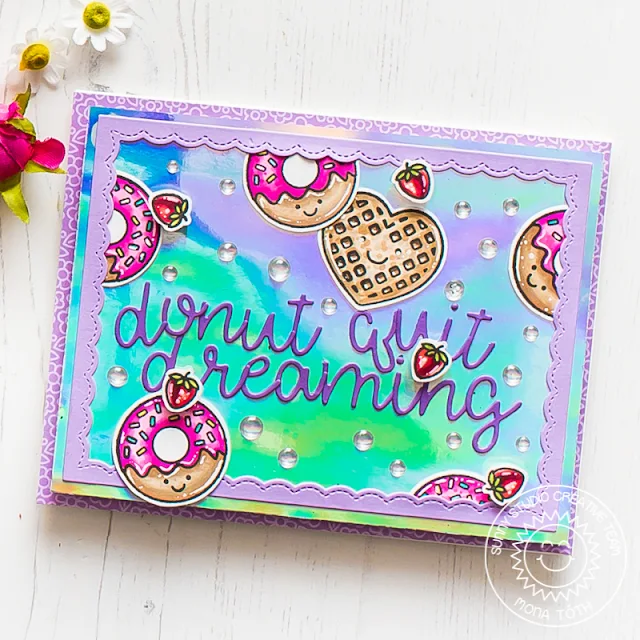
I decided to make a foiled background (because why not), so I
started my cardmaking process with hot-foiling.
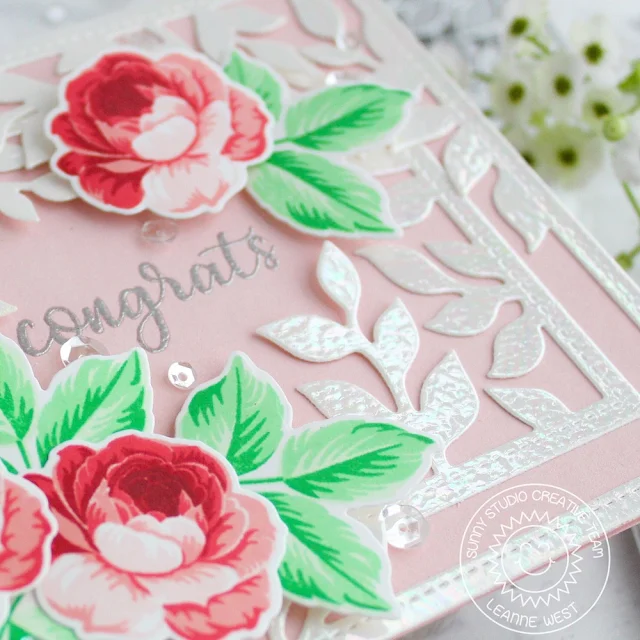
I cut a 5.25"x4" inch piece of Toner Sheet, then I cut a larger piece of Iridescent foil and placed it on the toner sheet. I run it through my hot laminator with parchment paper. Next, I made a violet frame with the Fancy Frames Rectangle dies.
I cut a 5.25"x4" inch piece of Toner Sheet, then I cut a larger piece of Iridescent foil and placed it on the toner sheet. I run it through my hot laminator with parchment paper. Next, I made a violet frame with the Fancy Frames Rectangle dies.
When it was done, I prepared the background. I picked a
violet cardstock from the Flirty Flowers paper pad. I Adhered the foiled
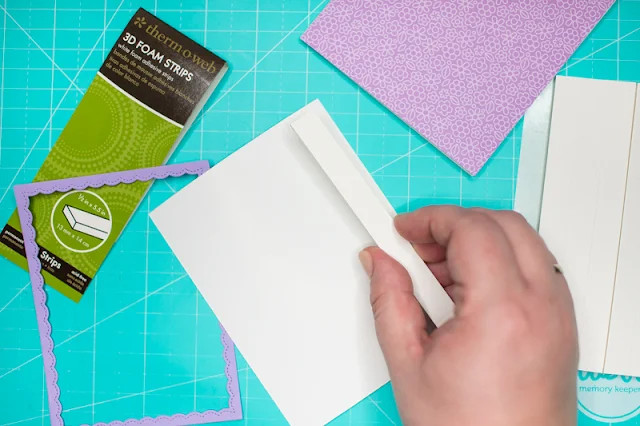
background to my card base with 3D Foam Strips.
I adhered the text, which was created with the Loopy Letters dies and when it was done I added my colored yummies from the Breakfast Puns stamp Set.
In
the end I added clear dots with Nuvo Drops and my card was ready! Thank
you very much for reading through my post, I hope that you have enjoyed it and
I have inspired you! If you like my creations let's be friends on
Instagram.
:)
------------------------------------------------------
We also have two giveaways going on this week - one here on the Sunny Studio blog and one over on the Therm-o-web blog. We are each giving away a $25 gift code to our online store, drawn from the comments on the blog this week. So make sure to visit both blogs each day this week to get in on those giveaways. Our winner will be announced on our blog on Sunday.
Sunny Studio Supplies Used:
 Breakfast Puns Stamps Shop at: Sunny Studio |
 Breakfast Puns Dies Shop at: Sunny Studio |
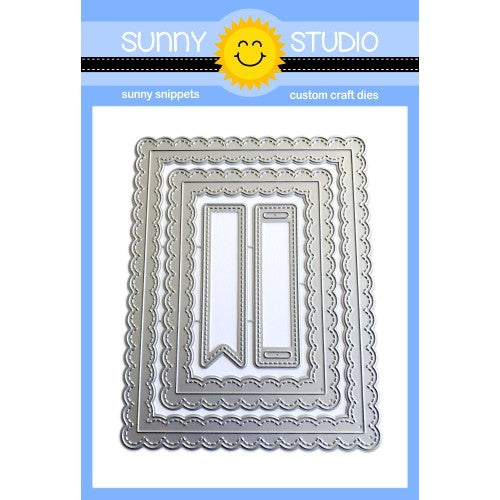 Fancy Frames- Rectangles Shop at: Sunny Studio |
 Comic Strip Everyday Dies Shop at: Sunny Studio |
 Loopy Letters Dies Shop at: Sunny Studio |
 Flirty Flowers 6x6 Paper Shop at: Sunny Studio |
 Spring Greetings Stamps Shop at: Sunny Studio |
 Spring Greetings Dies Shop at: Sunny Studio |


