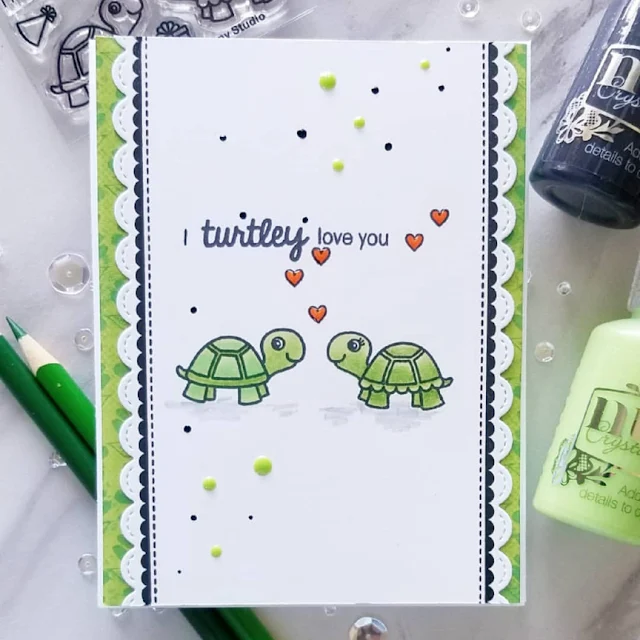
I began by die cutting the large scallop circles from white cardstock using the Fancy Frame Circle die set. I then applied Distress Oxide Ink in Picked Raspberry to them using a foam blending brush.
Next, I used a plain circle die from my stash to cut a circle large enough to fit behind both frames and inked it with Distress Oxide in Salty Ocean. I splattered a little water onto it and dabbed it dry with a paper towel to give it a touch of interest.
To create the little beach scene, I stamped and colored several of images from the Beach Babies stamp set with Chameleon Pens. I then die cut them with the coordinating dies. I wanted her to look like she was at the beach, so I stamped and colored the island stamp from the Island Getaway stamp set. I then trimmed it to fit behind the circle frames. To give the images a bit of dimension, I adhered some of them with double sided foam adhesive.
For the sentiment, I used the Hello Word die to cut “hello” from black cardstock 3 times. I then glued these together to give the word some dimension. I then stamped the word “sunshine” from the Beach Babies stamp set onto to background.
To create the circle card base, I took a plain circle die and a piece of cardstock cut to 5x5 inches. I scored this and folded it in half. Next, I took the circle die and positioned it so that just a tiny bit of it overlapped the top fold on the card and ran it through my die cutting machine. I now had a circle shaped card! I then adhered my card design to the base and my circle shaped Hello card was complete!
I hope you enjoyed learning about how to create your own circle shaped card! Thanks so much for stopping by today!
Sunny Studio Supplies Used:
 Island Getaway Dies Shop at: Sunny Studio |
 Island Getaway Stamps Shop at: Sunny Studio |
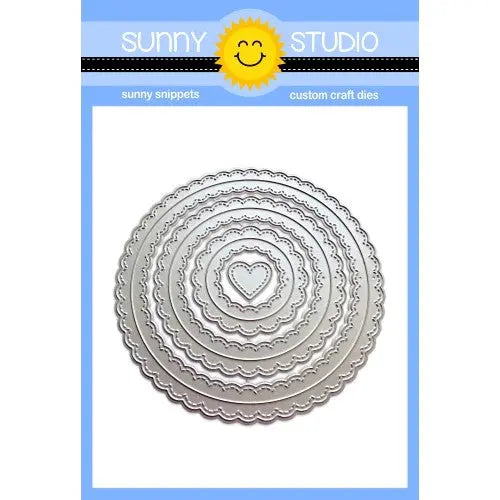 Fancy Frames-Circle Dies Shop at: Sunny Studio |
 Beach Babies Stamps Shop at: Sunny Studio |
 Beach Babies Dies Shop at: Sunny Studio |
 Hello Word Die Shop at: Sunny Studio |


