Saturday, May 5, 2018

Sunny Saturday Share: Customer Cards


Hey everyone, how are you all doing this weekend? I'm so excited to be popping in today with a Sunny Saturday Share. There have been so many amazing cards popping up on Instagram that have made my jaw drop so I couldn't wait to share them with all of you! 

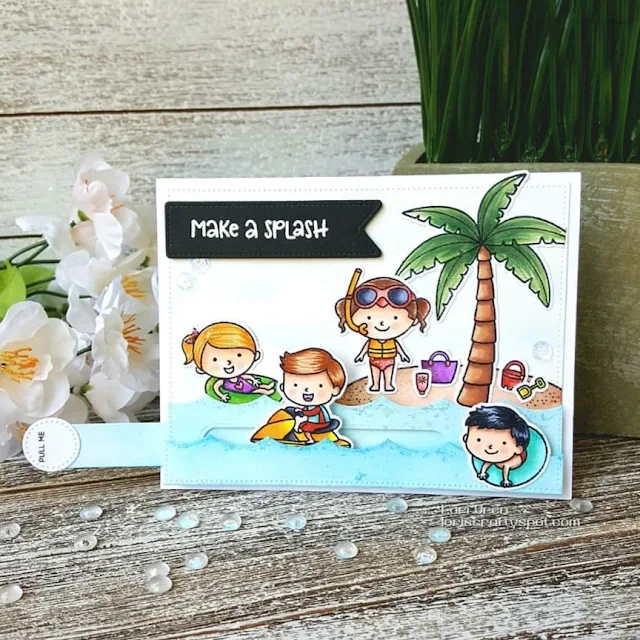
Beach Babies interactive card by Lori U’ren

Sunny Studio Stamps: Beach Babies Summer Customer Card by Lori Uren

Beach Babies card by Kathy Straw

Sunny Studio Stamps: Beach Babies Summer Customer Card by Kathy Straw

Breakfast Puns card by Pip Lewer

Sunny Studio Stamps: Breakfast Puns Punny Customer Card by Pip Lewer

Breakfast Puns card by Ashley Harris


Sunny Studio Stamps: Breakfast Puns Punny Customer Card by Ashley Harris

Party Pups and Window Trio Circle dies card by Nina-Marie Trapani


Sunny Studio Stamps: Party Pups Customer Card by Nina-Marie Trapani

Purrfect Birthday card by Chele


Sunny Studio Stamps: Purrfect Birthday Confetti Customer Card by Chele

Fast Food Fun card by Teri Anderson


Sunny Studio Stamps: Fast Food Fun Punny Customer Card by Teri Anderson

Critter Campout and Birthday Balloon card by Noga Shefer


Sunny Studio Stamps: Critter Campout Birthday Customer Card by Noga Shefer

Birthday Balloon card by Becki Adams


Sunny Studio Stamps: Birthday Balloon Birthday Customer Card by Becki Adams

Tiny Dancers card by Jeannie


Sunny Studio Stamps: Tiny Dancers Customer Card by Jeannie

Tiny Dancers card by Traci Erickson


Sunny Studio Stamps: Tiny Dancers Spinner Customer Card by Traci Erickson

Daffodil Dreams and Vintage Jar card by Donna


Sunny Studio Stamps: Daffodil Dreams Thank You Customer Card by Donna

Thank you for sharing all these fabulous ideas with us! I hope you will continue to share your gorgeous projects with us--It always makes my day to see them. You can tag us on instagram with the hashtag #sunnystudiostamps or share your projects with us in our flickr group or on our facebook page. ☺


Sunny Studio Supplies Used:
Daffodil Dreams Dies
Shop at:
Sunny Studio
Daffodil Dreams Stamps
Shop at:
Sunny Studio
Vintage Jar Dies
Vintage Jar Dies
Shop at:
Sunny Studio
Vintage Jar Stamps
Vintage Jar Stamps
Shop at:
Sunny Studio
Birthday Balloon Stamps
Shop at:
Sunny Studio
Birthday Balloon Die
Shop at:
Sunny Studio
Breakfast Puns Stamps
Shop at:
Sunny Studio
Breakfast Puns Dies
Breakfast Puns Dies
Shop at:
Sunny Studio
Tiny Dancers Stamps
Tiny Dancers Stamps
Shop at:
Sunny Studio
Tiny Dancers Dies
Tiny Dancers Dies
Shop at:
Sunny Studio
Purrfect Birthday Stamps
Shop at:
Sunny Studio
Purrfect Birthday Dies
Shop at:
Sunny Studio
Beach Babies Stamps
Beach Babies Stamps
Shop at:
Sunny Studio
Beach Babies Dies
Beach Babies Dies
Shop at:
Sunny Studio
Critter Campout Stamps
Shop at:
Sunny Studio
Critter Campout Dies
Shop at:
Sunny Studio
Fast Food Fun Stamps
Shop at:
Sunny Studio
Fast Food Fun Dies
Fast Food Fun Dies
Shop at:
Sunny Studio
Party Pups Stamps
Party Pups Stamps
Shop at:
Sunny Studio
Party Pups Dies
Party Pups Dies
Shop at:
Sunny Studio
Window Trio- Circles Die
Shop at:
Sunny Studio

Friday, May 4, 2018

Background Basics Six Window Berry Bliss Card with Lexa

Hello everyone! Lexa here again with another card highlighting some of Sunny Studio's new release products - the Background Basics and the fresh-est Berry BlissI know that layered stamps from Sunny Studio have already captured so many hearts, but this one is super adorable and oh-my-Lord ... they look so real!

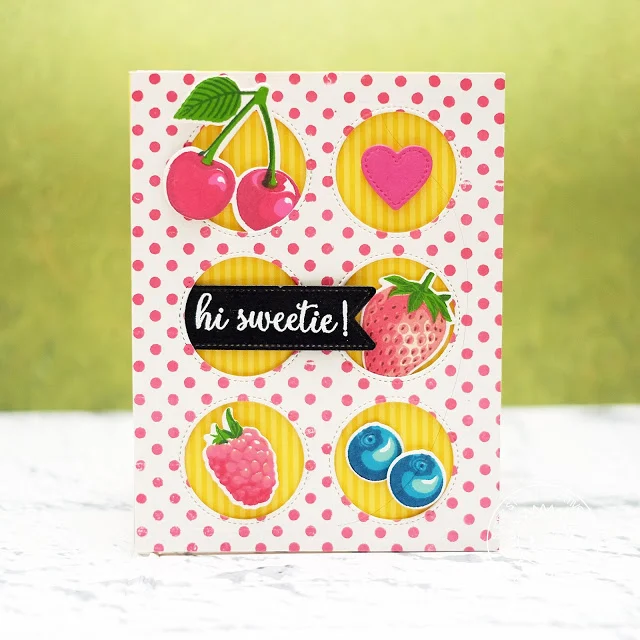
Sunny Studio Stamps: Background Basics Window Trio Berry Bliss Hi Sweetie Card by Lexa Levana

First step. I stamped the background and choose the polka dots from the Background Basics Stamp and inked it up with pink gradation dye ink from Hero Arts. You may notice that the polka dots on top are slightly darker than the ones in the bottom. The berries are stamped on various colors of dye inks. They are so easy to layer, and are so so cute! My favorites are the strawberries - they look delicious.

Sunny Studio Stamps: Background Basics Window Trio Berry Bliss Hi Sweetie Card by Lexa Levana

I die cut the Window Trio Circle Dies twice to create six circle windows and layered yellow striped patterned paper from the Striped Silly 6x6 Paper. I used some foam tape to adhere all of the berries in each window and an extra stitched pink heart in one window. The sentiment is white embossed on black cardstock that been cut with a label from the Fancy Frames Rectangle Dies

This will be a perfect card for your sweethearts. The cheerful colors, and of course the berries, will brighten anyone's day. Thank you so much for stopping by today. I hope you all have a berry sweet day!

Sunny Studio Supplies Used:

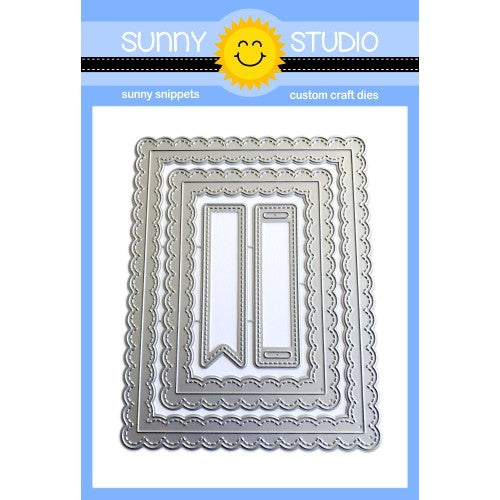
Fancy Frames- Rectangles
Shop at:
Sunny Studio
Berry Bliss Stamps
Berry Bliss Stamps
Shop at:
Sunny Studio
Berry Bliss Dies
Berry Bliss Dies
Shop at:
Sunny Studio
Window Trio- Circles Die
Shop at:
Sunny Studio
Background Basics Stamps
Shop at:
Sunny Studio
Striped Silly 6x6 Paper
Shop at:
Sunny Studio

Thursday, May 3, 2018

Berry Bliss Clean And Simple Friendship Card with Vanessa

Hi everyone! Vanessa here with a yummy berry card using the Berry Bliss set. These delicious berries look so realistic, I just love them! This is what I came up with.

Sunny Studio Stamps: Berry Bliss Clean And Simple Friendship Card by Vanessa Menhorn

I softly inked the bottom right corner of my cardstock panel with blue ink, applied blue ink droplets and stamped the sentiment. Now I matted the panel with the largest Fancy Frames Rectangle die die-cut from the beautiful Classic Gingham Paper and adhered it to the card.

Sunny Studio Stamps: Berry Bliss Clean And Simple Friendship Card by Vanessa Menhorn

I stamped and die-cut the berries and the leaves (the leaf from the cherry stem) and adhered everything to the card, using foam tape for some images.

I don't know about you, but I would love to have a bowl of berries now :) Thanks for visiting!

Sunny Studio Supplies Used:

Fancy Frames- Rectangles
Shop at:
Sunny Studio
Berry Bliss Stamps
Berry Bliss Stamps
Shop at:
Sunny Studio
Berry Bliss Dies
Berry Bliss Dies
Shop at:
Sunny Studio
Classic Gingham 6x6 Paper
Shop at:
Sunny Studio

Wednesday, May 2, 2018

Beach Babies Water Splash Shaker Card with Franci

Hello there and happy Wednesday! Franci here with you today with a special shaker card featuring the new Beach Babies cuties! Here's what I created.

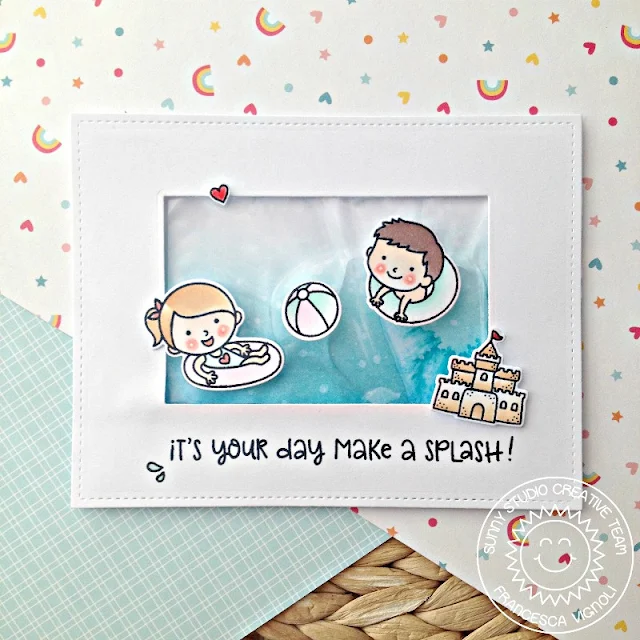
Sunny Studio Stamps: Beach Babies Water Splash Shaker Card by Franci Vignoli

I'm so excited about this project! Inside the shaker there are no embellishments or sequins or beads as I would usually use ... but real water! First, I created a card base in white cardstock and die cut two stitched rectangles. I then die cut another rectangle in the center of one of my panels and colored the second rectangle by sponging it with Distress inks. I used Salty Ocean and Peacock Feather to achieve this watery look and then I splattered some water on it to create a watercolor effect.

Sunny Studio Stamps: Beach Babies Water Splash Shaker Card by Franci Vignoli

I stamped some images from the Beach Babies stamp set with a Copic friendly ink, colored them with Copics, and die cut them with their coordinating diesI filled a little Ziploc bag with some water (be sure not to fill it too much - less than a third will be enough!) and zipped it closed. I also recommend getting some air out of the Ziploc bag before closing so it will look more compact, and secure it even more with scotch tape.

I secured down the little bag onto my blue panel with some scotch tape and applied foam adhesive all around it. I stamped my sentiment onto the window panel with the same black ink used before and glued it down with the other one. Finally, I added all of the images with a combo of liquid glue and foam adhesive to my card creating this fun scene! I adhered my decorated panel to my card base and added some details with a white gel pen to all my images to complete my card.

I'm so super happy about how it turned out. Clean and simple, but with a twist! I shook it gently a few times and everything is fine. But I wouldn't recommend mailing a card like this, since it would be totally destroyed in the process. It's a very very delicate project! 

Hope you like my card and that you'll give this fun design a try. Thank you so much for stopping by today!

Sunny Studio Supplies Used:


Beach Babies Stamps
Beach Babies Stamps
Shop at:
Sunny Studio
Beach Babies Dies
Beach Babies Dies
Shop at:
Sunny Studio

Tuesday, May 1, 2018

Devoted Doggies Rainbow Background Hello Card with Juliana

Hello friends! It's Juliana Michaels and today I'm sharing a Hello card I created using the recently released Devoted Doggies stamp set. This might be a mini stamp set, but it is packed with great images and sentiments that any dog lover would want.

Sunny Studio Stamps: Devoted Doggies Fancy Frames Rainbow Background Hello Card by Juliana Michaels

To get started, I stamped the adorable doggie and bone from the Devoted Doggies stamp set using Memento Ink in Tuxedo Black. I then colored the image using Chameleon Pens and die cut it using the coordinating dies. I choose this image because it looks like a Golden Retriever and I happen to be a Fur Mommy to two of them!

Next, I die cut a piece of white cardstock using the Fancy Frames Circle dies. I adhered the dog and bone to this using double sided foam adhesive. To create the sentiment I it with Versamark Ink onto a strip of black cardstock and heat embossed it white. I then used the Hello Word die and cut it four times from black cardstock. I glued all of them together to give the word some dimension and adhered it to the die cut circle.

Sunny Studio Stamps: Devoted Doggies Fancy Frames Rainbow Background Hello Card by Juliana Michaels

To give the card a pop of color, I die cut one of the diagonal striped papers from the Rainbow Brights 6x6 paper pad to just slightly smaller than my card base. I then finished off the card by adhering my die cut and stamped piece to the front of the card.

Now it's time to decide which “favorite human” I should send this card to! Thanks for stopping by today and I hope you enjoyed this bit of inspiration using the Devoted Doggies stamp set.

Sunny Studio Supplies Used:

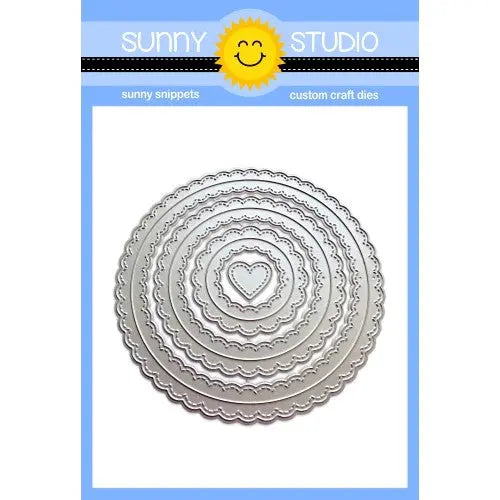
Fancy Frames-Circle Dies
Shop at:
Sunny Studio
Devoted Doggies Stamps
Shop at:
Sunny Studio
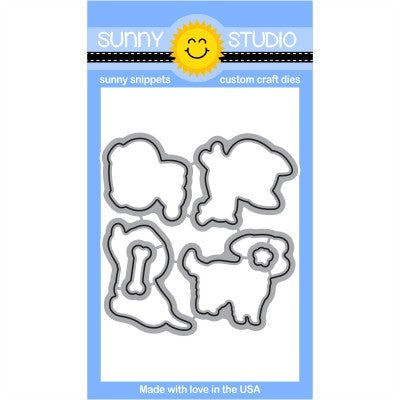
Devoted Doggies Dies
Shop at:
Sunny Studio
Hello Word Die
Hello Word Die
Shop at:
Sunny Studio
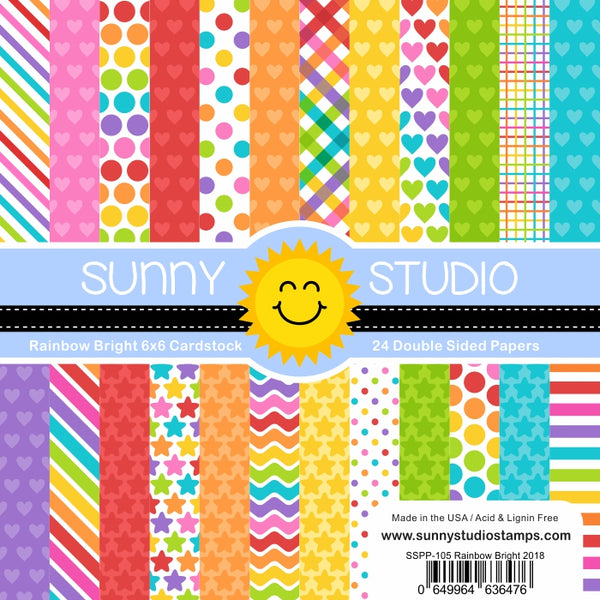
Rainbow Bright 6x6 Paper
Shop at:
Sunny Studio