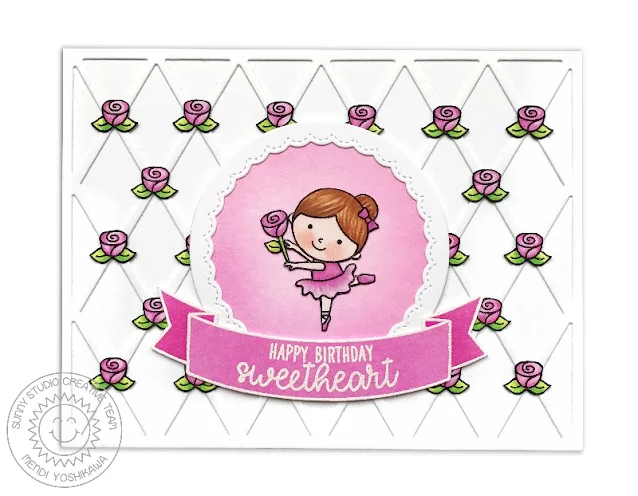
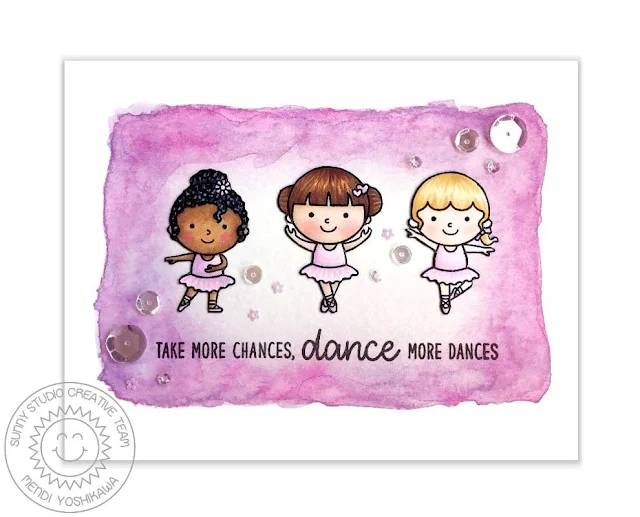
Card No. 1: For my first card today I created a girly ballerina card that was inspired by this darling card HERE. I used our Fancy Frames circles to ground each of the dancers which I colored in sweet pastel tones using my Copic Markers. These girls are so much fun to personalize with different skin tones and hair colors and the card uses one of my favorite Audrey Hepburn quotes.
Card No. 3: Next is a card using a fun teal and lavender color scheme. I wanted to create the look that the little bow from the set is creating for the tucks in the scallop using our Stitched Scallop dies. To stamp my sentiment to match the curve of my fancy frame die-cut, I place a clear block down over the top of my girl and circle die-cut and then curved the sentiment onto my block to visually match.
Card No. 4: For this card, I started by applying water in a loose rectangle on a piece of watercolor paper cut down to 5.5" x 4.25" which I temporarily taped on all four sides to a board. I then dropped in color using Daniel Smith Watercolors in the colors Wisteria & Opera Pink and allowed it to dry before adding a second layer to give it more of the watercolor look. I wanted it to frame a row of my little dancers without being too busy so I tried to apply less color as it fades towards the center. After that, I simply adhered my images in a row, stamped my sentiment using my Mini MISTI (which is really helpful with the texture of watercolor paper), and added a sprinkling of clear iridescent sequins with some liquid adhesive.
Card No. 5: For this card, I thought I would focus on all the companion images from the set. It reminds me of my two girls when they were young. There was a period of about two years for each of them when they lived in their princess "dress-up" clothes. For my card background, I inked up some white cardstock with Spun Sugar distress ink and then repeatedly stamped the rosebud, and then filled in with the tiny stars in a random pattern using the same ink.
After I had my focal point images laid out, it felt a little stark and bare so I used my ink dauber to apply some tumbled glass distress ink behind each image and then used a BG000 Copic Marker to fill in the spaces on my images to match. To tie in the blue, I decided to ink up some spare cardstock with that same tumbled glass distress ink and then heat-embossed the banner shape using our Little Angels stamps.
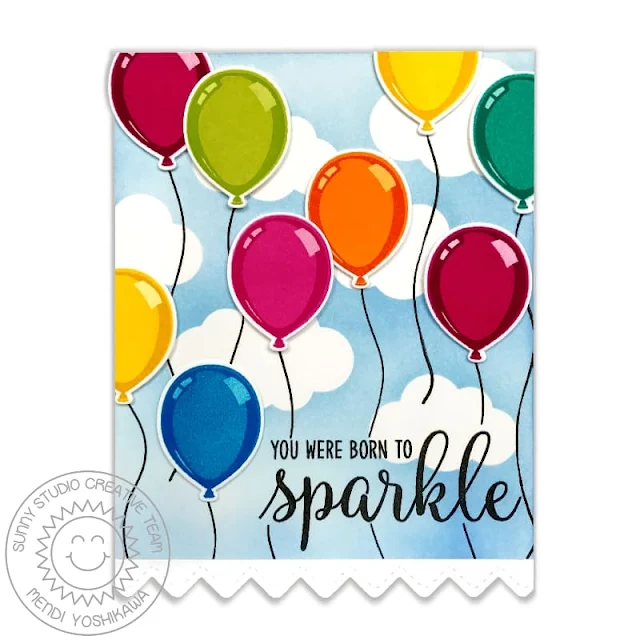
Card No. 6: Up next is a card mixing both the Tiny Dancer set with a new 3x4 sentiment set called Born To Sparkle. This set is all about words that mix and match with the word sparkle. The set comes with the word sparkle, but there is also a Sparkle Word Die in a different font that can also coordinate for additional design possibilities.
To create my background, I inked up a piece of white cardstock using my jumbo dauber with Colorbox Pixie Dye Ink and then cut masks using our Sun Ray Dies that I laid out on the background, before inking it up again with Colorbox Lilac Dye Ink. I then covered the entire surface with VersaMark Ink by pressing the pad directly to the card panel and covered it with a clear iridescent sparkle embossing powder before heating it with my heat gun. I am in love with the results! As a final finishing touch I cut the ends of my sentiment strip using our Fishtail Banner dies.
Card No. 7: For my last card of the day I used some of the companion images from our Born To Sparkle stamps to create a sparkly bokeh-inspired background. I was trying to channel my inner Barbie girl for this one. I heat embossed some of the circles while stamping some of the others in white pigment ink only--I think this creates the illusion of depth. When they were nearly dry, I inked on spun sugar distress ink which was applied heavier around the edges. I followed up by stamping some of the diamond shapes in different sizes in a random pattern using different shades of pink ink.
I finished my card by coloring some silver glitter cardstock I had on hand with a hot pink Copic Marker which I then die-cut my "sparkle" word from (and stacked with layers of standard white cardstock behind it for extra dimension). For the second part of my sentiment, I stamped it onto the vellum with dye ink and heat embossed it with clear powder to set it and keep it from smearing. It resulted in a really cool, sheer look. As a final touch, I again cut the ends of my vellum strip using our Fishtail Banner dies and added a few simple clear sequins.
I'm so excited you've joined me for today's sneak peek and I'd love to give a $25 gift code to one lucky winner. Make sure to check back tomorrow for the last of the sneak peeks and for one last chance to win. The contests run through Saturday at Midnight PST with winners announced here on Sunday, January 14th. :)
a Rafflecopter giveaway Here's a full look at the new 4x6 Tiny Dancers Stamps & Dies, the 3x4 Born To Sparkle Stamps & Sparkle Word Die featured today. New sets will all be available in our store early tomorrow morning!!!
 Stitched Scallop Dies Shop at: Sunny Studio |
 Sunny Borders Dies Shop at: Sunny Studio |
 Sunny Borders Stamps Shop at: Sunny Studio |
 Ric Rac Border Dies Shop at: Sunny Studio |
 Fancy Frames-Circle Dies Shop at: Sunny Studio |
 Fishtail Banner Dies Shop at: Sunny Studio |
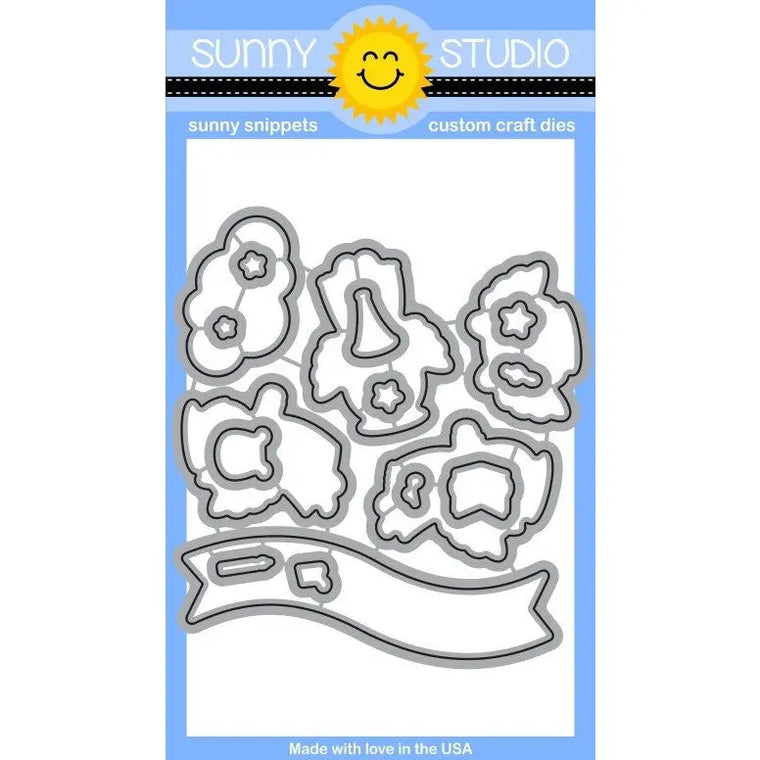 Little Angels Dies Shop at: Sunny Studio |
 Little Angels Stamps Shop at: Sunny Studio |
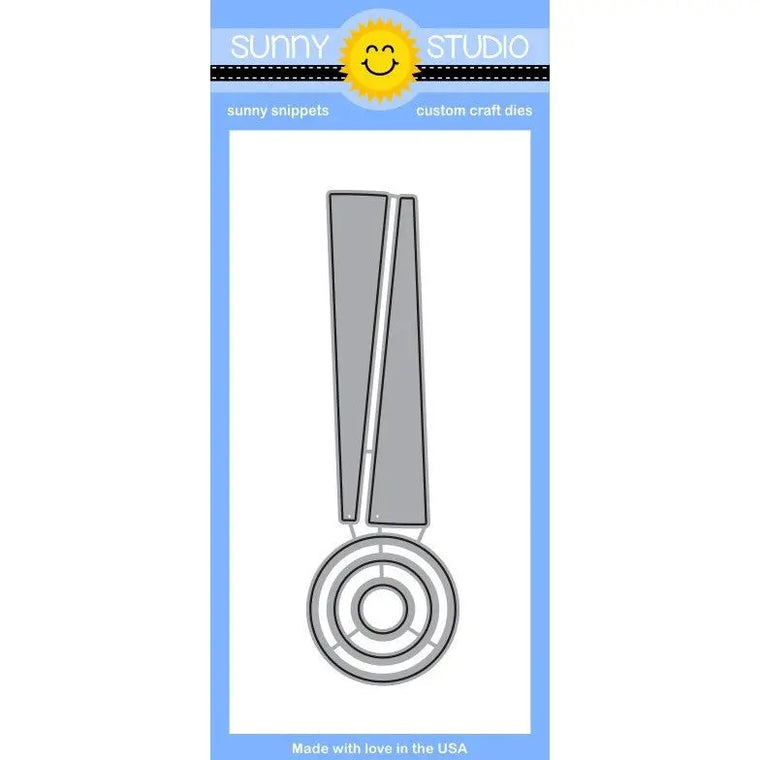 Sun Ray Dies Shop at: Sunny Studio |
 Memento Tuxedo Black Marker Shop at: Sunny Studio |
 Memento Tuxedo Black Ink Pad Shop at: Sunny Studio |
 Tsukineko Jumbo Dauber Shop at: Sunny Studio |
 Versafine Onyx Black Ink Shop at: Sunny Studio |
 VersaMark Watermark Ink Shop at: Sunny Studio |


