Friday, September 8, 2017

Quilted Hexagons Quilted Background Thank You Card with Lexa

Hi everyone! Lexa here today with a card that will be perfect for a special woman in your life, starring Quilted Hexagons stamp set which is literally a star! It's so beautiful no matter how you'd like to stamp it or whatever color you'd choose. As for my card, I'd love it to be colorful and use all the quilted patterns. It turns out so pretty and I love, love, love it.

Sunny Studio Stamps: Quilted Hexagons Colorful Quilted Background Thank You Card by Lexa Levana

First, I stamped the stitched guard with grey ink and then randomly stamped all the patterns, with different colors for each. I left a white border on the bottom so the mason jar won't look like it's floating. Timeless Tulips along with Vintage Jar look so well with the background. But when I arranged them all together, the tulips look like they got lost on the quilted background. So that's why I decided to add a piece of vellum behind the jar, to soften up the background a little bit. A simple "thanks" from Vintage Jar Coordinating Dies completed my card for today. A thin pink frame around the card helped give it a finished touch. 

Sunny Studio Stamps: Quilted Hexagons Colorful Quilted Background Thank You Card by Lexa Levana

The hexagon patterns are even more beautiful from up close. I recently became addicted to Nuvo Drops, and for this card I use the white pearl color. It's so cool! Thank you so much for stopping by today, I hope you like this card as much as I do. Have a wonderful day!

Sunny Studio Supplies Used:
Timeless Tulips Dies
Shop at:
Sunny Studio
Timeless Tulips Stamps
Shop at:
Sunny Studio
Vintage Jar Dies
Vintage Jar Dies
Shop at:
Sunny Studio
Vintage Jar Stamps
Vintage Jar Stamps
Shop at:
Sunny Studio
Quilted Hexagon Stamps
Shop at:
Sunny Studio

Thursday, September 7, 2017

Barnyard Buddies Sunny Farm Piggy Card with Vanessa

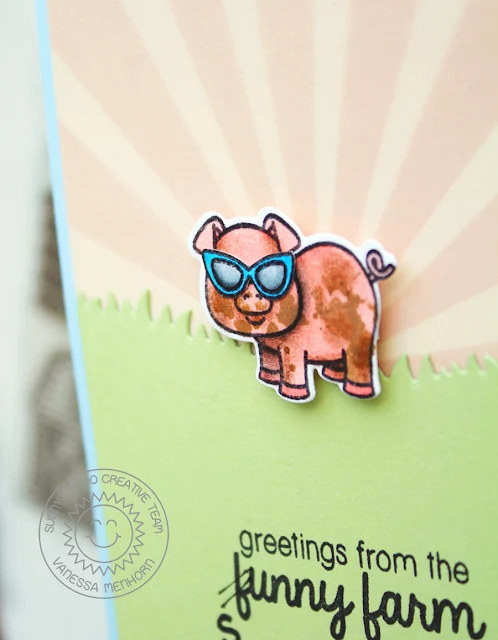
Happy Thursday, Sunny Studio friends! Vanessa here with a funny card using Barnyard BuddiesWhat happens on the funny farm in summer? Maybe this:

Sunny Studio Stamps: Barnyard Buddies Sunny Farm Piggy Card by Vanessa Menhorn

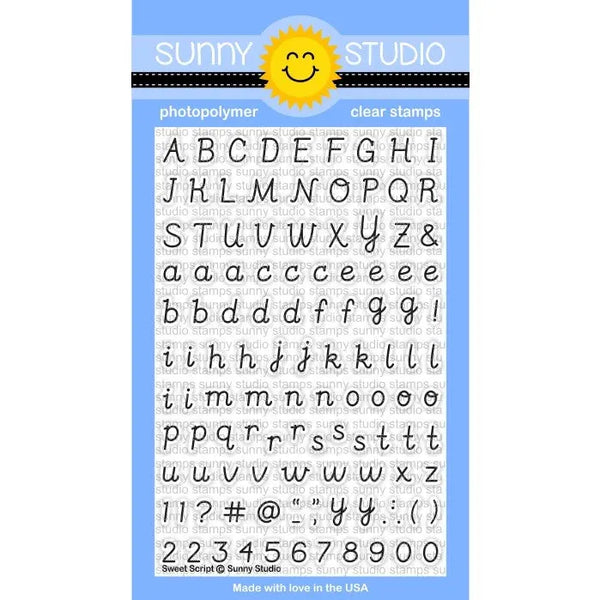
The cute pig is taking mud baths and basking in the sun :) First, I trimmed a panel from sun ray patterned paper slightly smaller than the card base and covered the bottom part with green cardstock with a grassy edge. Then I stamped the sentiment, crossed out the "f" and stamped the "s" from Sweet Script Stamps.

Sunny Studio Stamps: Barnyard Buddies Sunny Farm Piggy Card by Vanessa Menhorn

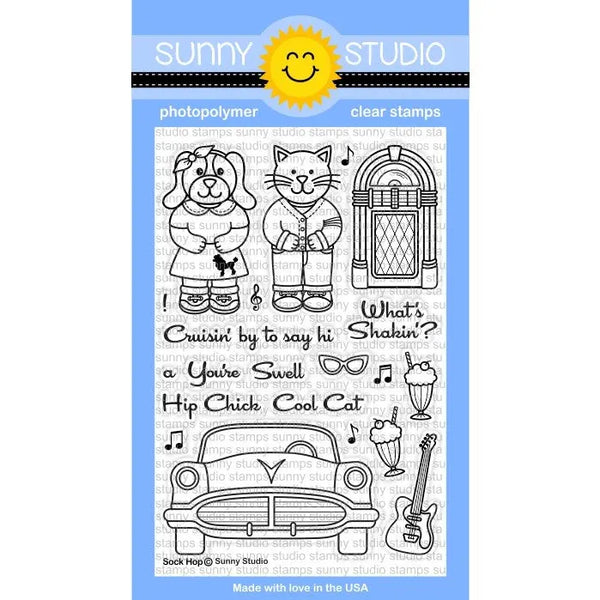
I stamped the pig, colored it with Copics and die-cut it with the matching die. Then I stamped the glasses from Sock Hop, colored them with Copics and fussy-cut them. After I had applied Glossy Accents to the glasses, I adhered them to the pig and adhered the image to the card with foam tape.

I hope my card made you smile today! Thanks for stopping by!

Sunny Studio Supplies Used:

Sock Hop Stamps
Sock Hop Stamps
Shop at:
Sunny Studio
Sweet Script Stamps
Sweet Script Stamps
Shop at:
Sunny Studio
Barnyard Buddies Dies
Shop at:
Sunny Studio
Barnyard Buddies Stamps
Shop at:
Sunny Studio

Wednesday, September 6, 2017

Happy Owl-o-ween Owl Trio Halloween Card with Amy

Hello everyone! Amy here with a cute Halloween card featuring the adorable Happy Owl-O-Ween stamp set. 

Sunny Studio Stamps: Happy Owl-o-ween Owl Trio Halloween Card by Amy Yang

For this card, I thought it would be fun to have the owls look different from each other. In addition to coloring them with different colors and giving them different costumes I decided to change the eyes as well. So for the two owls, I had to remove the eyes so that I can draw in my own. This is how I did it, I masked off the eyes by covering them with a small piece of washi tape before applying ink. After inking the image I carefully removed the washi tape and stamped it on smooth white cardstock. The washi tape prevented the ink from getting on the eyes so I was left with a blank space to draw in the eyes with a Copic liner. After, I stamped the other images and colored all of them with Copic markers and cut them out with coordinating dies. I assembled and adhered the costumes on the three owls as shown.

Sunny Studio Stamps: Happy Owl-o-ween Owl Trio Halloween Card by Amy Yang

To create the front panel, I inked it using Distress Oxides. I dried the panel with the heat gun and used the powder tool. I stamped the sentiment "Happy Owl-O-Ween" with Versamark Ink and applied white embossing powder and heat set it. After, I stamped the stars (I cut apart the three cluster of stars) using Versamark Ink and applied gold embossing powder and heat set it. I mounted the adorable owls to the front panel and adhered it to an A2 black cardstock panel. Lastly, I adhered the black panel to a white card base. 

Thank you for stopping by the blog!  Have a wonderful day!

Sunny Studio Supplies Used:

Happy Owl-o-ween Dies
Shop at:
Sunny Studio
Happy Owl-o-ween Stamps
Shop at:
Sunny Studio

Tuesday, September 5, 2017

Pretty Pumpkins & Autumn Greetings Gratitude Card with Nancy

Hi everyone, it's Nancy here. Welcome to Fall! I can't believe it's time for pumpkin spice everything and the season of gratitude. It's one of my favorite times of the year to create homemade goodness. Let's start by combining beautifully layered Pretty Pumpkins and warm Autumn Greetings from these seasonal stamp sets.

Sunny Studio Stamps: Pretty Pumpkins & Autumn Greetings Gratitude Card by Nancy Damiano

To create my card, I used Distress Ink in Spiced Marmalade to create a soft, ink blended background. Next, the pumpkin was stamped several times with pigment ink in several shades of orange, and die cut with the coordinating dies. The stem and leaves were stamped in a bright grass green for contrast. Last, the sentiment was centered and stamped with Versafine Ink in Black Onyx. A glitter enamel dot in the center of the leaf completes this simple, warm design. The bold plaid patterned paper used to frame the cards adds an easy punch of color and highlight both the theme and the creamy orange pumpkin in the center of it all!

Sunny Studio Stamps: Pretty Pumpkins & Autumn Greetings Gratitude Card by Nancy Damiano

Take a look at the Pretty Pumpkins stamp set for all of your warm Thanksgiving wishes. The layered stamps are fun and easy to use, plus they create the most beautifully shaded pumpkins. The Autumn Greetings stamp set is the perfect complement for this pumpkin patch!

Sunny Studio Supplies Used:

Autumn Greeting Stamps
Shop at:
Sunny Studio
Pretty Pumpkins Dies
Shop at:
Sunny Studio
Pretty Pumpkins Stamps
Shop at:
Sunny Studio

Monday, September 4, 2017

Cute As A Button Rainbow Stitched Card with Eloise

Hi everyone, Eloise here and today I have a card using the new Cute As A Button stamp set along with the Sew Word die and I'll also be doing some hand stitching also to give some more texture to my card.


Sunny Studio Stamps: Cute As A Button Rainbow Stitched Card by Eloise Blue

To begin my card today I went ahead and used a die from Mama Elephant to create the stitching detail and little holes in my background. This die comes together with all three designs - I didn't want to cut it apart and that's why I used all three together, but to just get the holes so you can stitch, if you don't have a die - just use a ruler and a pokey tool and just measure and poke at 1/4" and you'll get what you need. Once I ran this through my die cutting machine a few times at an angle, I could stitch it. I used seven colours of thread and back stitched through each line with a new colour. Once I stitched the background I moved onto my sentiment. 

Sunny Studio Stamps: Cute As A Button Rainbow Stitched Card by Eloise Blue

Originally I wanted to stitch through the sentiment, to make it look like it was stitched, but the die was too thin to do so. So I die cut the 'Sew' word, using the Sew Word die, from black felt and adhered a piece of string behind it so then that could fit in a little better. I also white heat embossed a 'sweet' sentiment from the Baby Bear stamp set onto a strip of black cardstock to complete my sentiment. 

For the needle I used a dark and light grey ink and stamped the layers over top of each other. I love this needle and the buttons from the Cute As A Button stamp set - it's super fun and cute to have the layered look. Once I die cut the needle using the coordinating die set, I poked a hole through the top of it and used a needle to thread through the black string, to make it look like it stitched the 'sew' word. I adhered everything down to my background and then added foam tape behind the background and onto a green card base and that completed my card. 

I hope you enjoyed and got inspired to add some hand stitching onto your cards. Thanks for stopping by and I'll catch you next week! 

Sunny Studio Supplies Used:

Baby Bear Stamps
Baby Bear Stamps
Shop at:
Sunny Studio
Cute As A Button Dies
Shop at:
Sunny Studio
Cute As A Button Stamps
Shop at:
Sunny Studio
Sew Word Die
Sew Word Die
Shop at:
Sunny Studio