Hi everyone! Eloise here and today I'm using the fun new Heartfelt Wishes stamp set to create a fun rainbow birthday shaker card.
To begin my card today I first stamped out 9 candles from the Heartfelt Wishes stamp set and coloured them all in with Copic Markers in rainbow order. Once I coloured in my candles 9 different colours, or shade of colours I die cut them out using the Heartfelt Wishes Candle die.
For my shaker portion of the card I cut down a piece of white cardstock and used the Sunny Semi Circles dies to cut out a semi circle from the centre top of my card. I then cut the bottom of it with a knife, to create a semi circle window. I then stamped the sentiment 'May All Your Birthday Wishes Come True' with black ink underneath the window.
I then flipped over my panel, added two layers of foam tape all around and filled the center with a bunch of different Sparkling Clear Sequins from Pretty Pink Posh. I adhered down my panel to a piece of green patterned paper and then onto a card base.
Once everything was adhered down, I added foam tape to the back of all my candles and arranged them on the bottom of my shaker window in rainbow order and that finished up my card.
I hope you enjoyed this simple birthday card today, I love adding rainbow elements onto my card with a repeating image, it's one of my favourite things to do! Thanks so much for stopping by today!
Sunny Studio Supplies Used:
Monday, May 1, 2017
Saturday, April 29, 2017
Sunny Saturday Share: More Customer Cards
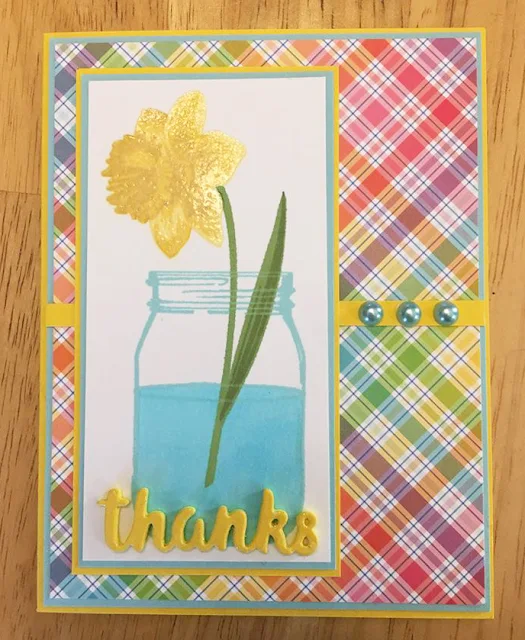
How are you? I'm so excited to be popping in today with a Sunny Saturday Share There have been so many amazing cards popping up on Instagram and Facebook that have made my jaw drop so I couldn't wait to share them with all of you!
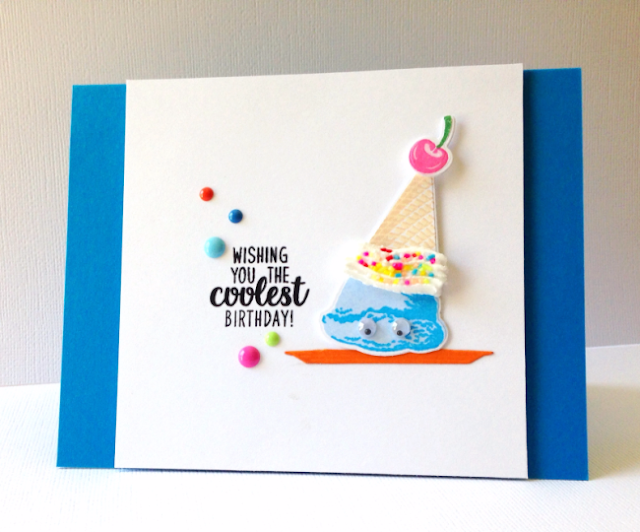
Two Scoops card by Blue Scallop Creations

Sunny Studio Supplies Used:


Two Scoops card by Blue Scallop Creations
Thank you for sharing all these fabulous ideas with us! I hope you will continue to share your gorgeous projects with us--It always makes my day to see them. You can tag us on instagram with the hashtag #sunnystudiostamps or share your projects with us in our flickr group or on our facebook page.

Sunny Studio Supplies Used:


Friday, April 28, 2017
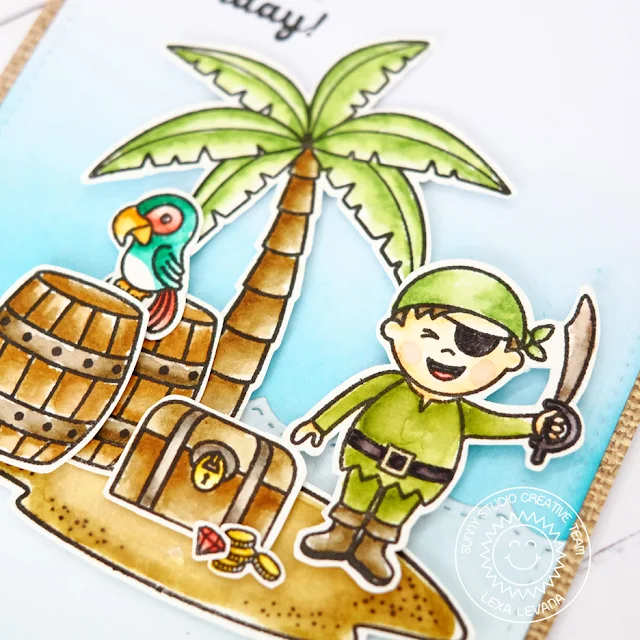
Pirate Pals Belated Pirate Birthday Card with Lexa
Hello everyone! Lexa
here with a card starring the brand new stamp set called Pirate
Pals and it's coordinating
dies. I'm really in love with this set, which is a perfect one for boy cards. All the elements are just perfect to create a scene. You also can pair it up with some other older stamp sets.
As for my card, I use
the island and a tree from Island Getaway to build up my scene where the little pirate finally
found his treasure. I colored this little boy to look like Peter Pan, and I think it
turned out pretty cute. And I must say that I love the brand new Stitched Scalloped Dies because you
can use it two ways. Both as a stitched scalloped border, or just like I did with
this card, a stitched wavy border. Cute!
I blended some Tumbled Glass and Peacock
Feather Distress inks for the background. All the images are stamped with black
Versafine ink and I watercolored them all with Distress Markers. Last but not least, I layered my card on a piece of burlap patterned paper, to match all the brown
in the center image.
I hope you enjoy
today's post. Thank you so much for stopping by today. Have a wonderful day!
Sunny Studio Supplies Used:
Thursday, April 27, 2017
Perfect Popsicles Summery Popsicle Card with Vanessa
Hi everybody! Vanessa here
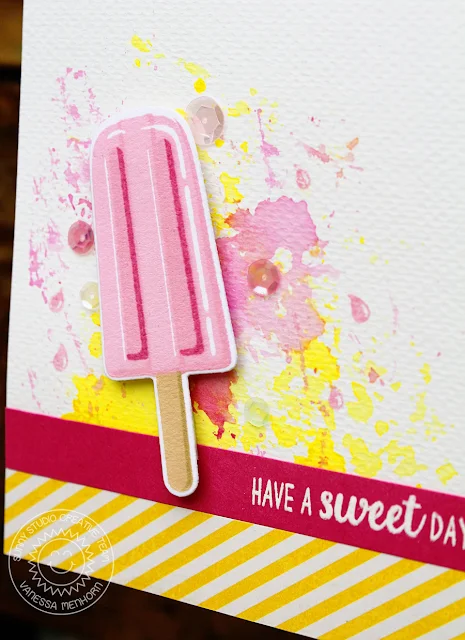
with a summery, fresh popsicle card combining the Perfect Popsicles stamps with a fizzy watercolor background.
I started with a card base
made from watercolor paper. Using the ink smooshing technique, I applied yellow
and pink watercolors onto the front of my card. After it was dried, I adhered a
strip of yellow striped patterned paper to the bottom. Then I stamped and
heat-embossed the sentiment onto a strip of pink cardstock and adhered it.
Now
I stamped the popsicle onto a piece of white cardstock, die-cut it with
the coordinating Perfect Popsicles dies and
adhered it with foam tape. I stamped the drops and finished the card off with
sequins.
Is it time for summer
and popsicles yet? Ha, I wish! We had a comeback of snow last week! Brrr. Wishing you a lot of
sunshine! Thanks for stopping by :)
Sunny Studio Supplies Used:
Wednesday, April 26, 2017
Magical Mermaid Suspended Shaker Card with Amy
Hello friends! Amy here to share with you a fun suspended shaker card
using the lovable Magical Mermaid stamp set.
I stamped the images,
colored them with Copic markers and cut them out using the coordinating Magical Mermaid dies. I then stamped and heat
embossed the sentiment "you Mermaid to be awesome" on heat resistant
acetate and adhered it to a frame. This served as the window for the shaker
card. I distressed the background with Distress inks and added splatters of
water on trimmed watercolor cardstock.
Here comes the fun part. I suspended the jellyfish so that they
don't turn upside down when the card is shaken but still move around in a
controlled motion. I did this by taping clear thread behind the adorable
jellyfish, and loosely sandwiching the thread on the top and the bottom of the
foam adhesive (shown below). After adding the fish and some clear sparkly
beads, I adhered the shaker window to distressed panel. I'm glad I went with
the clear beads because when the card is shaken it reminds me of bubbles and
currents in the ocean. I also had fun watching the jellyfish bobbing around.
To finish, I added the mermaid
(she's so sweet, I just love her) and the rest of the images to the front of
the card. The idea of the suspended stamped images was inspired by a video
Jennifer Mcguire shared on Instagram, to read more about it on her blog click here.
I hope you like today's card. Thank you for stopping by!
I hope you like today's card. Thank you for stopping by!
Sunny Studio Supplies Used:
Subscribe to:
Comments (Atom)


