Hello there! Today the team is showcasing ways to use the Rain or Shine stamp set and I have a fun Rainbow card that I created pairing sentiments from the complimentary Sunny Sentiments stamp set.
I colored my image in with Copic markers. I used a pale B0000 to color in shade the bottom of my clouds and then popped them up with foam tape to add some interest. I then added a little clear glossy accents over my hearts to give them some shine.
For my sentiment I gently bent the stamp on my block to have it follow the curve of my rainbow. Love how clear stamps can be shaped like this! :)
I hope I've managed to spread a little sunshine your way today. Make sure to check back to see all the darling ideas the team has up their sleeve this week! :)
Tuesday, January 12, 2016
Monday, January 11, 2016
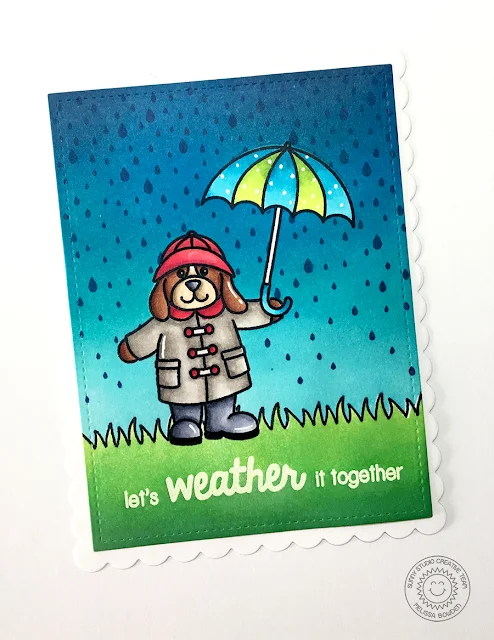
Rain or Shine Let's Weather It Together Card with Melissa
Hello everyone, Melissa here! I am super excited to share a card with you today featuring the newly released stamp set Rain or Shine! This set is so much fun!
Like a lot of my cards, this is one layer so required quite a bit of masking. I first stamped the dog holding his umbrella, then masked them off and stamped the grassy border from Sunny Sentiments. Once that was done I masked off the grass area with masking paper and inked up the sky using a variety of blue inks. I then used a darker blue to stamp the raindrops. I then removed the mask from the grass and stamped the sentiment on the bottom of the card and heat embossed it using white embossing powder.
To add the color to the grass I masked off the sky and inked it up using several green inks. Next I colored both the dog and his umbrella using distress inks. To finish the card I stuck the scene onto a scalloped card base.
I hope you enjoyed it! Thanks for stopping by!
Saturday, January 9, 2016
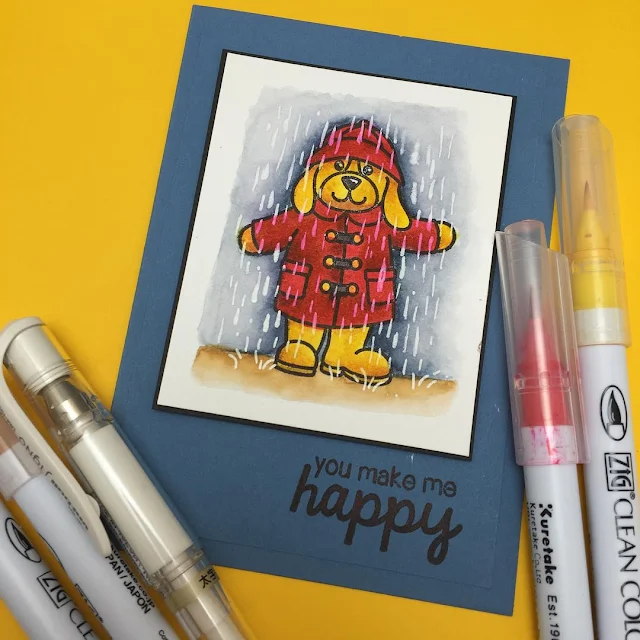
Sunny Saturday Share: Rain or Shine Card by Sandy Allnock
Today I'm very excited to be sharing a fun card by the amazing Sandy Allnock using our new Rain or Shine stamps! Isn't this fun?!
She shared her coloring process over on Periscope that she has now moved over to Katch for a limited time so you can catch the replay. Make sure to check it out HERE. She is always so much fun to watch!
In case you've somehow missed her, you will definitely also want to catch her over on her YouTube channel--I could sit and watch her color with all the different mediums she explores for hours!
Thanks for stopping by! I hope your Saturday is happy! :)
Friday, January 8, 2016
Sending My Love & Birthday Wishes Teddy Bear Card with Francine
Hi everyone! Francine here for my first post on the Sunny Studio Stamps blog! Yay!
Today, I’m featuring the newest Sending My Love stamp set and here is my project:
I decided to create a birthday card and I thought bright colors would be perfect for that. I first stamped the bear and I colored him with Copic markers. I then fussy cut and fixed him behind the label where I stamped the “Birthday Wishes” sentiment in black ink. This sentiment is from an older Sunny Studio set called Birthday Smiles.
For more interest and dimension, I decided to add eyelets and fix the label with hemp cord and foam pads to make the focal point pop against the bright patterned paper I used for the background. To finish off my card, I attached all layers together and added small hearts that you can find in the Sending My Love set.
I hope you like what you’ve seen! Thanks for stopping by and have a wonderful day!
Francine
Thursday, January 7, 2016
Sending My Love Valentine's Day Heart Gift Tags with Mendi
Hello there! I'm back today with a quick set of heart shaped gift tags using the middle sized heart from our Stitched Hearts dies.
To decorate each of the tags I stamped a little critter face from our Sending My Love stamp set and then personalized the tag with each of my family's names using our Sweet Script alphabet stamps.
To finish off each tag I punched a 1/8" hole in the top corner of each tag and then threaded a little sheer organza ribbon through the hole and tied it off with a twine bow.
I wanted to make the stitching stand out a bit more against the patterned paper so I used a white gel pen to trace the stitched lines on the heart.
I think these will be a great little extra to tie onto some gifts for my family for Valentine's Day this year! I hope I've inspired you to make some cute little tags of your own. ;)
Make sure to stop back by tomorrow. The amazing Francine will be sharing her debut post as part of our design team. :)
Subscribe to:
Comments (Atom)


