Hello and welcome! This is Mendi here today, popping in to share some fall scene cards featuring our Too Cute To Spook Stamps with dramatic inky backgrounds.
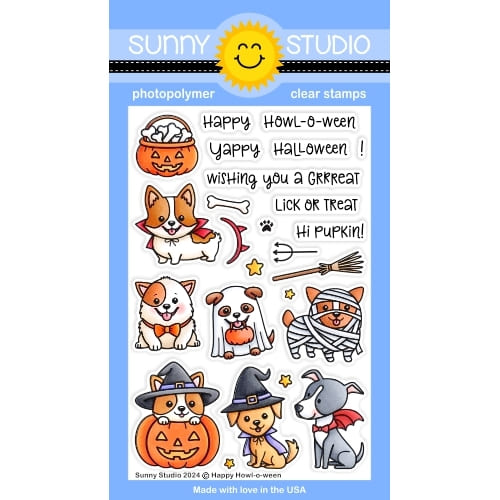
My first card pairs the kitty in the pumpkin from the Scaredy Cat Stamps with the haunted house, tree, bat, and "Happy Halloween!" greeting from the Too Cute To Spook Stamps. I inked my entire background using Picked Raspberry distress ink to create my dramatic background with the pink moon and purple sky. I then cut a circle mask using the Stitched Circle Large Dies to cover where I wanted my moon to go before inking around the mask with Wilted Violet distress ink. When I had the background adequately inked. I cut random holes in my mask with scissors to ink the craters in my moon, before inking again with a smaller brush using a darker layer of the Picked Raspberry. I then spritzed the entire piece with water.. When it was dry, I added white stars with my gel pen and stamped the spooky tree from the set four times around the haunted manor with VersaFine Onyx Black Ink. Lastly, I cut the stitched hillside from black cardstock using the Slimline Nature Border Dies, heat embossed my greeting in white, and added the cat to the foreground.For my second card showcasing the Too Cute To Spook Stamps, I paired three of the critters in costumes from the set, with the moon from the Scaredy Cat Stamps, the haunted house border and bats from the Fall Scenes Stamps, and the "Happy Halloween" sentiment from the Happy Howl-o-ween Stamps. For my moody cloud background, I started by inking up white cardstock with Salty Ocean Distress Ink and added in some clouds using masks I had cut out using the Fluffy Cloudy Border Dies with Prize Ribbon and then Chipped Sapphire ink along the outside edges. Finally, I layered in clouds cut using the Tulip Path Background Dies, which I colored with those same inks.
I should note that I originally stamped and cut out the haunted house border using the coordinating dies, but later decided to fussy cut them out, cutting off the trees and fence to make things easy on myself since the other images in the border were pretty straight and easy. However, I then stamped the images again directly onto my background with the nice dark and bold VersaFine Onyx Black Ink so that the trees and fence would be there to just layer my fussy cut image over the top of and have them all seamlessly line up. I could have tried to color around the die-cut images with Copics to match them to my background, like I have done for other cards, but this felt easier, and I think it added extra drama to my scene by not having any white edges.
That wraps up my projects for today. Thanks so much for hanging out with me. I hope I've inspired you to spread a little happiness by sending out a card to someone you love. 💛
Don't forget to check out our Scaredy Cat Stamps and Scaredy Cat Dies in our online shop, which are currently on sale!
Supplies Used:
 Too Cute To Spook Stamps Shop at: Sunny Studio |
 Too Cute To Spook Dies Shop at: Sunny Studio |
 Scaredy Cat Stamps Shop at: Sunny Studio |
 Scaredy Cat Dies Shop at: Sunny Studio |
 Fall Scenes Stamps Shop at: Sunny Studio |
 Fall Scenes Dies Shop at: Sunny Studio |
 Happy Howl-o-ween Stamps Shop at: Sunny Studio |
 Happy Howl-o-ween Dies Shop at: Sunny Studio |
 Fluffy Clouds Border Dies Shop at: Sunny Studio |
 Slimline Nature Borders Shop at: Sunny Studio |
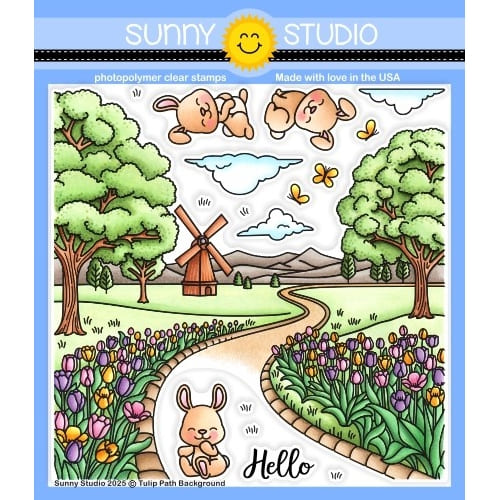
 Tulip Path Background Stamps Shop at: Sunny Studio |
 Tulip Path Background Dies Shop at: Sunny Studio |
 PinkFresh Studio Blending Brushes Shop at: Sunny Studio |
 Hero Arts White Detail Shop at: Sunny Studio |
 Versafine Onyx Black Ink Shop at: Sunny Studio |
 VersaMark Watermark Ink Shop at: Sunny Studio |


Super cute cards!
ReplyDelete