Monday, February 3, 2025

Majestic Meadow Card with Leanne

Hi there! Leanne here today. I'm sharing a colorful spring scene card. This scene came together nicely with some images from the new Majestic Meadow stamp set. This stamp set creates an entire scene which you can use as is or use the coordinating Majestic Meadow dies to cut out specific parts of the scene which what I have done. 

Sunny Studio Stamps: Majestic Meadow Spring Themed Card by Leanne West (featuring Bunnyville, Mini Grass Border DIes, Chloe Alphabet Dies)

I have used the tulips, the big tree, and the bird images from the set to create an A2 sized scene. First I ink blended a blue sky onto my card base. Next I Copic colored the images I wanted to use. I also used a bunny and butterfly images from the Bunnyville stamp set. I used the coordinating dies to cut out my colored images. 

Copic colors used: RV10, RV04, YR02, YR14, YG11, YG17, Y11, Y15, R00, R20, B21, B23, E41, E43, W01, W04, E51

Sunny Studio Stamps: Majestic Meadow Spring Themed Card by Leanne West (featuring Bunnyville, Mini Grass Border DIes, Chloe Alphabet Dies)

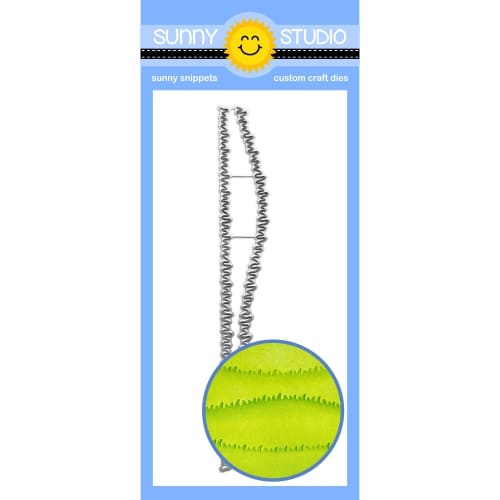
I added a die cut Mini Grass Border to the bottom edge of the card front. Then I tucked the tulips under the grass. I added the tree to the right corner and trimmed off the extra. Next I adhered the bunny, birds, and butterflies to the scene with thin foam squares. Lastly I added the greeting in the open sky space. I used the Chloe Alphabet dies for the "hello"

Sunny Studio Supplies Used: 

Chloe Alphabet Dies
Chloe Alphabet Dies
Shop at:
Sunny Studio
Bunnyville Stamps
Bunnyville Stamps
Shop at:
Sunny Studio
Bunnyville Dies
Bunnyville Dies
Shop at:
Sunny Studio
Little Birdie Stamps
Shop at:
Sunny Studio
Mini Grass Border Dies
Shop at:
Sunny Studio
Majestic Meadow Stamps
Shop at:
Sunny Studio
Majestic Meadow Dies
Shop at:
Sunny Studio

Sunday, February 2, 2025

Guest Designer Spotlight: Cards with Sara Zoppi

Hi crafty friends, Sara Zoppi here! Today I am thrilled to be here, guesting again for Sunny Studio Stamps! And today I have two inspiration to show you, featuring the recent released Cat Antics stamp and the Balloon Alphabet stampSo, let's dive into the first one!

Sunny Studio Stamps: Cat Antics & Balloon Alphabet Cards by Sara Zoppi

You all know I love coloring and creating, but you probably don't know I am a cat lover (I live with two furry friends, Mostri and Batman). So, when I got the preview of the release, I knew I would have created something with them. For my first card, I was inspired by my two cats, who always climb the shelves and furniture in my apartment. So, I tried to arrange as many as I could, and I stamped them on a piece of Neenah Solar White cardstock. I hand-drew all the shelves and books behind me: don't be afraid, it is much easier than it looks ... they are only horizontal and vertical lines. 

Sunny Studio Stamps: Cat Antics & Balloon Alphabet Cards by Sara Zoppi

I then colored everything with lighter shadows than I usually do with the Copics listed below:
• Orange cats: YR27 – E97 – YR12 – YR31
• White and black and striped black cats: W9 – W7 – W5 – W4 – W3 – W1
• Light brown cat: E35 – E55 – E31 – E30
• White and red cat: E18 – E17 – E08 – E81
• Bookshelves: E23 – E25 – E49 (back)
• Yellow combo: Y35 – Y32
• Red combo: R56 – E04
• Teal combo: BG75 – BG18 – BG57

Sunny Studio Stamps: Cat Antics & Balloon Alphabet Cards by Sara Zoppi
 
I then trimmed the scene to 3"x4,75", and I moved into the sentiment. I used the Balloon Alphabet stamp, but I was careful to stamp the letters without inking the small bottom part of the balloon, using coordinating desaturated red and yellow inks. In this way, the letters don't look like balloons. I also added a few shadows around the borders with darker Polychromos pencils, and I die-cut all of them with coordinating dies. I die-cut two white pieces to align behind in order to get some depth.

To complete the card, I white heat-embossed the phrase (which comes from the previously released Bold Ballons) on a piece of teal cardstock and I attached everything on an A2 white panel. As a finishing touch, I matted the whole panel with sparkling brown cardstock. And here's a finishing look!

Sunny Studio Stamps: Cat Antics & Balloon Alphabet Cards by Sara Zoppi

For my second inspiration, I went for a cleaner and simple look, using the same combo of stamps.

When designing CAS cards, which are a bit out of my comfort zone, the most challenging thing is choosing a color palette I like. I spent a lot time on it, but I really love how it looks now. I chose a pastel combo with peachy orange, light yellow, blue eggshell, and pink. I hand drew four rectangles of 1"x2,75", and I colored with Copics YR65 – YR31 – BG72 – RV52.

Sunny Studio Stamps: Cat Antics & Balloon Alphabet Cards by Sara Zoppi

I stamped four cats from the stamp set, and added a few touches of colors listed below, and then die cut with coordinating dies:
• First and third cat: YR27 – E97 – E40 – RV14 – R20 – W9
• Second and fourth cat: E18 – E17 – E40 – RV14 – R20 – W9

I then stamped the four letters with coordinated ink pads I have in my stash and I added a few shadows with Polychromos as I did in my first card.

I arranged the letters and the cats on my A2 panel, I stamped the black sentiment below and then I hand drew the balloon strings and some white and black dots.

Sunny Studio Stamps: Cat Antics & Balloon Alphabet Cards by Sara Zoppi

To complete the card, I used some Glossy Accent on balloons and I trimmed the panel to 3,75"x5,5", in order to matt the scene with a black and white patterned paper. And here's the finished look!

Thanks for stopping by! I really hope you will like my projects and you will be inspired to create something!

Sunny Studio Supplies Used:

Bold Balloons Stamps
Shop at:
Sunny Studio
Balloon Alphabet Stamps
Shop at:
Sunny Studio
Balloon Alphabet Dies
Shop at:
Sunny Studio
Cat Antics Stamps
Cat Antics Stamps
Shop at:
Sunny Studio
Cat Antics Dies
Cat Antics Dies
Shop at:
Sunny Studio

Saturday, February 1, 2025

Rounded Rectangle Mat Die Focused Card with Hanh

Hello Crafty Friends! This is Hanh on the Sunny Studio Stamps blog today. I am super excited to share a birthday card featuring the new Rounded Rectangle Mat Dies and Party Pets Stamps sets from the Spring Release.

Sunny Studio Stamps: Rounded Rectangle Mat Die Focused Party Pets Birthday Card by Hanh Nguyen

I stamped the images from the new Party Pets Stamps set onto a piece of Neenah Solar White 110 lb cardstock with Memento Tuxedo Black ink and used the coordinating Party Pets Dies to die cut them out. I colored them with Copic markers and accented with a white gel pen.

COPIC COLORS:
Cats: Y21 YR21/24/27, R00/20
Cake: E51/53/55, RV52
Present: RV52/55, RV52/55/06/17
Balloons/Hats/Cherries: RV52/55/06/17
Shadow: T0/1

Sunny Studio Stamps: Rounded Rectangle Mat Die Focused Party Pets Birthday Card by Hanh Nguyen

For the background, I used Kitsch Flamingo Distress Oxide ink to ink blend the upper half of a piece of white cardstock. The second largest die from the Rounded Rectangle Mat Dies was used to trim the inked panel. I used the largest die from this same set to die cut a piece of patterned paper from the Polka Dot Parade 6x6 Paper to mat my inked panel. 

For the sentiment, I stamped one of the sentiments from the Party Pets Stamps set directly onto the inked panel with Versafine Onyx Black ink. A white gel pen was used to add highlights.

I adhered a piece of craft foam to the backside of the inked panel before adhering the two panels together. I adhered the colored images onto the panel with foam tape for a bit of dimension and interest. 

Sunny Studio Stamps: Rounded Rectangle Mat Die Focused Party Pets Birthday Card by Hanh Nguyen

For my card base, I took a piece of sturdy white cardstock (4.25" x 11"), scored it at the midline (5.5" mark) and folded it in half. I placed the largest die from the Rounded Rectangle Mat Dies just slightly above the fold line (hinge of the card base) and die cut the cardstock. This created a white card base just slightly shorter than my patterned paper panel. The decorated panel was adhered to the shaped white card base which fit perfectly into an A2 sized envelope. I finished the card with a few crystal clear confetti sequins.

I appreciate you taking the time to stop by and visit today. I hope you liked my card. For more info, ideas and to check out the entire new Spring Release, be sure to visit the Sunny Studio Stamps Shop. Please also visit my INSTAGRAM feed for more inspirations.

Have a wonderful and crafty day!

Sunny Studio Supplies Used:

Polka-dot Parade 6x6 Paper
Shop at:
Sunny Studio
Party Pets Stamps
Party Pets Stamps
Shop at:
Sunny Studio
Party Pets Dies
Party Pets Dies
Shop at:
Sunny Studio
Rounded Rectangle Mat Dies
Shop at:
Sunny Studio

Friday, January 31, 2025

Background Basics 2 Card with Nicky

Hello! This is Nicky with you today on the Sunny Studios blog and I have a sweet little Valentine's card to share with you, featuring Background Basics 2so please read on for all the details and relevant links.

Sunny Studio Stamps: Background Basics 2 Valentine's Day Card by Nicky Meeks (featuring Foxy Friends, Brilliant Banner 4 Dies, Stitched Rectangle Dies, Rounded Rectangle Mat Dies)

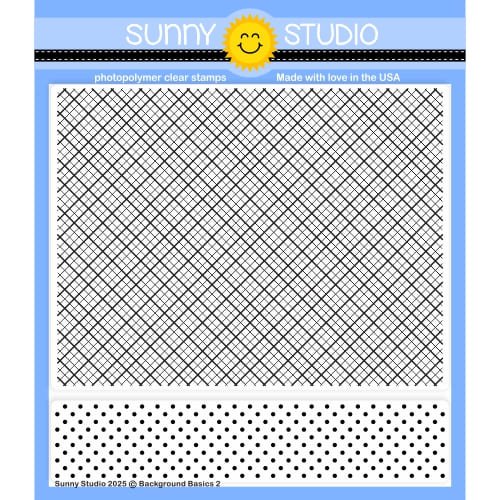
I took an A2 panel of white cardstock and used the Background Basics 2 stamp to stamp the design with a minty coloured ink. I die cut the panel using the Stitched Rectangle Die then glued it to a slightly larger panel of minty coloured cardstock  and then cut an opening through both layers using the Rounded Rectangle Mat Die. I backed the patterned frame with dimensional foam tape and applied it to a white panel of cardstock where I had ink blended the sky and used Copic markers in various shades of green to light blue to make some tufted grass to ground my characters. I applied this to an A2 white card base and set it to one side.

Sunny Studio Stamps: Background Basics 2 Valentine's Day Card by Nicky Meeks (featuring Foxy Friends, Brilliant Banner 4 Dies, Stitched Rectangle Dies, Rounded Rectangle Mat Dies)

I stamped the Foxy Friends images and coloured them with the following Copic markers:
Foxes - E99, E13, E11, C3, C1, C0
Blush Pink (Cheeks and Umbrella) - R22, R21, R20, R00
White - C3, C1, C0

Images were die cut with the coordinating dies and applied to the background with foam tape and I included 3 little die cut hearts from the coordinating die.

Sunny Studio Stamps: Background Basics 2 Valentine's Day Card by Nicky Meeks (featuring Foxy Friends, Brilliant Banner 4 Dies, Stitched Rectangle Dies, Rounded Rectangle Mat Dies)

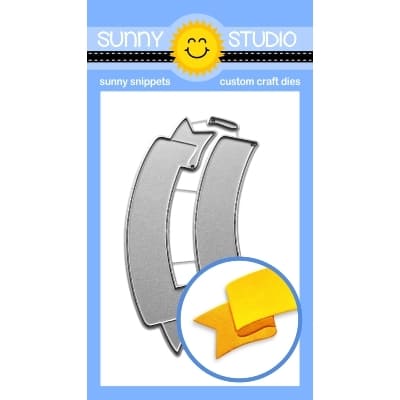
To complete my card I made a polka dot design on the umbrella and highlighted other points and I also die cut the Brilliant Banner 4 Die from white cardstock, I shaded the different parts with some ink blending and glued them together and then I stamped the sentiment in black ink.

Card complete! Have some fun crafting your own Valentine cards and I'll see you back here next Friday with something new.

Sunny Studio Supplies Used:
 

Stitched Rectangle Dies
Shop at:
Sunny Studio
Brilliant Banner 4 Dies
Shop at:
Sunny Studio
Background Basics 2 Stamps
Shop at:
Sunny Studio
Foxy Friends Stamps
Foxy Friends Stamps
Shop at:
Sunny Studio
Foxy Friends Dies
Foxy Friends Dies
Shop at:
Sunny Studio
Rounded Rectangle Mat Dies
Shop at:
Sunny Studio

Thursday, January 30, 2025

Party Pets Card with Marine

Hello crafty friends, Marine here, I'm so happy to be back on the blog with this extra colorful birthday card showcasing the adorable kitties from Party Pets. I wanted to feature all the cats from the set so I went for a slimline card, but there are also three super cute dogs in that set and I really look forward to having them on a future project!

Sunny Studio Stamps: Party Pets Birthday Card by Marine Simon (featuring Staggered Circle Dies, Ribbon & Lace Border Dies)

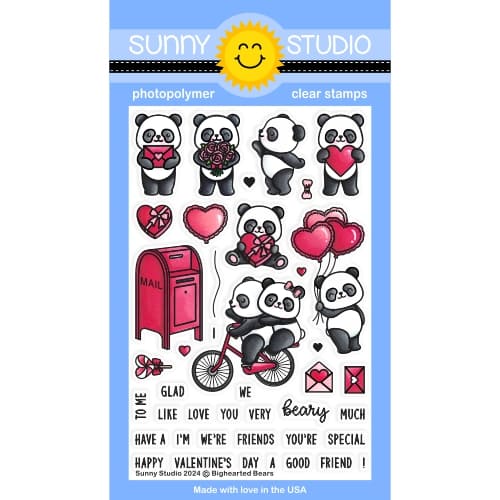
I started off by stamping my images on 110lb Neenah solar white cardstock using an alcohol marker friendly black ink, I cut them all using the coordinating dies, and colored everything using my Ohuhu markers in colors that match with the striped background. Here is a detailed list of the stamp sets I used: • Party Pets - cats, balloons, presents, party hats, party blower, small sentiment • Bighearted Bears - banners.

Sunny Studio Stamps: Party Pets Birthday Card by Marine Simon (featuring Staggered Circle Dies, Ribbon & Lace Border Dies)

Next I created the background, and I wanted it to be very colorful and festive, so I picked this fun orange + yellow + green + light blue + blue color palette, and cut multiple strips out of colored cardstock using a Ribbon & Lace Border die. Next I cut an 8-1/8 x 3-1/4 inches white panel, covered it with double sided tape, and attached the colored strips. I mixed copic opaque white ink with water and used a slim brush to add splatters to my panel, and then did the same with black ink. And once my panel was dry, I attached it to an 8,5 x 3,5 inches white card base at an angle to add some extra fun to my card.

Sunny Studio Stamps: Party Pets Birthday Card by Marine Simon (featuring Staggered Circle Dies, Ribbon & Lace Border Dies)

To ground each little kitty, I cut five polka dot circles of different sizes out of Dots & Stripes Jewel Tones + Polka Dot Parade pattern papers using the Staggered Circles die, stuck them all on my striped background using 1mm foam squares, and then attached the images using 1mm and 2mm foam squares. I white heat embossed "Happy Birthday" from Party Pets on black cardstock, cut it using the matching die and attached it to the panel using 2mm foam squares. I also white heat embossed "The party stars meow" from Birthday Cat at the bottom of my panel, and finished my card with highlights and details on the images using a white gel pen.

And that's it! I really love how cute and fun this card turned out, and I bet it would look great with a different color palette, maybe a purple + aqua + pink combo for a magical themed card, or a red + pink + white combo for Valentine! So many possibilities here! Thanks so much for stopping by, and see you next week!

Sunny Studio Supplies Used:

Polka-dot Parade 6x6 Paper
Shop at:
Sunny Studio
Dots & Stripes Jewel Tones 6x6 Paper
Shop at:
Sunny Studio
Staggered Circles Die
Shop at:
Sunny Studio
Ribbon & Lace Dies
Ribbon & Lace Dies
Shop at:
Sunny Studio
Birthday Cat Stamps
Birthday Cat Stamps
Shop at:
Sunny Studio
Bighearted Bears Stamps
Shop at:
Sunny Studio
Bighearted Bears Dies
Shop at:
Sunny Studio
Party Pets Stamps
Party Pets Stamps
Shop at:
Sunny Studio
Party Pets Dies
Party Pets Dies
Shop at:
Sunny Studio

Wednesday, January 29, 2025

Window Trio Heart Die Focused Card with Tina

Hi crafty friends, Tina here with an adorable Valentine themed card! I am using the versatile Window Trio Hearts Portrait die and I love how easy it creates a fun design!

Sunny Studio Stamps: Window Trio Heart Die Focused Valentine's Day Card by Tina Henkens (featuring Bursting Heart Dies, Bighearted Bears, Background Basics 2, Fancy Frame Dies)

As usual, I started with a white card base and went on to stamp a pink grid pattern on a white panel (Background Basics 2). From this panel I created three heart shapes using the Window Trio Hearts Portrait die. To match these hearts I selected a pretty pink heart paper (Flirty Flowers), cut it to an A2 size and off set the Window Trio Hearts Portrait die to the left side. I kept the three pattern paper hearts for another project and mounted the panel to the card base.

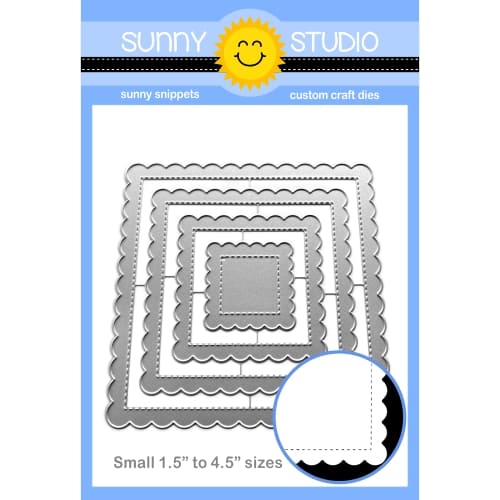
Next, I simply inlayed the pink grid hearts with some liquid glue. For extra interest, I also added a white scalloped border (Fancy Frames Rectangle Dies).

After selecting three adorable cuties from Bighearted Bears, I colored them with grey, pink and teal copics. The perfect combination for a love themed card! Each bear was placed inside a heart shape with foam tape.

Sunny Studio Stamps: Window Trio Heart Die Focused Valentine's Day Card by Tina Henkens (featuring Bursting Heart Dies, Bighearted Bears, Background Basics 2, Fancy Frame Dies)

My combined sentiment was taken from the same set and stamped onto small white strips with Versafine Onyx Black ink. I stacked the strips on top of each other in the bottom right corner.

Then I pulled one of my favorite dies, Bursting Hearts, and created a bunch of white hearts in one pass of my die cut machine! I love alle the different sizes you get as well! I scattered the cute hearts all over the design.

I can’t wait to see your projects with these products! Thank you for visiting the blog and happy crafting!

Sunny Studio Supplies Used:

Fancy Frames- Rectangles
Shop at:
Sunny Studio
Flirty Flowers 6x6 Paper
Shop at:
Sunny Studio
Bursting Heart Die
Bursting Heart Die
Shop at:
Sunny Studio
Bighearted Bears Stamps
Shop at:
Sunny Studio
Bighearted Bears Dies
Shop at:
Sunny Studio
Background Basics 2 Stamps
Shop at:
Sunny Studio
Window Trio Heart Portrait
Shop at:
Sunny Studio