Today I'm super excited to be sharing one of my favorite sets from the release called Sending My Love! For my first card I created my background using the heart border die from the Sunny Borders stamp set (being featured tomorrow). I then stamped my little scene with the images from the set.
These little critters are pretty easy to line up with the interchangeable heads and hands for single layer cards, but you can also stamp them separately, cut them out with the coordinating dies and pop up the pieces for some added dimension. I think adding a wobbler to the head could be really fun!
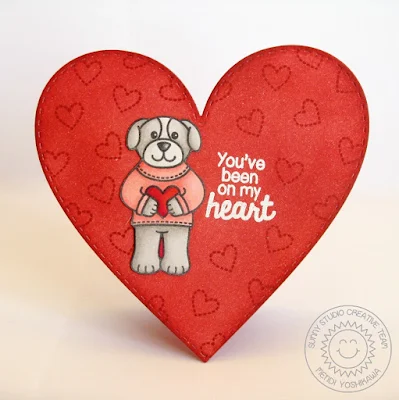
My next card uses the largest heart from the Stitched Heart dies to create a shaped card base. This heart measures 4.5" wide by 4.25" high making it a perfect fit for an A2 sized envelope. You can also use the negative space for a fun window on a larger sized card or home decor project. :)
To create this card base I inked up my white die-cut heart with Fired Brick Distress ink and then stamped my background with a small heart from the stamp set with the same Fired Brick ink. I made sure to zap it with my heat gun to make sure it was really dry and then embossed my sentiment with some white embossing powder.
Stumped on how to get your shaped cards to sit upright? I snipped off the tip of the heart in back to give it a flat surface to rest on. ;)
My next card uses the middle-sized negative heart from the Stitched Heart Dies for my shaker window. I inked up a piece of white cardstock for the inside with Barn Door Distress ink and then once again heat embossed my sentiment in white. I adhered a couple sequins to the inked background so they wouldn't all look like they have fallen to the bottom and then adhered it to the back of my card front panel with a piece of craft foam which I had diecut with that same heart. To make it so that none of the foam could be seen from the front of my card, I used the stitch line on the foam to trim down my heart with my scissors a tiny bit before sandwiching the layers together.
My images were stamped on white cardstock, colored with Copic Markers and fussy cut out. For my mailbox, I trimmed off the grass and stamped the image again onto my card front so I could layer them together so the grass would look seamless. ;)
I wanted to create a card to show how this set isn't limited to just Valentine's Day. In fact I have created for quite a few other occasions as well (some I won't be able to share until next week). For this card I used the puppy and kitty images paired with the cupcake and gift to make a Birthday card. I think they would be super cute colored for Christmas paired with the thank you sentiment to make holiday thank you cards too! :)
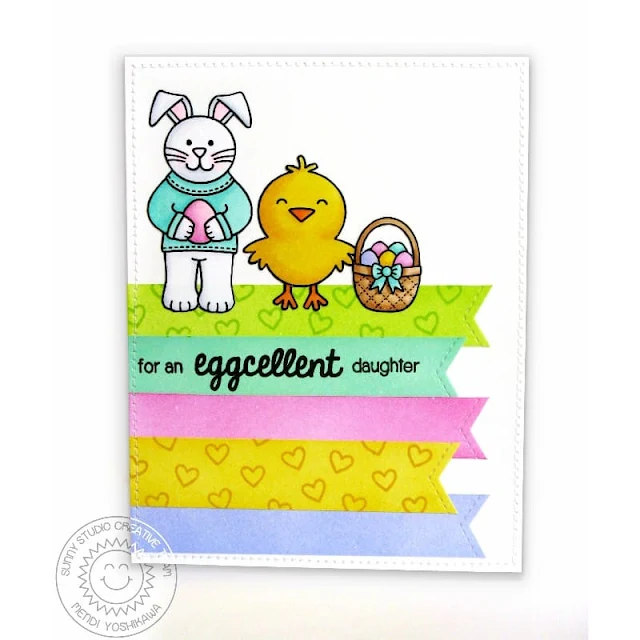
My last card was shared yesterday, but I just wanted to include it again with this post to show how the bunny works great for Easter too! :)
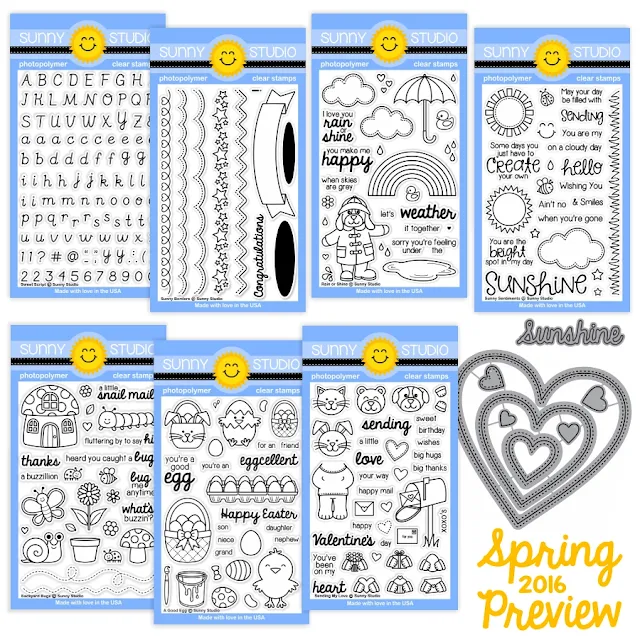
Here's a full look at the Sending My Love stamp set, Sending My Love dies and Stitched Heart Dies:
Well, that's all I have for today. Just a reminder that the new release will be available for purchase tomorrow morning by 8:00 EST. I'll also be back tomorrow morning at that same time with one last post featuring our Sunny Borders and Sweet Script stamps. Hope you have a safe & happy New Year's Eve! :)


