I tapped a few
shimmer colors onto my work space, and used water and a #2 round watercolor
brush to darken up the leaves. I picked words from the stamp set to make a
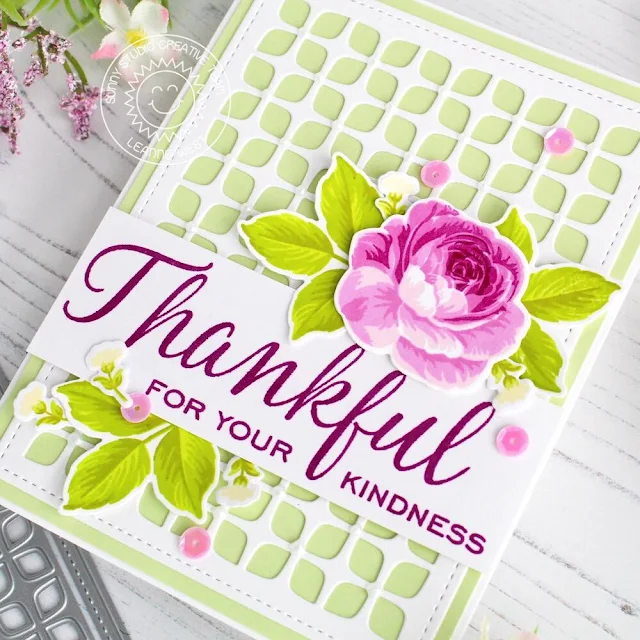
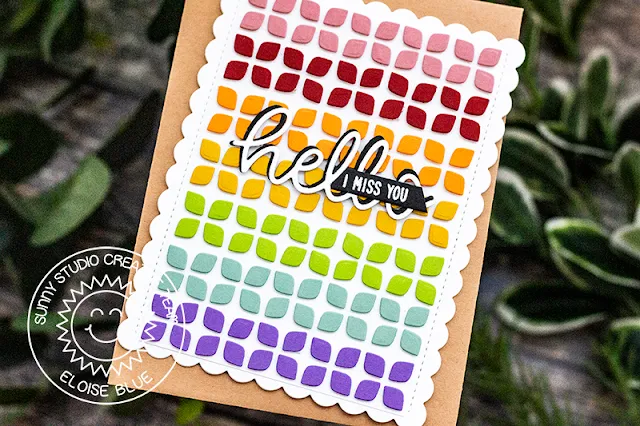
sentiment, then stamped and gold heat embossed them. I used the Frilly Frames Retro Petals Die to
trim and add a stitched border to the sentiment strip. I used a beautiful plum
card stock to back the sentiment and background with, then attached the panel
to a card base.
I hope I have
helped give new ideas for on a different way to use this stamp set. Thanks for
stopping by!
--------------------------------------------------
Hello crafty friends! It's Juliana with you today to share a fall themed card using the Elegant Leaves Stamps combined with watercolor markers! I'm not a watercolor specialist, so I find using this kind of marker to be a great way to give you the beautiful look of watercolor but with the ease of markers and a water brush.
To get started, I trimmed a piece of watercolor paper to 4 x
5.25 inches and wiped it down with a powder tool. I then randomly stamped the
leaves onto the paper using a tinted embossing ink so I could see the images
while I was stamping. I then sprinkled the images with gold embossing powder
and heat set it using a heat gun. I recommend working in small sections and to
play around with the placement of the stamps so that you can get a nice
pattern. While I was working on the leaf pattern, I also determined the
placement of the title and stamped and embossed it using the same technique.
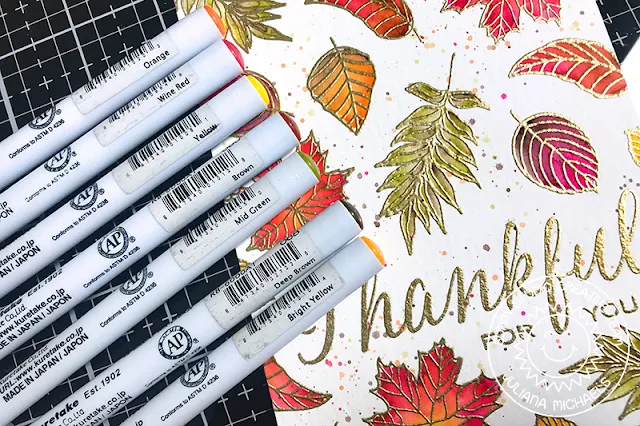
Once all of the embossing, was complete, I grabbed a mix of
Zig Clean Color Real Brush Markers in the following colors and a water brush -
Orange, Wine Red, Yellow, Bright Yellow, Mid Green, Brown and Deep Brown. I
love how the embossed edges helps hold the ink and water in the place where you
want it. To color in each of the leaves, I selected a couple of colors and
added just a touch of color to the section of the leaf where I wanted that
color. I don't color in the entire area with color. Instead, I draw a small line or dash to get some color
onto the paper and then use the water brush to blend the colors. As I'm
blending and coloring in each image with the water brush, I dab off excess
color and water onto a paper towel.
After I finished the water coloring, I then scribbled the
different colors onto my craft mat and added a bit of water to them. I then
used a thin small paint brush to splatter color onto the paper. Then, to finish
the card, I layered it onto a piece of green paper from the Gingham
Jewel Tones 6x6 Paper Pad.
Thanks so much for stopping by today! I hope you enjoyed
learning how I created this fall themed card featuring the Elegant
Leaves Stamps and watercolor markers.
Sunny Studio Supplies Used:
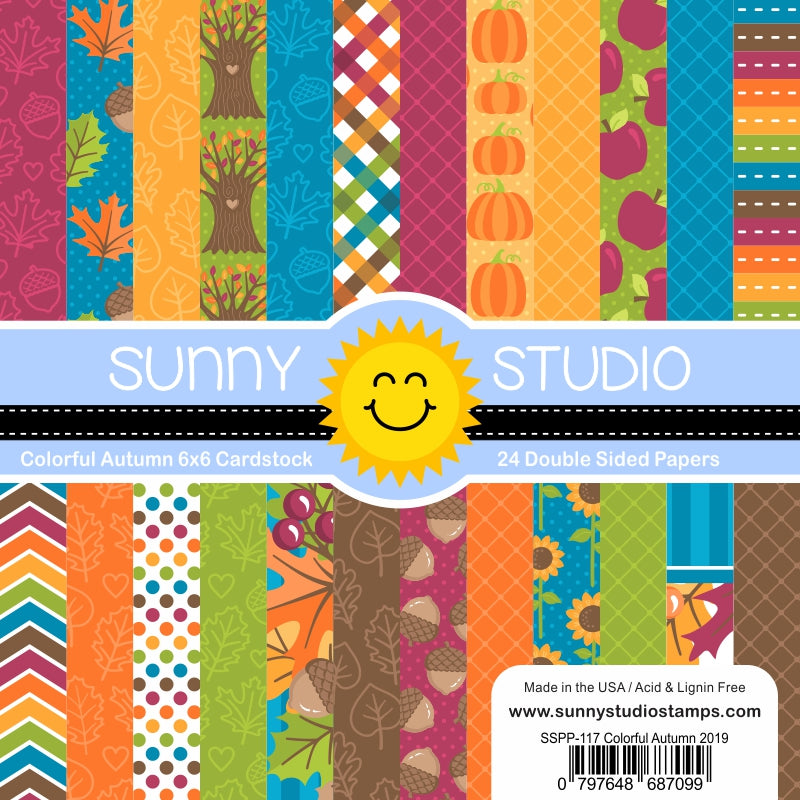 Colorful Autumn 6x6 Paper Shop at: Sunny Studio |
 Elegant Leaves Stamps Shop at: Sunny Studio |
 Frilly Frames Retro Petals Dies Shop at: Sunny Studio |


