Hello and welcome to the final day of our Holiday Sneak Peek Week! Each morning this week I have been showcasing projects using our newest fall & winter collections which are now available in our store!!!
Today I have the pleasure of celebrating our company's 9th birthday with all of you and our talented designers who are joining us for an inspirational blog hop with prizes at every stop and a special sale (more details below). Each milestone feels like such an accomplishment and I couldn't have made it this far without your sweet support. Thank you so much. ❤
Card No. 1: My first card features the Merry Mocha Stamps, I used the cute script greeting from the set with the coordinating dies. I paired the drink with an extra candy cane and gingerbread man from our Baking Spirits Bright Stamps and mounted them onto a scalloped mat cut using our Mini Mat & Tag 2 Dies. I layered a slightly smaller piece of green cardstock beneath to peek out behind the eyelet lace scallops and then mounted them onto a red and white snowflake print from our Joyful Holiday Paper pack.
Card No. 2: For this Merry Mocha card, I started by cutting out my red striped, scalloped mat by combining the inside portion of our Frilly Frames Stripes Dies with the outside portion of our Frilly Frames Hexagon Dies. I then backed it with white cardstock and mounted it onto an A2-sized kraft cardstock panel. I then cut a Large Stitched Circle and mini gift tag from our Sweet Treats Gift Bag Dies, inking them both along the edges using Tea Dye Distress ink.
To create my grouping of three unique hot drinks, I paired the Merry Mocha mug with the cups and sugar cookie from our Mug Hugs Stamps. I then heat embossed the "warm wishes" greeting from our Alpaca Holiday Stamps, tying the tag with red baker's twine to slip around one of my mug handles and securing it on the back before adhering the mug to my card with foam tape.
Card No. 3: Up next is a card set featuring the same card design with the Merry Mocha Stamps in two different color palettes. For both cards, I started by adhering a small pale grey striped patterned paper to my background using a print from our Subtle Grey Tones Paper pack.
Card No. 4: Switching gears I have a few cards to share using our new Toasty Hugs Stamps featuring a new girl and boy bundled up for winter. I paired them with the new snowman from our Snowmen in Sweaters Stamps and the snowy neighborhood background from our Winter Scenes Stamps. For my sky, I blended a light amount of Seedless Preserves, Picked Raspberry, and Worn Lipstick distress inks before heat embossing the falling snow using our Frosty Flurries Stamps. For the stitched snowdrifts and banner to match the curve of my scene, I used our Slimline Nature Border Dies with our Fishtail Banner Dies.
Card No. 5: I had the idea that it would be cute to arrange the kids from our new Toasty Hugs Stamps with the kids from our retiring Eskimo Kisses Stamps to make them look like they are sort of holding hands around a world globe. To achieve this, I cut out my land mass using this Silhouette cut file HERE and then added the curved outside edge using our Slimline Nature Border Dies. For my miniature clouds, I used the two cloud dies that come with our Comic Strip Everyday Dies. I completed my card by heat embossing the greeting from our Holiday Express Stamps onto a red banner die-cut using our Brilliant Banner 2 Dies.
Please note: The new Toasty Hugs stamps and Eskimo Kisses stamps use the exact same dies so if you already have the dies for Eskimo Kisses, you can pick up the new Toasty Hugs stamps and use the same dies for both. Likewise, if you like this set and would like to pick up the Eskimo Kisses Stamps to add to your stash at the same time, those are still available at a discounted price in our store HERE while supplies last.

Card No. 6: For my last card of the day using the new Toasty Hugs Stamps I colored my boy and girl pair all in red and white to look like Santa suits. I framed them with our Stitched Heart Dies and Scalloped Heart Dies. Before die-cutting my stitched heart though, I embossed the background using our new Buffalo Plaid Diagonal Dies and then inked the gingham print using our new Diagonal & Straight Stripes Stencils. Since I hated for any part of my background to go to waste, I positioned it so that I could save the outside to use for another card which I shared on Tuesday.
To create a tone-on-tone background to match, I inked up another cardstock panel with worn lipstick distress ink and stamped it with the polka-dot print from our Background Basics Stamps using Candied Apple distress ink (with a Misti tool so I could repeatedly stamp it until the dots were solid). I then die-cut it into a square using our Stitched Square Dies and mounted them onto a Scalloped Square 1 Small Die to form my card base. Lastly, I heat embossed the sentiment from the set using white detail embossing powder onto our Brilliant Banner 2 Dies which had been cut from red cardstock to match.
In honor of our 9th birthday festivities, we are celebrating with an inspiring BLOG HOP which also includes a $25 gift code giveaway to our store at every stop on the hop! Visit each link to see more amazing ideas by our team & guest designers. Leave a comment at each stop to be entered to win each drawing.
a Rafflecopter giveawaySunny Studio Blog (you are here)
Leanne West
Marine Simon
Nicky Meek
Hanh Nguyen
Amanda Fitterer
Teri Anderson
Tina Henkens
Your next stop in the hop is Leanne's blog HERE.
Sneak Peek Day 1: Autumn Garland, Buffalo Plaid Dies, & Striped Stencils
Sneak Peek Day 2: Happy Howl-o-ween and Brilliant Banner 3 & 4 Dies
Sneak Peek Day 3: Crisp Apple, Wood Barrel, & Punny Apple Greetings
Sneak Peek Day 4: Distinctive Door, Holiday Add-on, & Inside Greetings Seasons
Sneak Peek Day 5: Roly Poly Penguins & Snowmen in Sweaters Stamps
For those of you who might want to bookmark the video to watch later, I've also created a special video sharing the full Fall and Holiday Release, as well as a closer look at each of the projects I made with it (you can watch it on our YouTube Channel HERE).
Here's a closer look at our new Basic Mini Shape 5 Dies, Merry Mocha Stamps & Dies, and Toasty Hugs Stamps & Dies used today:
Other Supplies Used:
 Heartfelt Wishes Stamps Shop at: Sunny Studio |
 Mug Hugs Dies Shop at: Sunny Studio |
 Mug Hugs Stamps Shop at: Sunny Studio |
 Wishes Word Die Shop at: Sunny Studio |
|
 Holiday Express Stamps Shop at: Sunny Studio |
 Tsukineko Jumbo Dauber Shop at: Sunny Studio |
 Versafine Onyx Black Ink Shop at: Sunny Studio |
 Frosty Flurries Stamps Shop at: Sunny Studio | |
 Background Basics Stamps Shop at: Sunny Studio |
 Classic Gingham 6x6 Paper Shop at: Sunny Studio |
 Comic Strip Everyday Dies Shop at: Sunny Studio |
 Alpaca Holiday Stamps Shop at: Sunny Studio | |
 Gingham Pastels 6x6 Paper Shop at: Sunny Studio |
 Frilly Frames Stripes Die Shop at: Sunny Studio |
 Frilly Frames Hexagon Dies Shop at: Sunny Studio |
 Subtle Grey Tones Paper Shop at: Sunny Studio | |
 Scalloped Tags-Square Shop at: Sunny Studio |
 Sweet Treats Gift Bag Shop at: Sunny Studio |
 Slimline Nature Borders Shop at: Sunny Studio |
 Winter Scenes Stamps Shop at: Sunny Studio | |
 Winter Scenes Dies Shop at: Sunny Studio |
 Stitched Circle Small Dies Shop at: Sunny Studio |
 Stitched Circle Large Dies Shop at: Sunny Studio |
 Winter Greenery DIes Shop at: Sunny Studio | |
 Scalloped Heart Dies Shop at: Sunny Studio |
 Stitched Heart 2 Dies Shop at: Sunny Studio |
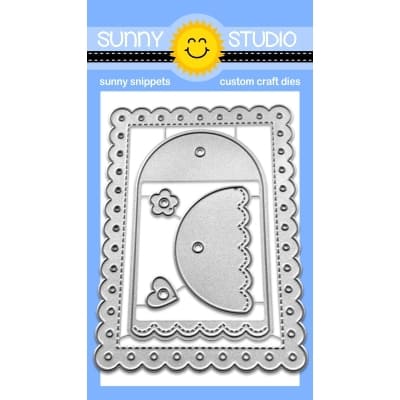 Mini Mat & Tag 2 Dies Shop at: Sunny Studio |
 Joyful Holiday Paper Shop at: Sunny Studio | |
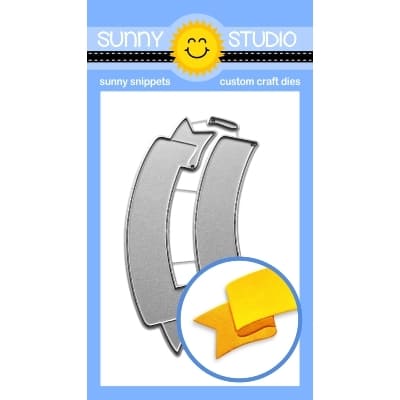 Brilliant Banner 2 Dies Shop at: Sunny Studio |
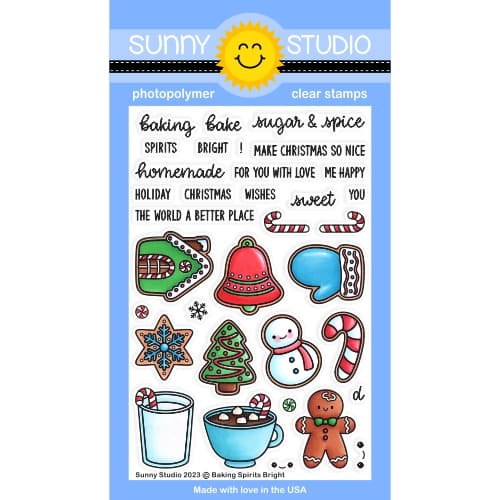 Baking Spirits Bright Stamps Shop at: Sunny Studio |
 Baking Spirits Bright Dies Shop at: Sunny Studio |
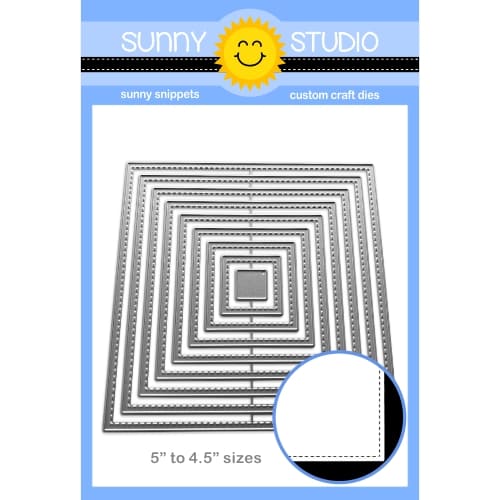 Stitched Square Dies Shop at: Sunny Studio | |
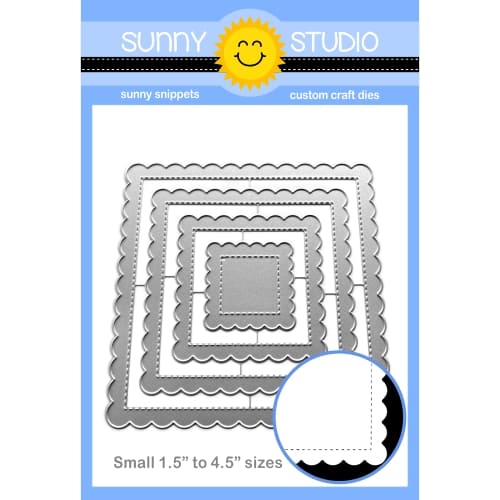 Scalloped Square 1 Small Die Shop at: Sunny Studio |
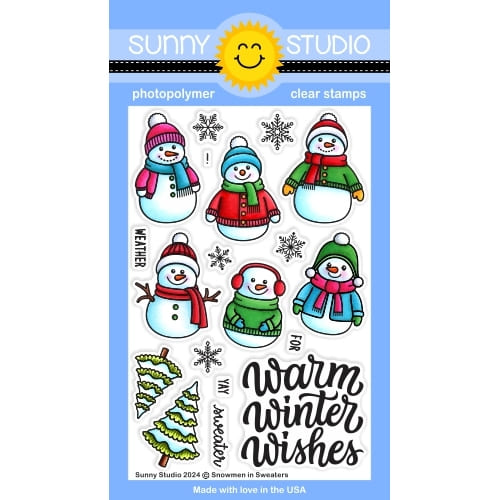 Snowmen in Sweaters Stamps Shop at: Sunny Studio |
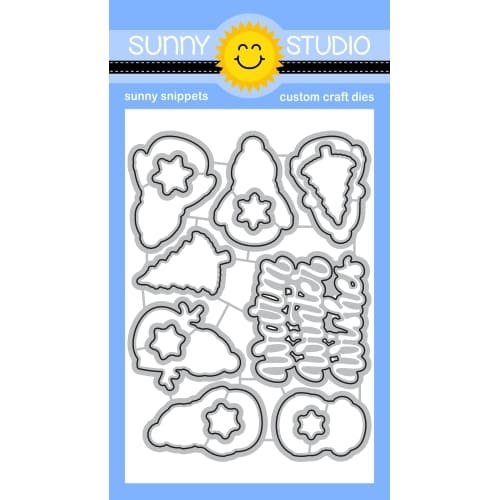 Snowmen in Sweaters Dies Shop at: Sunny Studio |
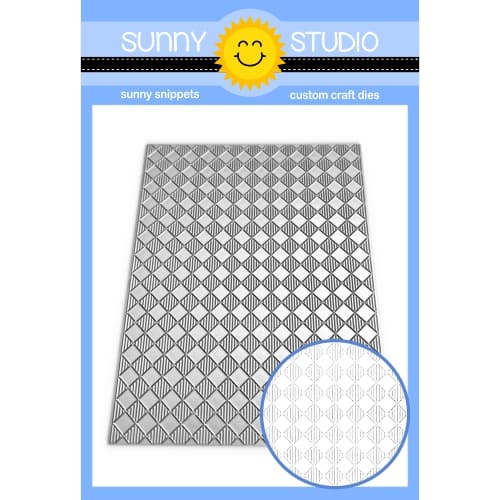 Buffalo Plaid Diagonal Die Shop at: Sunny Studio | |
 Bear Hugs Stamps Shop at: Sunny Studio |
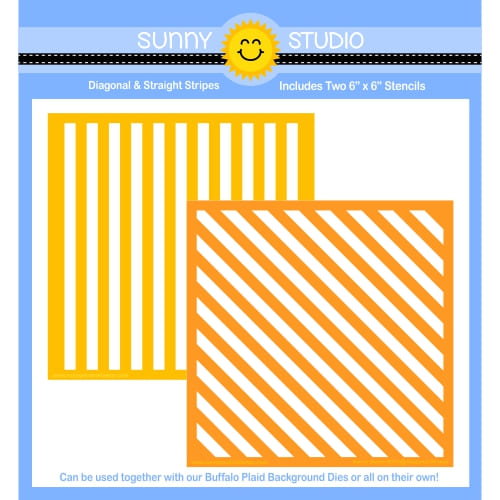 Diagonal & Straight Stripes Stencils Shop at: Sunny Studio |
 Hero Arts White Detail Shop at: Sunny Studio |
 VersaMark Watermark Ink Shop at: Sunny Studio |


