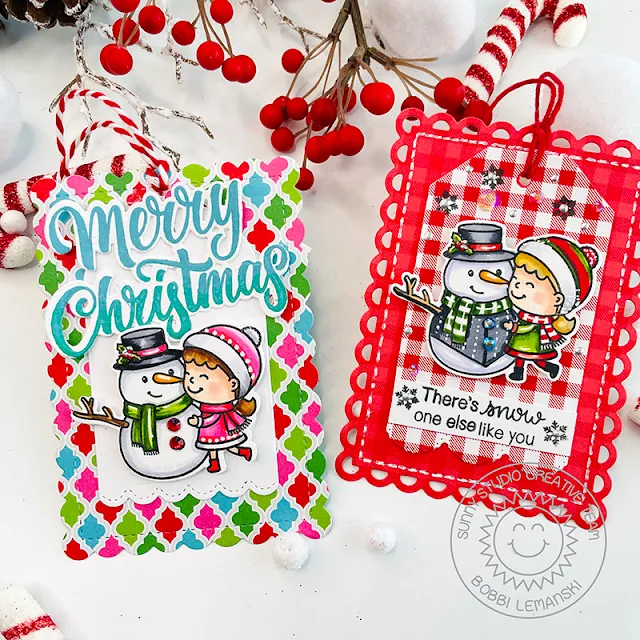
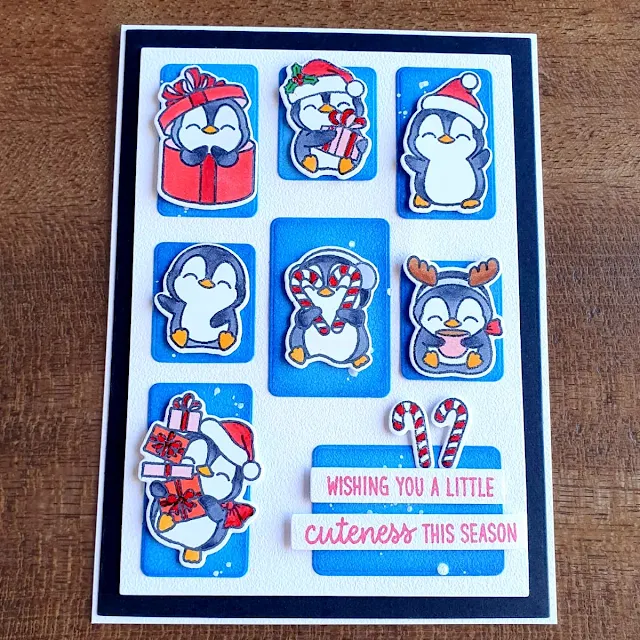
Hello Sunny friends. It’s Bobbi here with a couple of festive tags featuring the new Snow One Like You stamps and dies.
This sweet snowman and girl duo are adorably cute and the perfect size to use with the Mini Mat & Tag die sets.
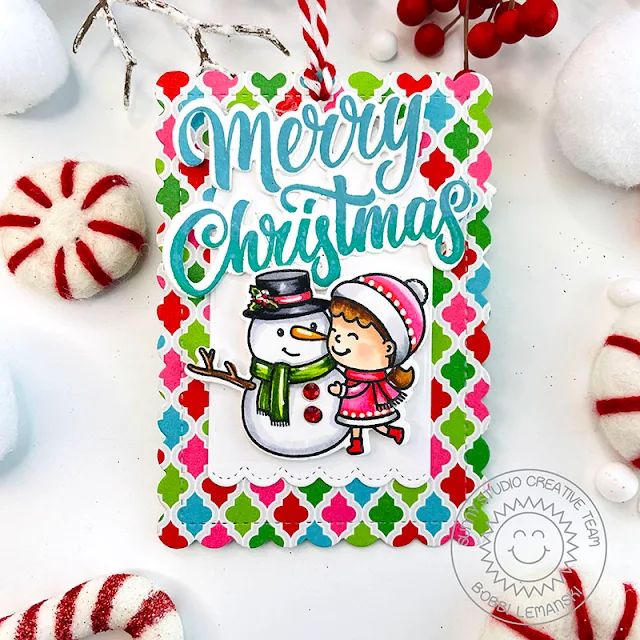
For my first tag, I used the Mini Mat & Tag 1 dies for the mat and Mini Mat & Tag 2 dies for the tag. I cut the mat from a pattern paper from the Joyful Holiday Paper Pack and the tag from white cardstock. I stamped and colored the snowman and girl using Copic markers in BV000, YG67, YG03, R29, R14, RV09, RV55, C100, C07, C05 and C03.
I attached the tag to the mat and used foam tabs to attach the snowman/girl image. The foam tabs make it stand out a bit from the background. This is such a quick tag to make. I just added a bold sentiment at the top using the Holiday Greetings Sentiments stamps and dies and a baker’s twine string to finish the tag. I will write my to/from on the back of the pattern paper before attaching the tag.
My second tag is similar to the first. I used the mat from the Mini Mat & Tag 2 die set and the tag from Mini Mat &Tag 4 die set. I used the sentiment from the Snow One Like You stamp set. The pattern paper is also from the Joyful Holiday Paper Pack.
I colored the image in red/green/white colors for a more traditional look. I added some faux white stitching around the mini mat using my Gelly Roll white pen. A few snowflakes and iridescent gems finish off this bright, red tag.
Thanks for stopping by today.
If you want to see more ideas and inspiration from me, subscribe to my blog, BobbiHartDesign.com. I’ll send you updates on new posts! You can also
follow me on Instagram as @BobbiHartDesign and on Facebook as BobbiHartDesign.
--------------------------------------------------
Hey
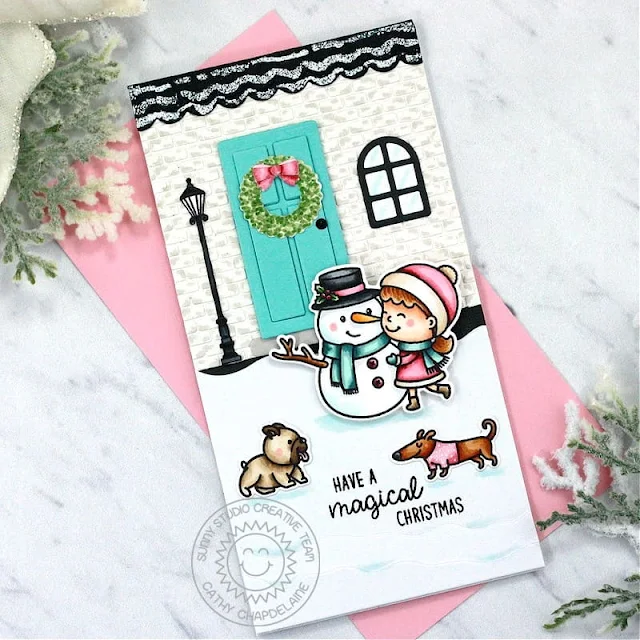
friends! Cathy here today with a fun card featuring the Snow One Like You Stamps. This adorable stamp
reminds me of Frosty the Snowman! The cute little girl and her pups are
welcoming him to their home for Christmas!
I started this mini slimline card by creating the front of the house. This took a little bit of time, but it was a fun process! First, I cut a piece of off-white cardstock 3 1/4" x 3 1/4". To create the brickwork, I die-cut a small rectangle die from the Gingerbread House Dies from off-white cardstock numerous times and adhered them in staggered rows to the cardstock piece. I trimmed off any “bricks” that overlapped the edges. I also added random areas of gray with a Copic marker. For the roof, I die-cut 2 scalloped edge dies from the Sweet Treat House Add-On from black cardstock and used a Versamark pen with white embossing powder for snow. I adhered them to the top of the cardstock piece and trimmed the edges on both sides with scissors. I cut a piece of black cardstock 1” x 3 1/4" and adhered it tucked slightly under the bottom edge of the 3 1/4" x 3 1/4" cardstock piece. I then adhered this combined piece to the top of a 3 1/4” x 6 1/4" card front.
For the snowdrifts, I die-cut the Tropical Trees Backdrop Die from white cardstock and cut the “sky” portion of the die-cut to 2 3/4" x 3 1/4". I heat embossed a sentiment from the Santa Claus Lane Stamps and adhered this piece to the bottom of the card front. I repeated this process for the small snowdrifts at the very bottom of the card. I cut a “sky” portion to 1” x 3 1/4" and adhered it to the bottom and then adhered a “sand” portion on top and trimmed the edges with scissors.
I die-cut the door, wreath and bow from the Sweet Treat House Add-on. For extra dimension on the door, I die-cut the center panels 3 times and layered them and colored the wreath with Copics. I die-cut the window from the Gingerbread House Dies and stamped, colored and fussy cut the lamppost from the Paris Afternoon Stamps.
I
stamped the images on Neenah Classic Crest 80lb solar white cardstock, colored
them with Copics and die-cut them using the coordinating dies. I used the
following stamps and dies:
Snow One Like You Stamps and Dies
Critters on the Go Stamps and Dies
To
finish, I used a BG000 Copic under the images and around the bottom snowdrifts
to help them stand out more and add a bit of color to the white snow.
I hope you enjoyed my frosty scene and thanks for stopping by today! For more inspiration, please visit my blog www.inkredibleadventures.com and you can also find me on Instagram as @cathy.chapdelaine.
Sunny Studio Supplies Used:
 Gingerbread House Dies Shop at: Sunny Studio |
 Santa Claus Lane Stamps Shop at: Sunny Studio |
 Sweet Treats House Add-on Shop at: Sunny Studio |
 Critters on the Go Stamps Shop at: Sunny Studio |
 Critters on the Go Dies Shop at: Sunny Studio |
 Paris Afternoon Stamps Shop at: Sunny Studio |
 Tropical Trees Backdrop Shop at: Sunny Studio |
 Holiday Greetings Stamps Shop at: Sunny Studio |
 Holiday Greetings Dies Shop at: Sunny Studio | |
 Snow One Like You Stamps Shop at: Sunny Studio |
 Snow One Like You Dies Shop at: Sunny Studio |
 Mini Mat & Tag 1 Dies Shop at: Sunny Studio |
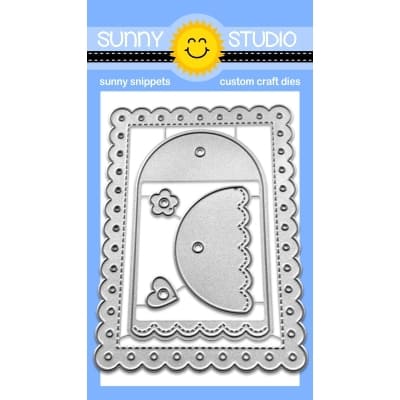 Mini Mat & Tag 2 Dies Shop at: Sunny Studio | |
 Joyful Holiday Paper Shop at: Sunny Studio |

