Hello and welcome to first day of our Fall & Winter Peek Week! All this week I am showcasing cards using our newest collection which will begin shipping on Friday, August 21st.
Today's sneak peeks include a new 4x6 fall stamp set called Bountiful Autumn, a mini 2x3 stamp set called Scaredy Cat and three brand new versatile standalone die sets. Let's jump right in!
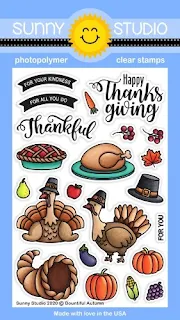
Card No. 1: For my first card of the day I used our new Bountiful Autumn Stamps and dies to create three separate little vignettes. There is a fun "thankful" script greeting and two solid little banners with supporting sentiments already included inside which is really fun (and nice not having to mess with heat embossing and trying to line up the sentiment so it's perfectly centered).
To ground my little fall groupings, I mounted them onto a piece of white cardstock which I cut with the inside stitched frame from our new Slimline Scalloped Frame dies, running it off the edges. As you will see throughout the week, you don't have to be bitten by the slimline card craze to find incredible value in these dies. In fact I found myself using them over and over again on all my A2 sized cards and I have fallen in love with their versatility!
To ground my little fall groupings, I mounted them onto a piece of white cardstock which I cut with the inside stitched frame from our new Slimline Scalloped Frame dies, running it off the edges. As you will see throughout the week, you don't have to be bitten by the slimline card craze to find incredible value in these dies. In fact I found myself using them over and over again on all my A2 sized cards and I have fallen in love with their versatility!
For the orange scalloped border I cut our Gingham Jewel Tones Paper using the new Slimline Basic Border dies and mounted them over small 1" wide strips I cut from the leaf print paper from our Colorful Autumn Paper pack.
Card No. 2: For my next card using the Bountiful Autumn Stamps, I colored my images again with Copic Sketch markers. I started by cutting a card base that is sized 9" x 4" when folded (9" x 8" before it is scored).
To create my patchwork border, I used the tiny square die from our Basic Mini Shape Dies together with the prints from our Gingham Jewel Tones Paper pack and added them around the card perimeter, starting on the right side. The squares won't perfectly fit with the slimline card dimensions, but with a little tweaking you would never know that. For the height, 7 squares slightly exceed the 4" height of a slimline card so I centered the yellow square with a centering ruler and worked my way towards the top and bottom edges, allowing the squares to bleed off the edge. I then added my squares across the width of the card, lining them up with the others and then trimming down my card base a hair to match the width of my 15 squares across. When I was completely done, I then trimmed off the excess patterned paper that I allowed to bleed off the edge, along the top and bottom with my paper trimmer.
After all that was complete, I adhered my Slimline Scalloped Frame die which I cut from kraft cardstock and then topped it with the stitched mat from the set cut from white cardstock. Because the scalloped frame and stitched mat are two separate dies and they needed a bit of space between them to be cut apart, the gap is sometimes larger than I would have liked, but this is easily remedied by matting it with another color that can easily be cut to size with a paper trimmer.
I finished my card by stamping a greeting from our Elegant Leaves Stamps onto some coordinating paper which I cut into a banner shape with my scissors. To allow the word grateful to bleed off the edges, I started by temporarily adhering my paper strip to the slick mouse pad surface in my original Misti (since the "grateful" word going off the edge prevented me from pushing my paper against the edge). I then laid the stamped sentiment strip onto my card mat exactly where I wanted it inside my MISTI and lined up that same grateful word over the top (cleaning it first to make sure I didn't spread ink where I didn't want it). I then removed the strip of paper, stamped the word "grateful" on my background and adhered the banner strip over the top. This allows for a perfect seamless look that doesn't leave an inkless gap like often happens with the bump between the paper strip edge and the white cardstock background. It also meant if I screwed up my sentiment on the strip, it would be easy to do another one rather than completely ruining my card background and having to start over. LOL!
Card No. 3: Up next is a pretty quick and easy card focusing on the two cute turkeys that come with the Bountiful Autumn Stamps and dies set. I wanted a way to use and fit the second scripty greeting from the set so I turned to our Fancy Frame Oval Dies & coordinating Stitched Oval Dies which would give me enough space for both my turkeys and the sentiment that I heat embossed with white embossing powder. For the leaf tone-on-tone print and colorful checked print, I used patterned papers from our Colorful Autumn Paper packs. There was a lot going on visually with my paper so I kept my design fairly simple, but paper is a great way to add some interest with very little effort.
Card No. 4: Switching gears and holidays, I have some cards featuring our new mini 2x3 Scaredy Cat Stamps and dies. To create my little scene around them, I used the curved grass and stiched cloud borders from our new Slimline Nature Border dies. This is the first of many examples using them on an A2 sized card. I love how one grass border can have a number of different looks depending on which part of the long 9" slimline die you position on your card. I paired it with our straight grass border from our Sunny Sentiments Dies and two little bumblebees from our Just Bee-cause Stamps and dies. I finished my card with the "hello pumpkin" greeting from our Harvest Mice Stamps that I will be sharing more of tomorrow.
Card No. 5: For my next card with the Scaredy Cat Stamps I turned out the lights and switched to a glowing jack-o-lantern, using the moon and three mini stars that come with the set for my background. For my night's sky, I colored my card panel with my favorite Jumbo Dauber and some Salty Ocean distress ink, applying it more heavily towards the center and gradually working my way out with a lighter hand, using a circular motion. I then added a little strip of polka-dot paper to match from our Dots & Stripes Jewel Tones Paper pack and a simple black scalloped border from our new Slimline Basic Borders die set.
Card No. 6: When scored and folded in half our new Slimline Scalloped Frame dies can create a cute scalloped notecard that is 3-1/2" wide x 4-1/4" high. For my little card I kept my design super simple adding just a touch of orange print paper from our Gingham Jewel Tones Paper and then layering it with half the stitched mat from that same slimline die set (setting aside and saving the other half for the inside of my card. I then decorated the front with the images from our mini Scaredy Cat stamps. I love that a simple card like this would be fairly easy to mass produce and tie onto treats.
Here's a quick inside view showing how I used the other half of that stitched mat. I included the moon from the Scaredy Cat stamps, along with several more stars to continue my theme. As someone who rarely continues the design on the inside of my cards, I have to admit doing it made me feel pretty giddy. It's fun to have a little something extra hiding as a surprise in there (my Mom would be proud).
That wraps up today's sneak peeks. I'm so happy you spent a part of your day with me today. I read all your comments and they mean so much! I'd love to give a $25 gift code to one lucky winner using the rafflecopter below. Make sure to keep checking back all this week for more peeks & prizes. The contests run through Wednesday, August 26th at Midnight PST with winners announced here on Sunday, August 30th. :)
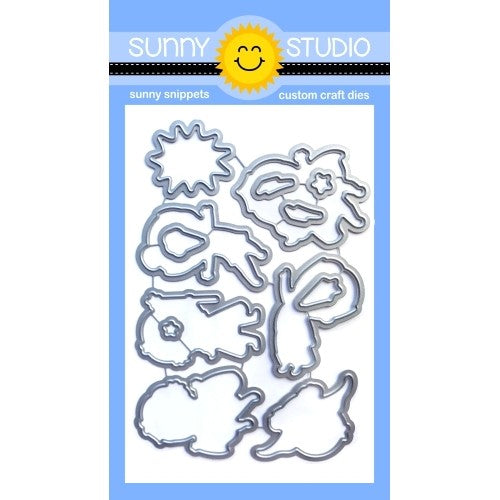
Here's a closer look at the our new Slimline Basic Borders, Slimline Nature Borders, Slimline Scalloped Frame, Bountiful Autumn stamps & coordinating dies and the Scaredy Cat stamps & coordinating dies used today (available for purchase on August 21).
Other Sunny Studio Supplies Used:
 Fancy Frames- Ovals Shop at: Sunny Studio |
 Gingham Jewel Tones 6x6 Paper Shop at: Sunny Studio |
 Dots & Stripes Jewel Tones 6x6 Paper Shop at: Sunny Studio |
 Stitched Oval Dies Shop at: Sunny Studio |
|
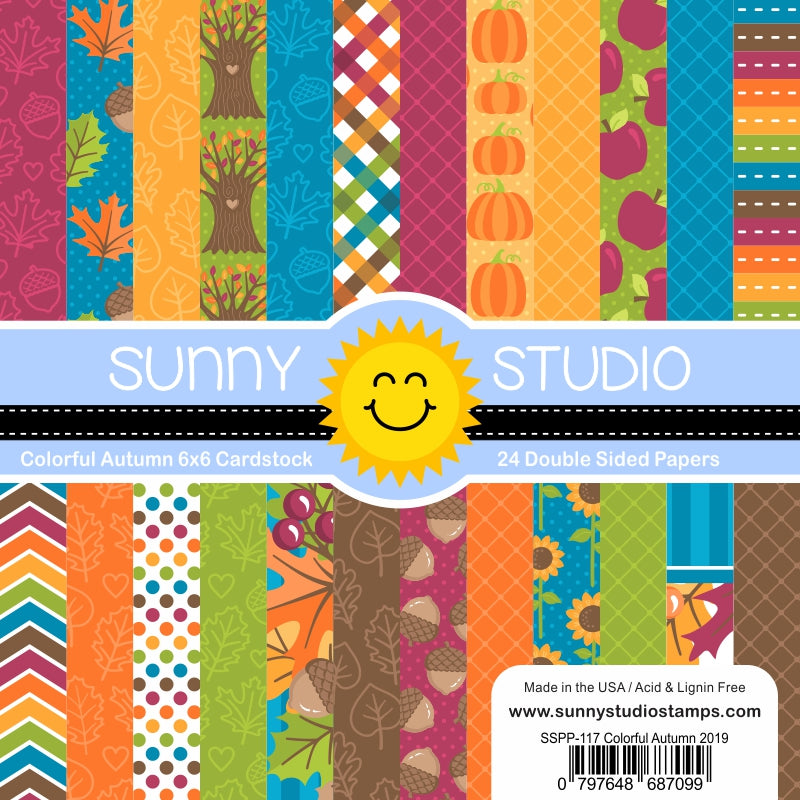 Colorful Autumn 6x6 Paper Shop at: Sunny Studio |
 Elegant Leaves Stamps Shop at: Sunny Studio |
 Just Bee-cause Stamps Shop at: Sunny Studio |
 Just Bee-cause Dies Shop at: Sunny Studio |


