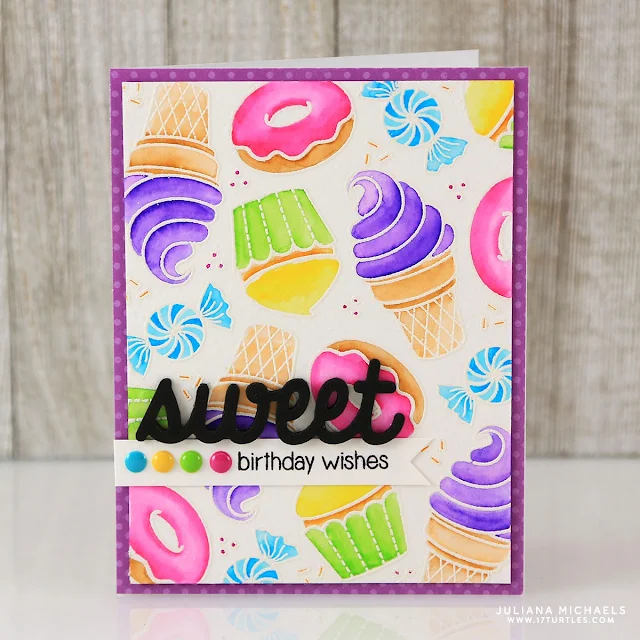
For my first card, Sweet Birthday Wishes, I randomly stamped the images onto watercolor paper using Versamark Ink and embossed them with white embossing powder. I then colored them with Zig Clean Color Real Brush Markers. To create the sentiment, I used the Sweet Word Die and cut it from a piece of black fun foam. I then stamped “birthday wishes “ onto a piece of white cardstock and cut it into a banner shape.
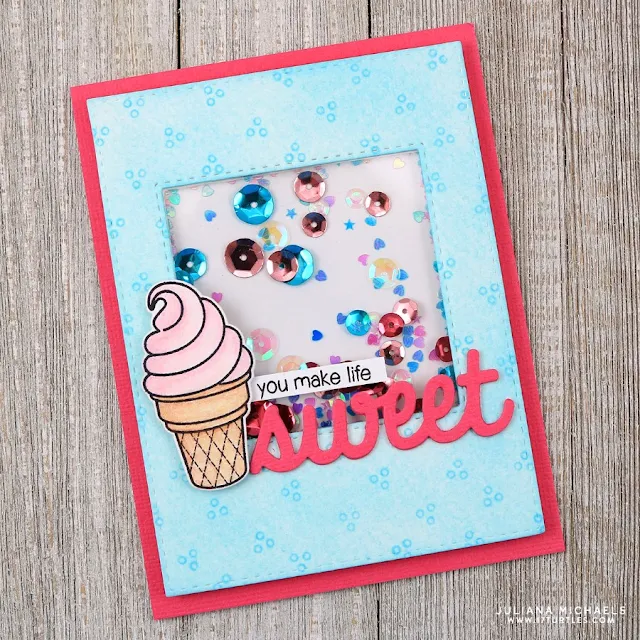
The sweetness continued on my second card, You Make Life Sweet. For this card, I created a shaker card that I embellished with the super cute ice cream cone stamp. I stamped the image onto white cardstock, colored it with colored pencils and then cut it out using the Sweet Shoppe coordinating dies. The sentiment was created using one of the many great sentiments in this stamp set and the Sweet Word Die.
To create my Thanks For Being So Sweet card, I used a pencil and ruler to draw diagonal lines on watercolor paper. I then used these guidelines to stamp the adorable donuts using a Distress Ink Pad in Pumice Stone. To color in the images, I used Zig Clean Color Real Brush Markers. To create the sentiment, I used the Sweet Word Die and cut it from a piece black cardstock. I then stamped “thanks for being so” on black cardstock and heat embossed it with white embossing powder.
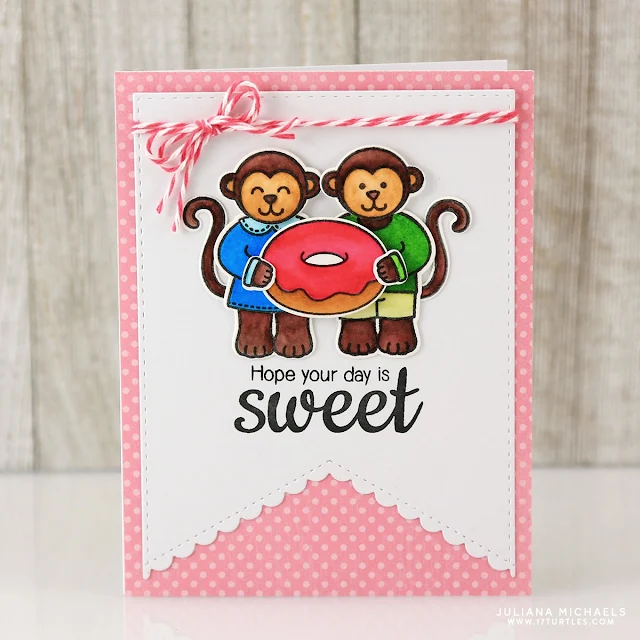
On my final card, Hope Your Day Is Sweet, I combined the Sweet Shoppe set with the Comfy Creatures stamp set. I thought it would be fun to have a couple critters holding a donut! After stamping and coloring each of the images, I used the coordinating dies to cut out each of the elements . I then layered them to give them a little dimension. I cut the banner using the new Fishtail Banner II Dies and then tied on a piece of bakers twine before adhering it to the card front.
Thanks so much for stopping by today and I invite you to check out my blog, 17turtles, for one more card I created using the Sweet Shoppe Stamp Set!
Juliana
Sunny Studio Supplies Used:


