Hey stampers, Anni here! I am so happy and excited to have my first card on the Sunny Studio Stamps blog.
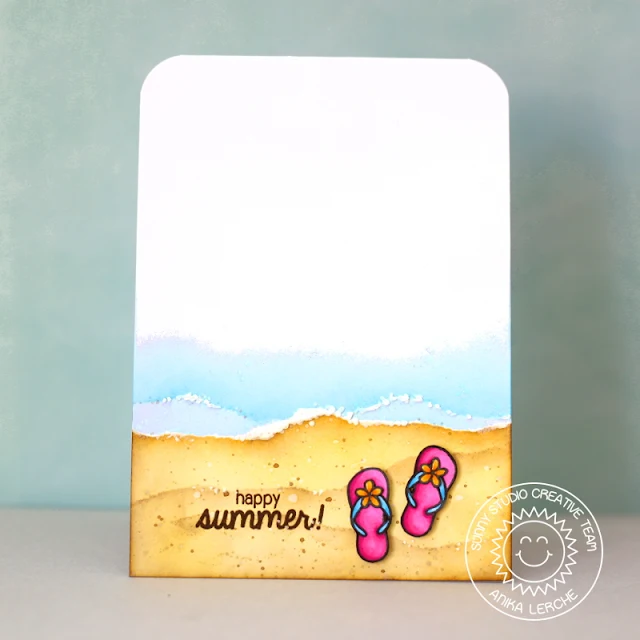
I start with this fabulous new set called Island Getaway. Awe... What a great set for summer - or for dreaming of it.
When I saw these super cute flip flops I literally could feel the sand between my toes. So I knew instantly that I wanted to make a beach card.
I created the beach and the water with ink blending by masking areas with a ripped masking tape. I added a little bit of white and sparkle for the sea spray. I finished by adding the tiny flowers to the flip flops to dress them up even more.
I hope you like my first card! I can't wait to see what you will create with this set.
Thanks for stopping by and have a great week!
Tuesday, April 5, 2016
Simon Says Stamp Guest Post & Sneak Peek
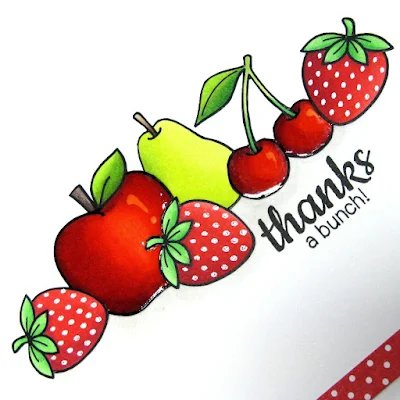
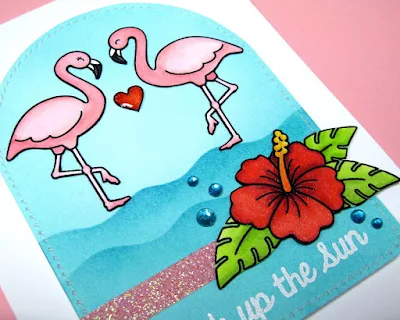
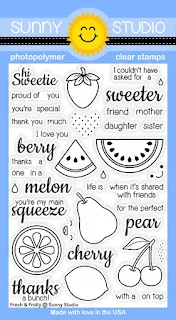
Hi there! I'm thrilled to be a guest on the Simon Says Stamp blog today sharing a couple of cards using our Fresh & Fruity and Tropical Paradise sets.
Today I'm also giving away a free download for the custom arch cutting file HERE.
I hope you will swing their blog by for a closer look. ;)
Today I'm also giving away a free download for the custom arch cutting file HERE.
I hope you will swing their blog by for a closer look. ;)
Monday, April 4, 2016
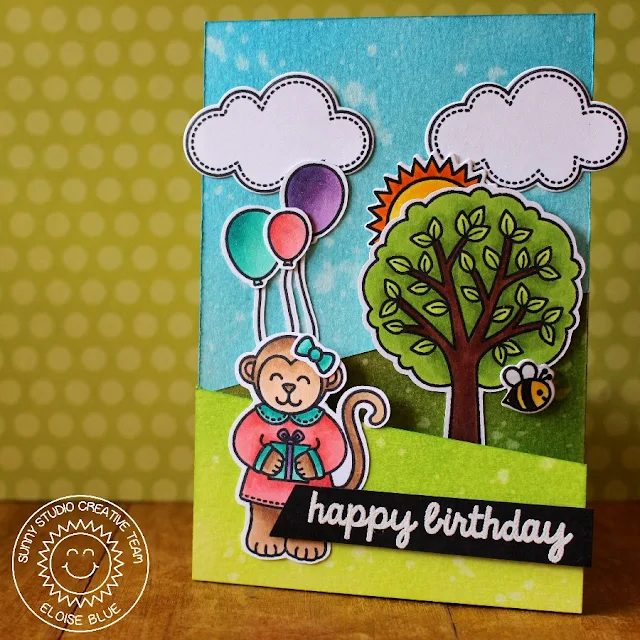
Comfy Creatures Tri-fold Birthday Card by Eloise
Hello everyone! Eloise here and I’m so excited to show you my first project that I made. Today I have a fun tri-fold card for you all featuring the new Comfy Creatures and Summer Picnic sets as well as a few other stamps sets from the previous release.
So for today's card I began with knowing I wanted to do a tri-fold card, just for something a little bit different. I began with cutting down a piece of watercolour cardstock to 11 ¼” by 5 ½”. Once my cardstock was cut down, I scored each section at 3 ¾” so then once it’s folded up, they are all equal sections. Once that was done, I needed to create different heights for each of the layers on the card. For this I just used my paper trimmer and cut down two of the sides that are folding in and cut them both at different angles so when the card was folded in once again, they would look like hills.
I then moved onto the ink blending. I opened the card up fully and blended first some blue onto the background piece. I masked off each sides of the card to make sure they stayed a nice white. For the blue colours I used Tumbled Glass, Broken China and a little Salty Ocean and blended the three together to create an ombre effect. I then moved onto the next layer that folds in and for that I used Mowed Lawn and a little Forest Moss. Then next was the first layer of the card and for that I used mostly Twisted Citron with a little Mowed Lawn. I then took some water on a paint brush and tapped it over the Distress Ink to create a fun water splotch look.
For the images, I used a bunch of stamp sets to create a fun scene. I stamped out the clouds, sun and the bee from Sunny Sentiments, I used the bow and then the eggs from A Good Egg to make some fun balloons, I just turned them upside down and drew on my own bottoms to them to make balloons. I also used the tree from the new Summer Picnic set, the Monkey face/tail along with the body from the new Comfy Creatures set and then I used the hands with the present from Sending My Love since I wanted it to be a birthday card – I love how all these sets work so well together to create a fun scene!
I coloured in all the images with various Copic Markers and then cut them all out. There are coordinating dies for all these images also. I then adhered all of my images onto my scene. For the sentiment I used the ‘Happy Birthday’ from the Comfy Creatures stamp set and white heat embossed it onto some black cardstock. I then adhered it onto the card with some foam adhesive. For a finishing touch I used my Wink of Stella Glitter pen to put over some of the images.
Thanks for stopping by today, I hope you enjoyed and make sure you check out the blog tomorrow for more inspiration!
- Eloise
Sunny Studio Products Used:
Saturday, April 2, 2016
Inspiration Week Winners!!!
Thank you to all of you who stopped by this week and left sweet comments here and on our social media pages. I appreciate each and every one and truly wish I could mail you all something. Without further ado, the winners of this week's giveaways are...
Tropical Paradise & Island Getaway Stamps Winner
Fresh & Fruity Stamps & Wavy Border Dies Winner
Taunya Butler
Stars & Stripes Stamps & Star Border Die Winner
Brandi R
Summer Picnic & Comfy Creatures Stamps Winner
Jeanne Jordan
Migdalia Rodriguez
Congratulations ladies! I've emailed you... ;)
Friday, April 1, 2016
Inspiration Week: Woo Hoo, Birthday Smiles & School Time Dies
Hello there! Today's the big day! You can now purchase all the new stamps and dies featured this week in our online store. Yay!!!
Before you head over I hope you will take a quick look at all the fun ways you can use our new Woo Hoo Stamps and dies. ;)
Up first is a graduation card using the set in a straightforward way. The set comes with both a large diploma and a little shrunken down version for the owl to carry. For my blue background I stamped a tone-on-tone print using the "Happy Graduation" sentiment and some clear VersaMark ink. For the yellow portion I used the star border from the Sunny Borders stamps to stamp a continuous pattern.
To round out my little scene I die-cut some clouds from white cardstock using the Rain or Shine dies and used the Fishtail Banner dies for my sentiment strip.
My next card uses the larger graduation cap and diploma in the set without the owl for a slightly more sophisticated design. To create the red star print, I used the three smallest star stamps from Stars and Stripes to create a random pattern.
Up next I thought it would be fun to show how you don't have to be limited to graduation cards with this set. For this one I created a special thank you card for teachers. Using my MISTI I stamped a random alphabet letter border using our Sweet Script stamps stamped onto black cardstock and heat embossed in white to evoke the feeling of a chalkboard and to help reinforced my school theme. I completed my card with the banner from Sunny Borders and the "Thank You" sentiment from Stars & Stripes.
My last card goes patriotic with the cute owl from this set, adding the little hat & sentiment from Stars & Stripes. To create my background I cut 3 to 4 of the Star Borders from red, white and blue cardstock and layered them on a kraft panel. Because I alternated their position on my panel and the border is only 5.5" long, I cut my finished panel apart and hid the gap under my blue panel (inked up in Stormy Sky distress ink). I finished off my card using the Fishtail Banner dies to create my little pennant for my sentiment.
Here's a closer look at the 3x4 stamp set and dies featured on today's cards...
Would you like to win some of these fun products? Today we are giving away the Woo Hoo Stamps and coordinating dies to one lucky winner using the Rafflecopter below. You still have time to win the products featured earlier in the week as well. ;)
Winners will be announced here on the blog on Sunday, April 3rd. :)
a Rafflecopter giveaway
I hope you've enjoyed all the ideas this week and will stop by our shop to pick up some of our newest items. For a limited time we are offering two different exclusive bundles to save you a little extra money and save you some time at checkout. Don't forget you can also use the code "SAVE5" to save an extra $5 off all orders over $49. ;)
Before you head over I hope you will take a quick look at all the fun ways you can use our new Woo Hoo Stamps and dies. ;)
Up first is a graduation card using the set in a straightforward way. The set comes with both a large diploma and a little shrunken down version for the owl to carry. For my blue background I stamped a tone-on-tone print using the "Happy Graduation" sentiment and some clear VersaMark ink. For the yellow portion I used the star border from the Sunny Borders stamps to stamp a continuous pattern.
To round out my little scene I die-cut some clouds from white cardstock using the Rain or Shine dies and used the Fishtail Banner dies for my sentiment strip.
My next card uses the larger graduation cap and diploma in the set without the owl for a slightly more sophisticated design. To create the red star print, I used the three smallest star stamps from Stars and Stripes to create a random pattern.
Up next I thought it would be fun to show how you don't have to be limited to graduation cards with this set. For this one I created a special thank you card for teachers. Using my MISTI I stamped a random alphabet letter border using our Sweet Script stamps stamped onto black cardstock and heat embossed in white to evoke the feeling of a chalkboard and to help reinforced my school theme. I completed my card with the banner from Sunny Borders and the "Thank You" sentiment from Stars & Stripes.
My last card goes patriotic with the cute owl from this set, adding the little hat & sentiment from Stars & Stripes. To create my background I cut 3 to 4 of the Star Borders from red, white and blue cardstock and layered them on a kraft panel. Because I alternated their position on my panel and the border is only 5.5" long, I cut my finished panel apart and hid the gap under my blue panel (inked up in Stormy Sky distress ink). I finished off my card using the Fishtail Banner dies to create my little pennant for my sentiment.
Here's a closer look at the 3x4 stamp set and dies featured on today's cards...
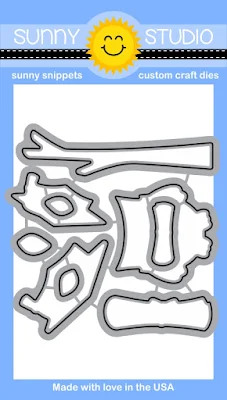
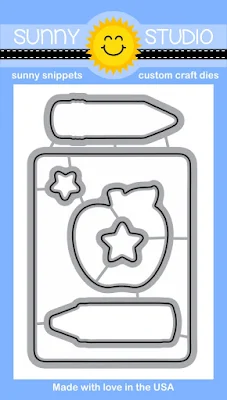
Unfortunately I didn't find the time to create some new projects with these, but I'm super excited to finally offer the Birthday Smiles and School Time dies that so many of you have been waiting for as well (the Happy Home dies are expected to follow in July). ;)
Winners will be announced here on the blog on Sunday, April 3rd. :)
a Rafflecopter giveaway
I hope you've enjoyed all the ideas this week and will stop by our shop to pick up some of our newest items. For a limited time we are offering two different exclusive bundles to save you a little extra money and save you some time at checkout. Don't forget you can also use the code "SAVE5" to save an extra $5 off all orders over $49. ;)
Subscribe to:
Comments (Atom)

